
In a post last year, I said I was a clean freak when it comes to my grill. But sometimes I get busy and/or lazy and I let my Weber Summit 450 go too long between cleanings. I know it’s starting to get bad when I have a hard time lighting the grill because the ignitors are clogged with debris. I know it’s getting even worse when the burners are burning unevenly and with yellow flames because some of the burner holes are clogged. That’s when I know it’s time to break down and do a deep cleaning of my grill.
Here’s how I do it.
Grill Cleaning Tools & Supplies Needed
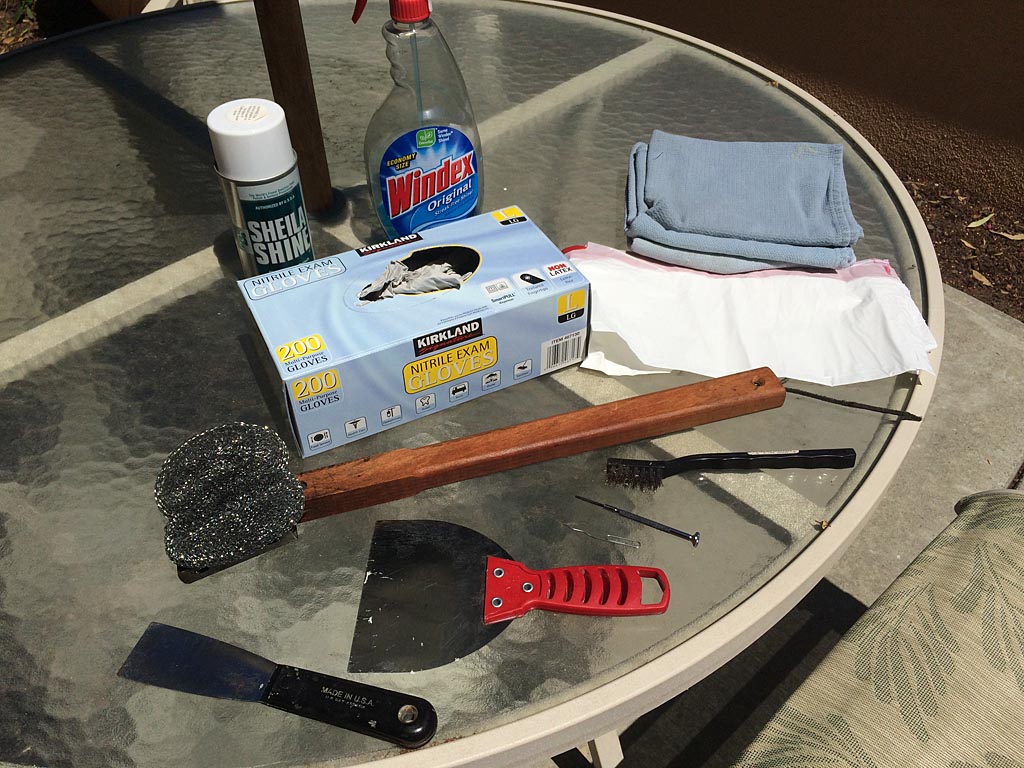
To deep clean your grill you’ll need the following tools and supplies:
- Grill brush
- Leather grilling gloves
- Narrow and wide putty knives
- Stainless steel bristle brush
- Eyeglass screwdriver or paper clip
- Disposable latex/nitrile gloves
- Windex, Simple Green or similar cleaner
- Stainless steel cleaner
- Compressed air duster
- 0000 super-fine steel wool
- Towels/rags
- Garbage bag
During some of the steps shown below, you may want to wear disposable gloves to keep your hands clean.
Brush The Grates
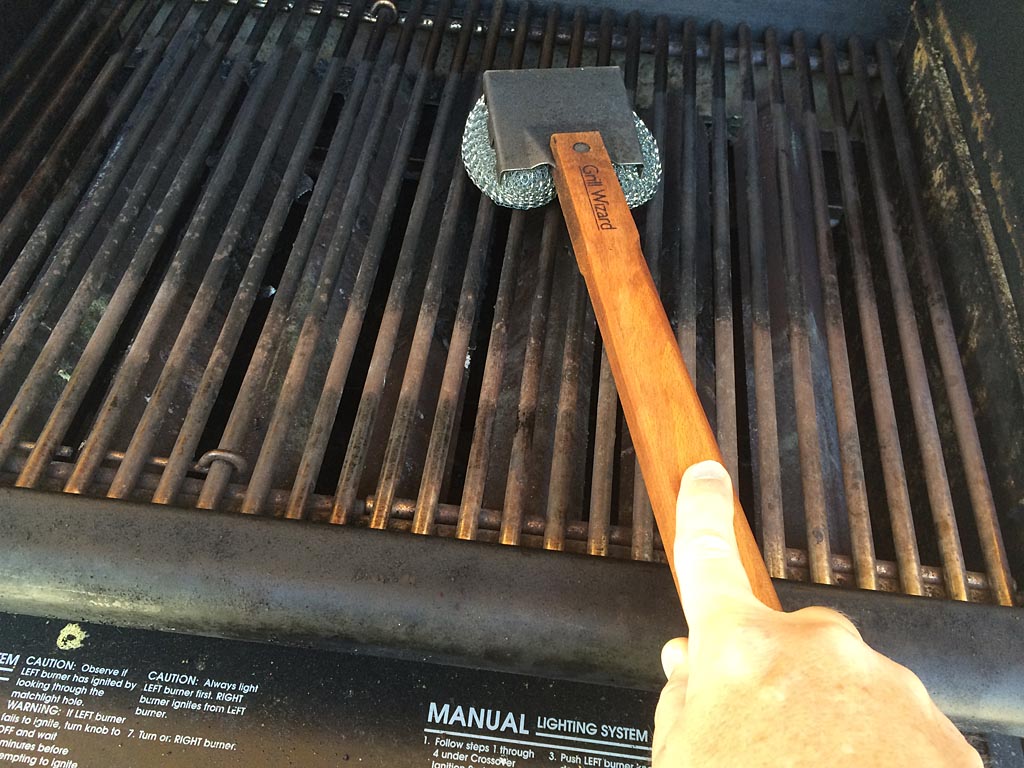
Turn all burners to HIGH and burn-off the grates for 10-15 minutes. Use a grill brush to clean the top side of the grates. Let the grates cool enough so you can handle them safely with grilling gloves then flip them over and brush the back side. Remove the grates and set them aside.
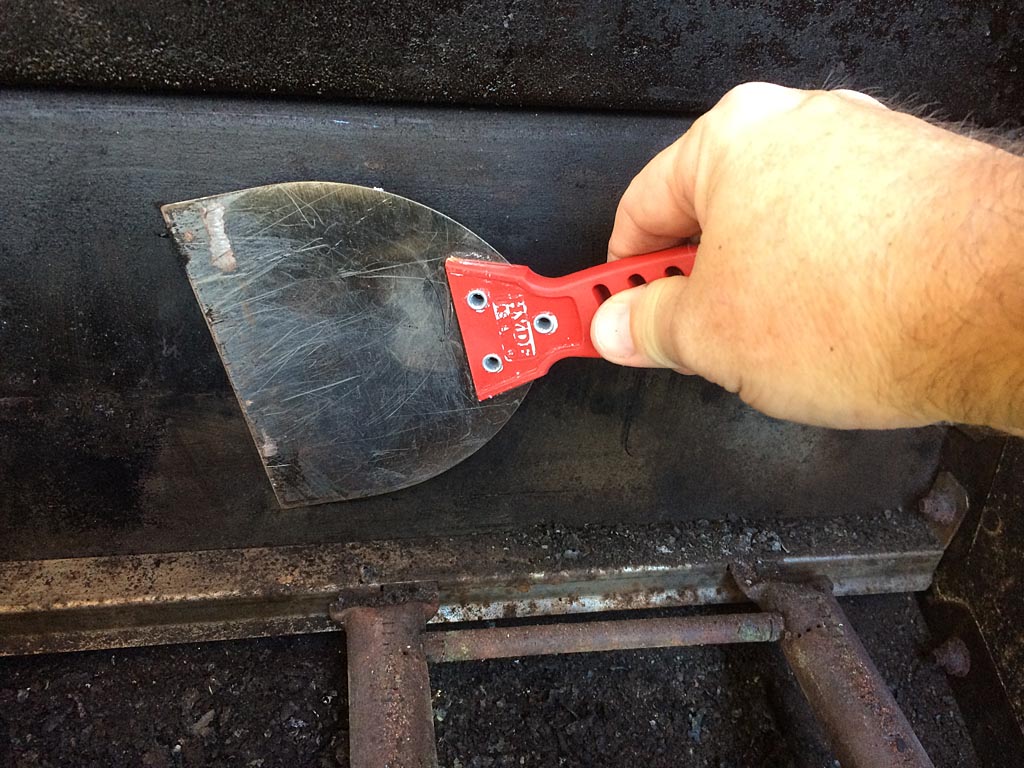
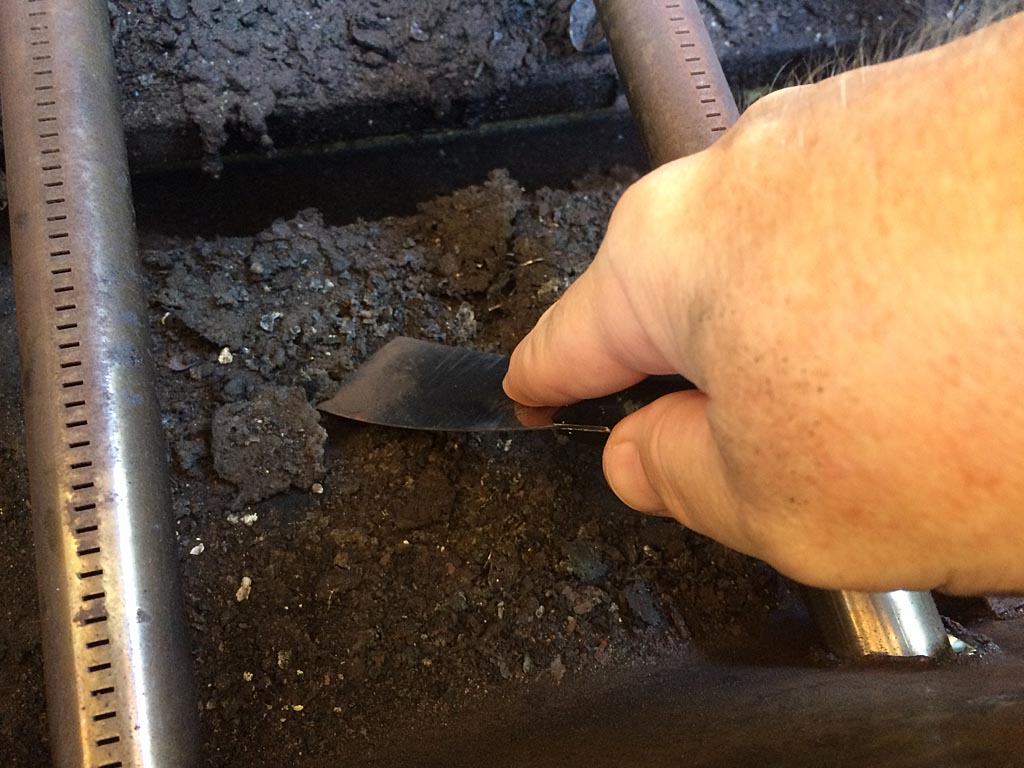
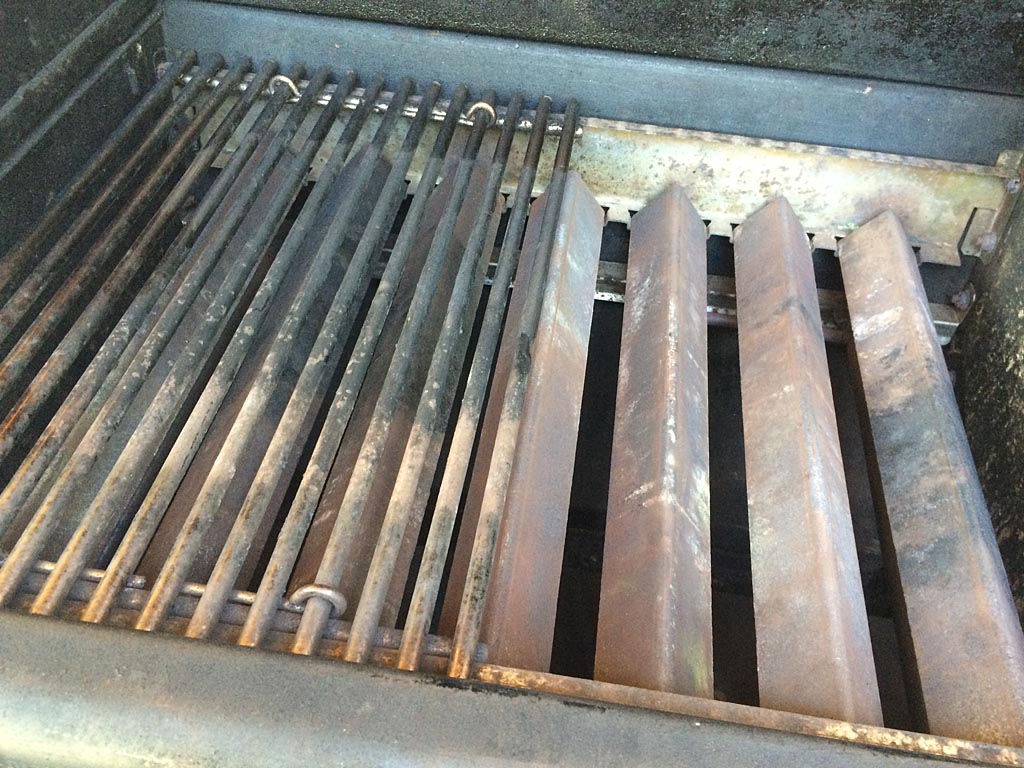
Scrape The Flavorizer Bars
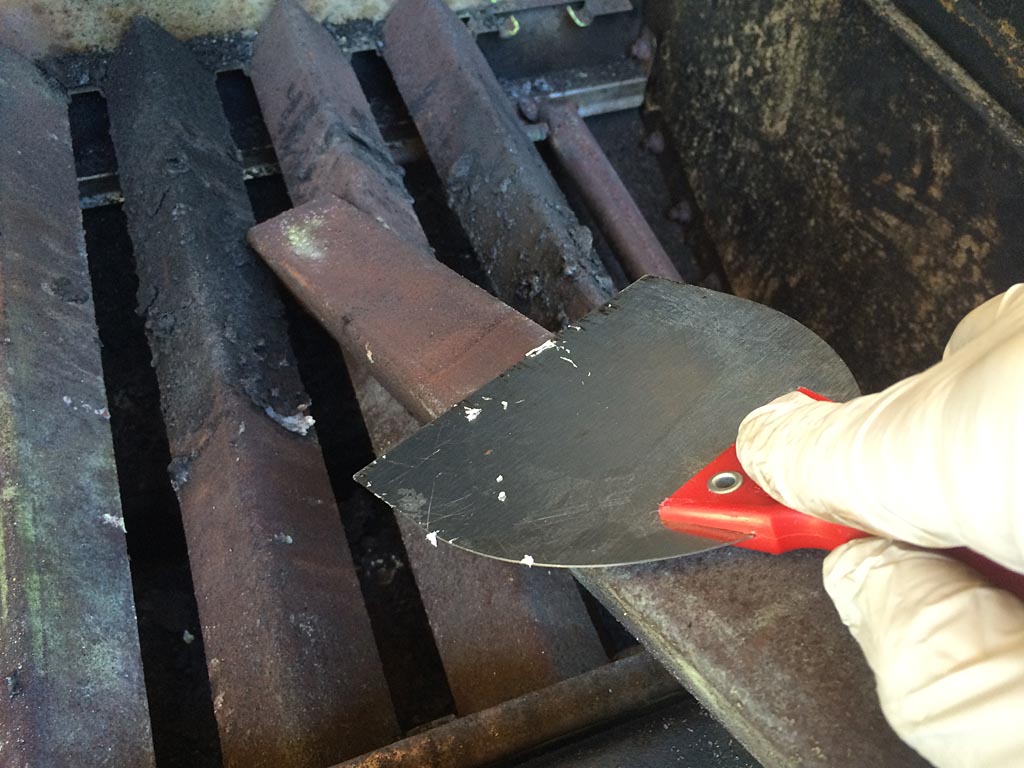
When the grill has cooled sufficiently, use a wide putty knife to scrape both sides of each Flavorizer bar into the open grill. Examine the condition of each bar. It’s common for Flavorizer bars to rust due to food drippings and high heat. They do not need to be replaced until they start to rust through and break apart. Set the Flavorizer bars aside after scraping.
See All About Flavorizer Bars to learn more.
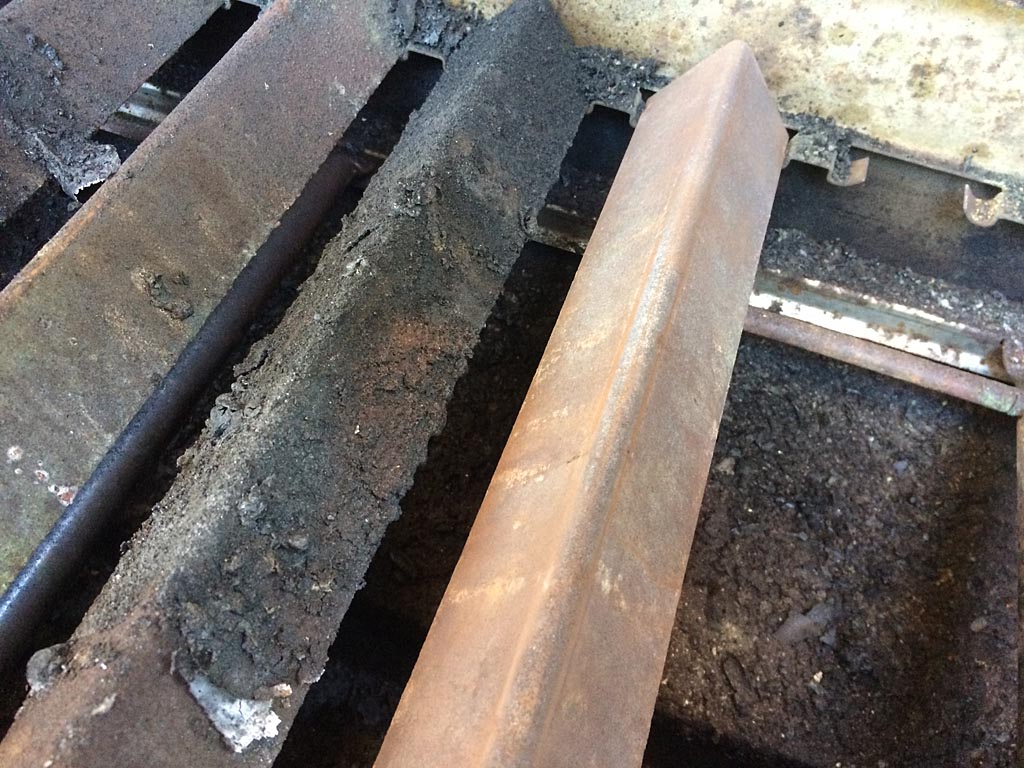
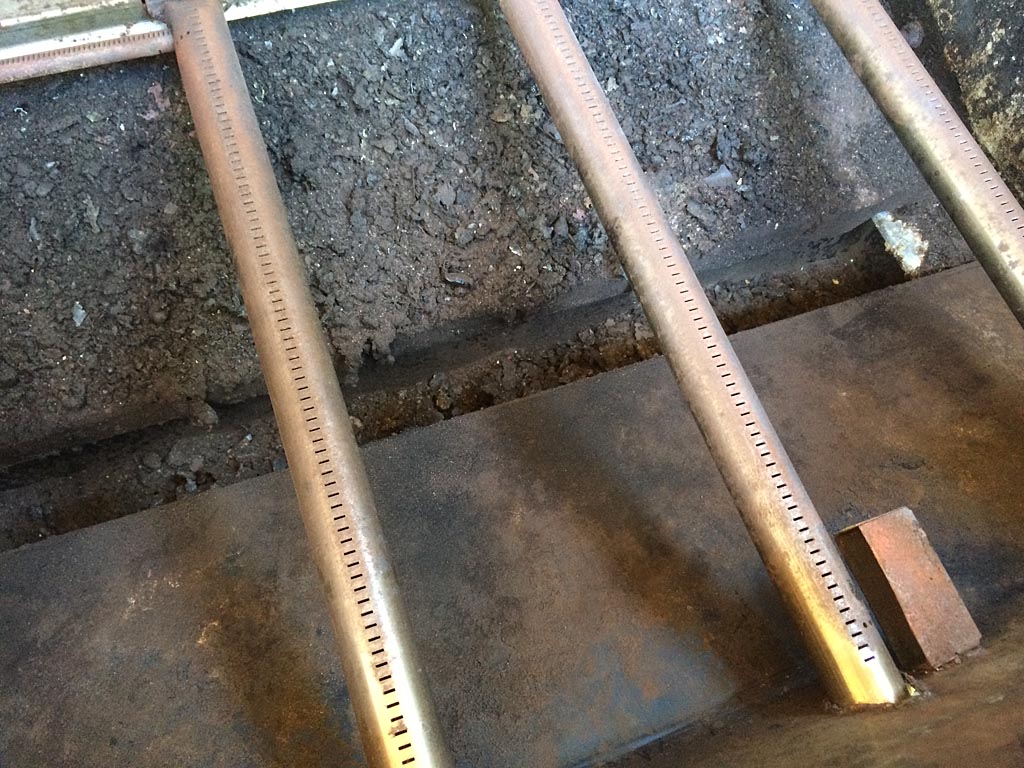
Scrape The Upper Firebox
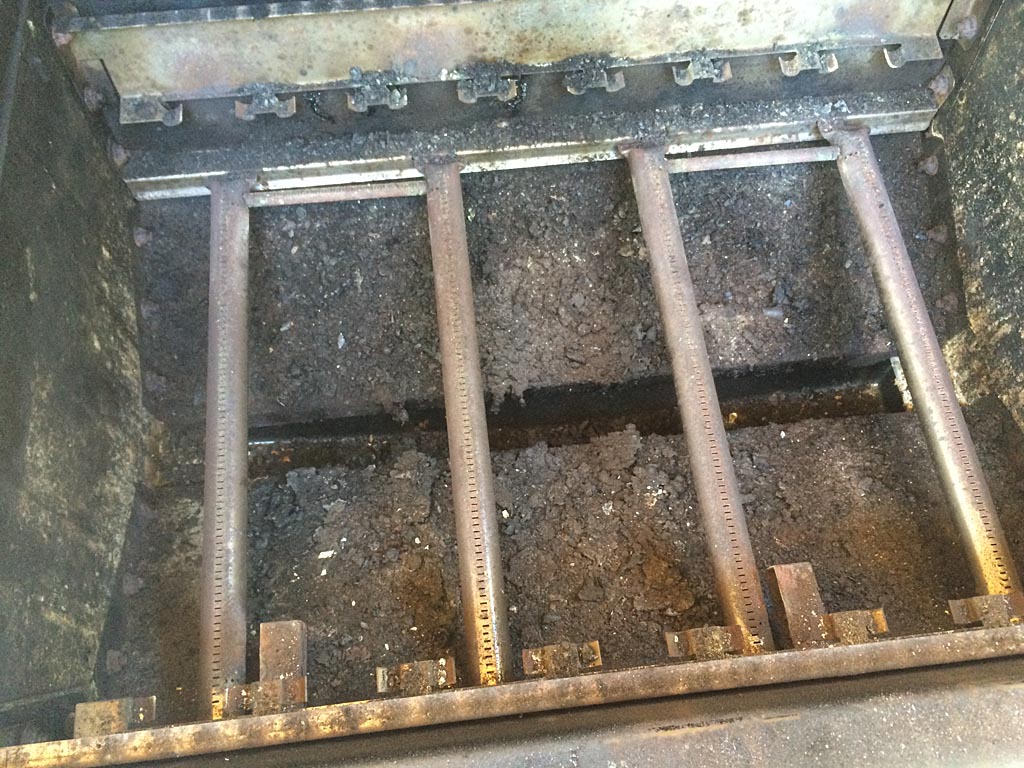
Use a wide putty knife to scrape debris from the back and sides of the upper firebox, allowing it to fall down into the grill. Use a stainless steel wire brush to remove any debris from the ledges and nooks & crannies around the perimeter of the upper firebox.
Clean-Out The Ignitor Boxes
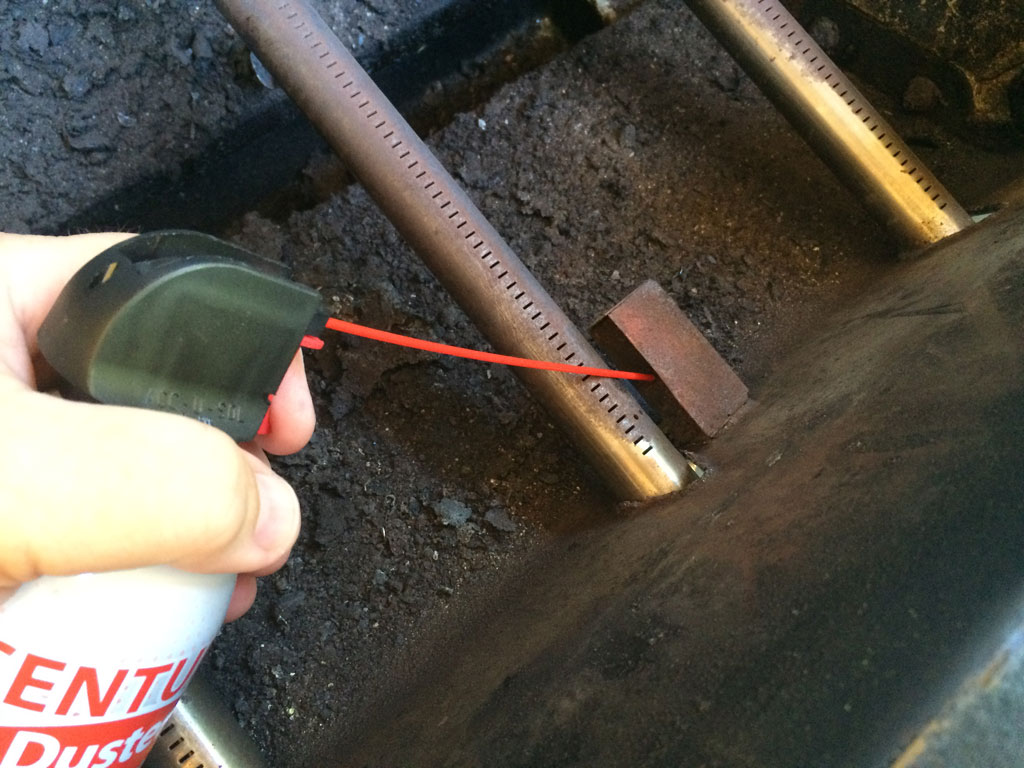
Use a compressed air duster to remove debris from the ignitor boxes. Examine the condition of each box; if rusted through, consider replacing the ignitor assembly so that the grill lights easily.
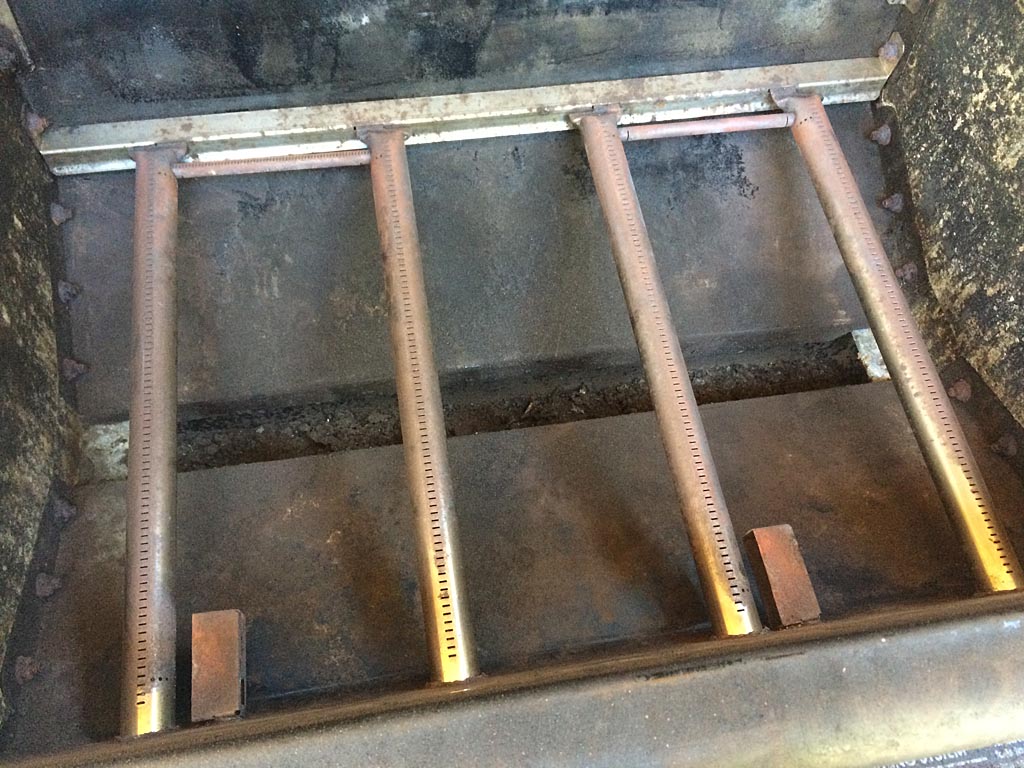
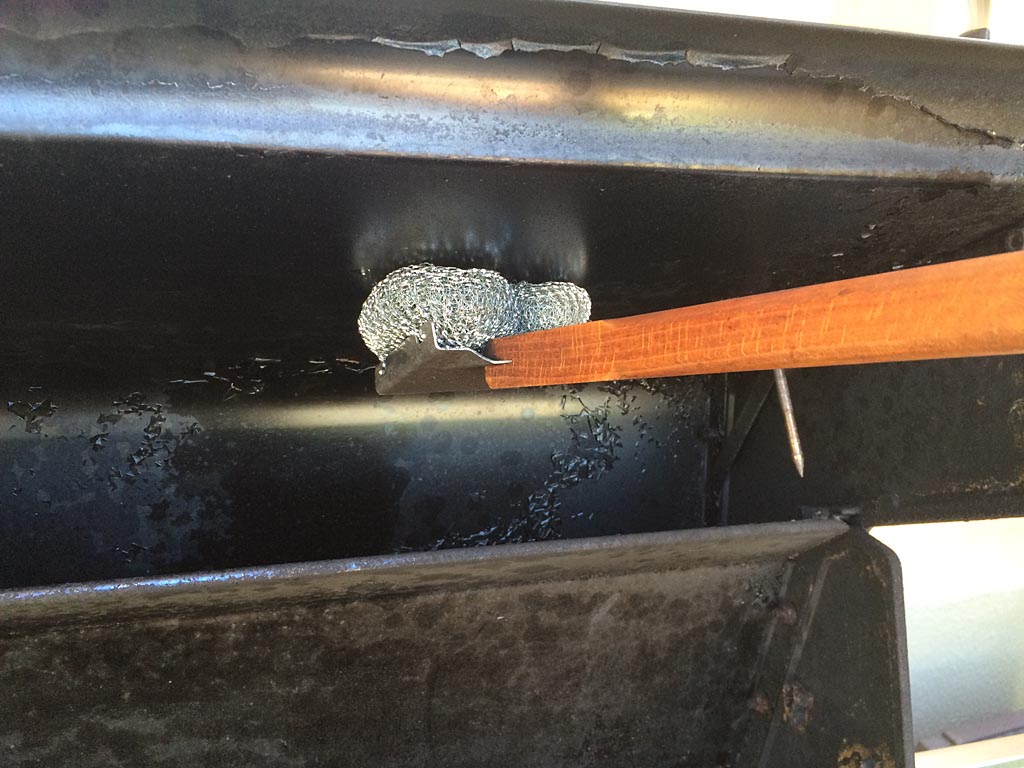
Clean The Burners & Crossover Tubes
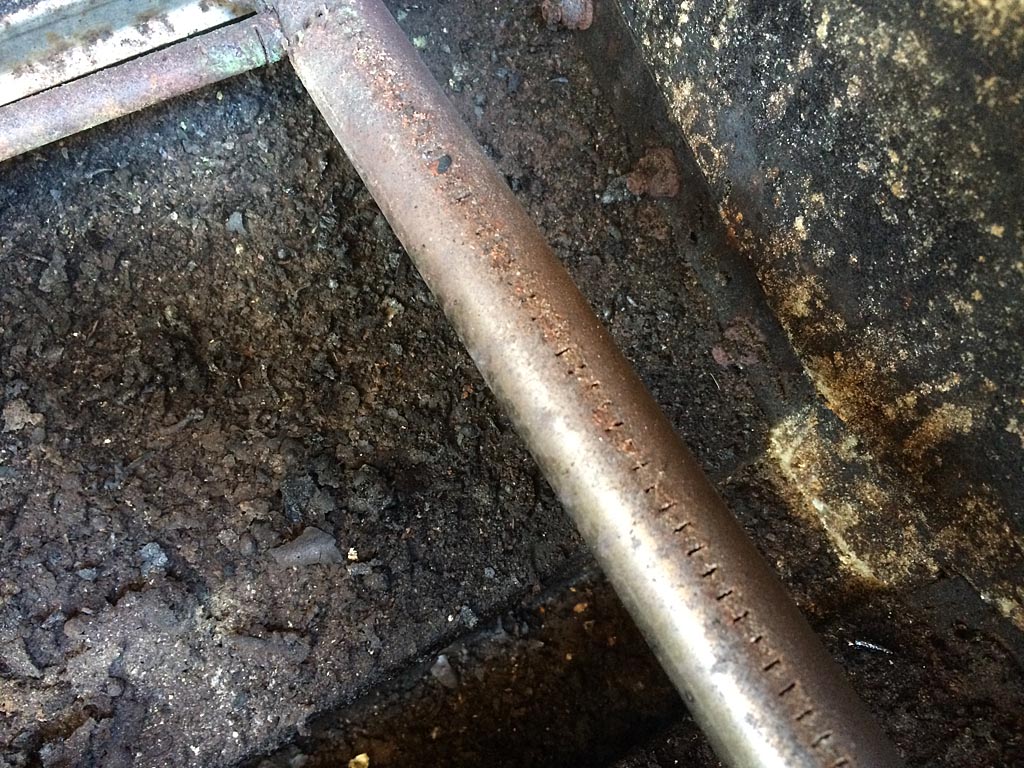
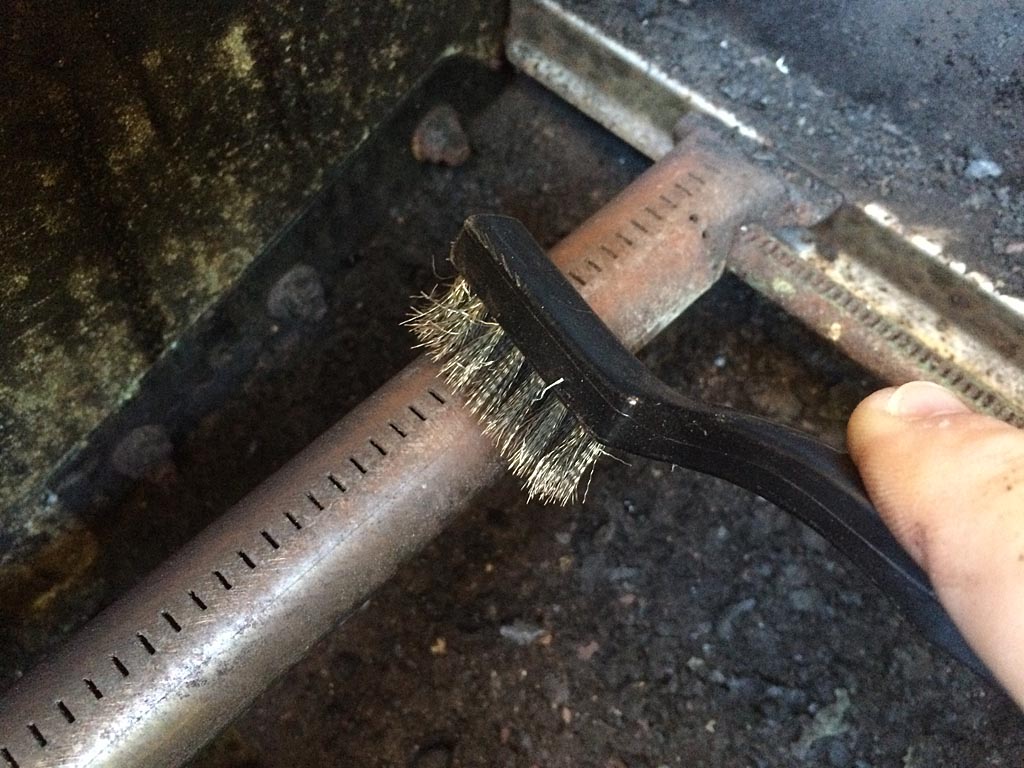
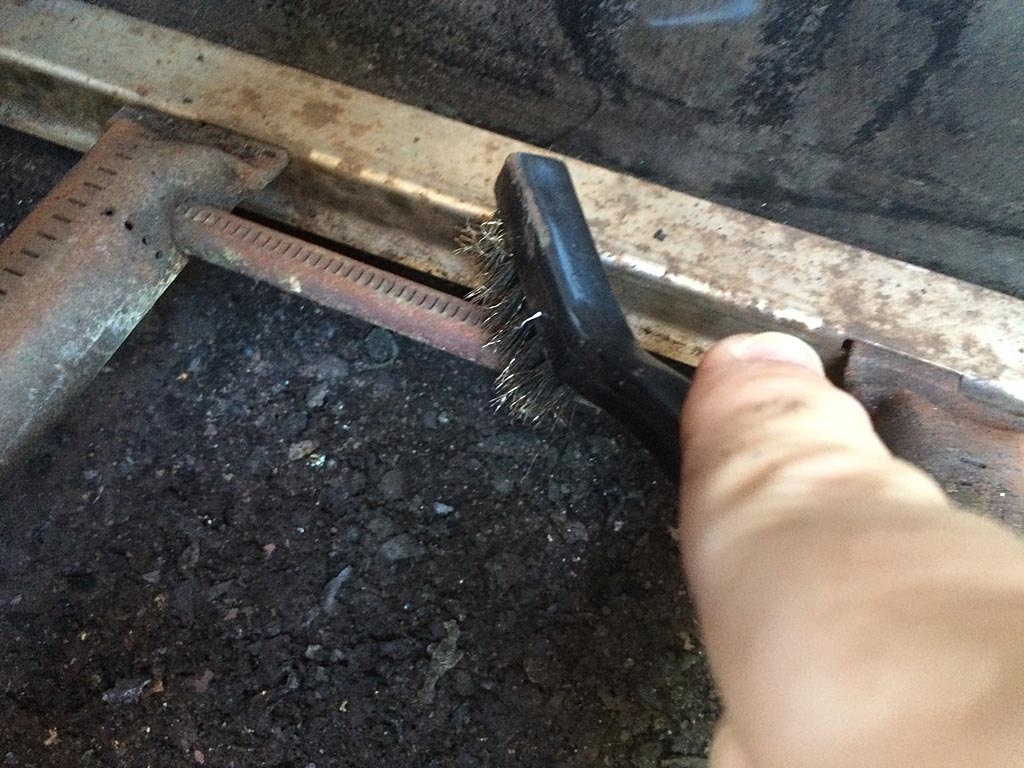
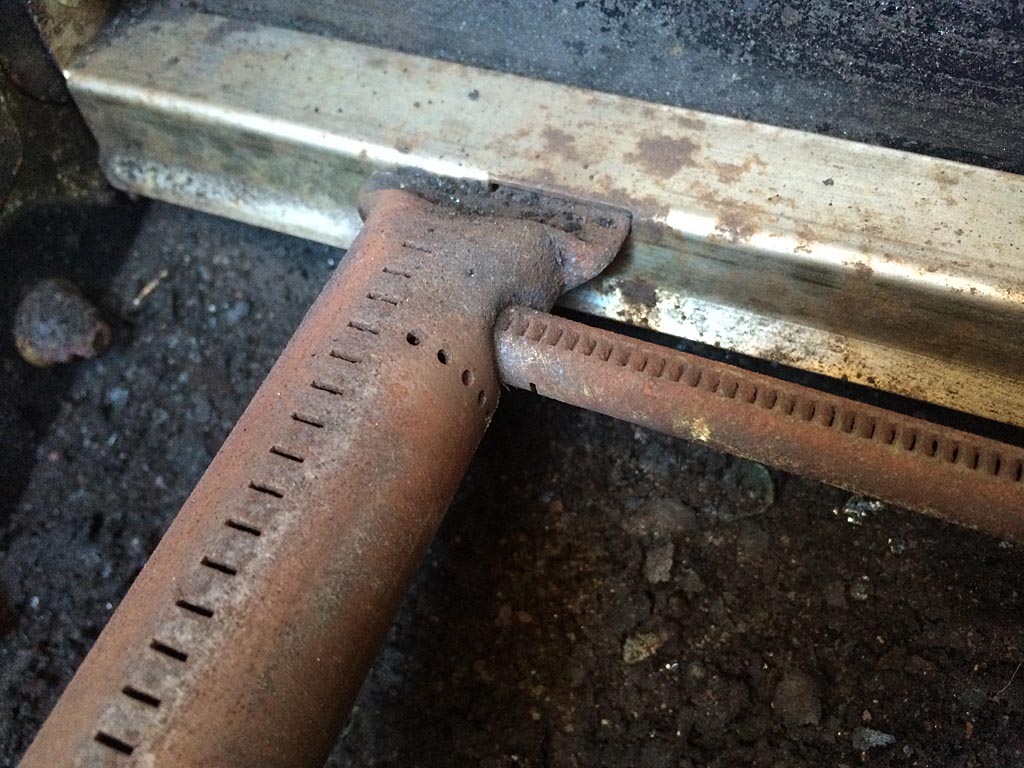

Use a stainless steel wire brush to remove debris from the burner tubes and the Crossover tubes. Force the brush bristles into the holes to clear them. Pay special attention to the holes leading from the ignitor box to the top of the burner and the holes leading from the top of the burner to the Crossover tube. It’s difficult to light the grill and the secondary burners when these holes are clogged.
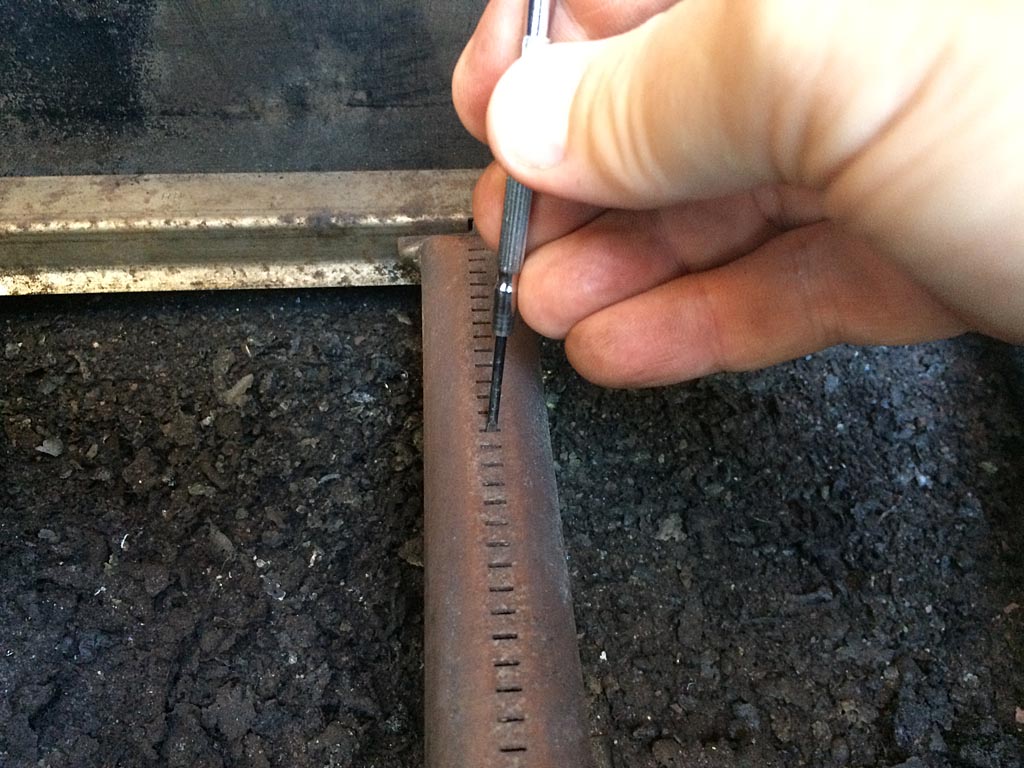
It’s common for some holes in the top of the burner to remain clogged after brushing. Use an eyeglass straight blade screwdriver or opened paper clip to punch down into these holes to clear debris.
When the burners are clean, they should burn with mostly blue flames as shown in the photo above. If you are unable to clear clogged burner tube holes or if the burners or Crossover tubes are showing signs of extreme rust damage, it may be time to replace them.
Scrape The Lower Firebox
Use a narrow putty knife to scrape the sides and bottom of the lower firebox below the burner tubes. Push the debris into the tray in the bottom of the grill. Use a compressed air duster to remove debris from any hard-to-reach spots.
Brush Inside The Lid
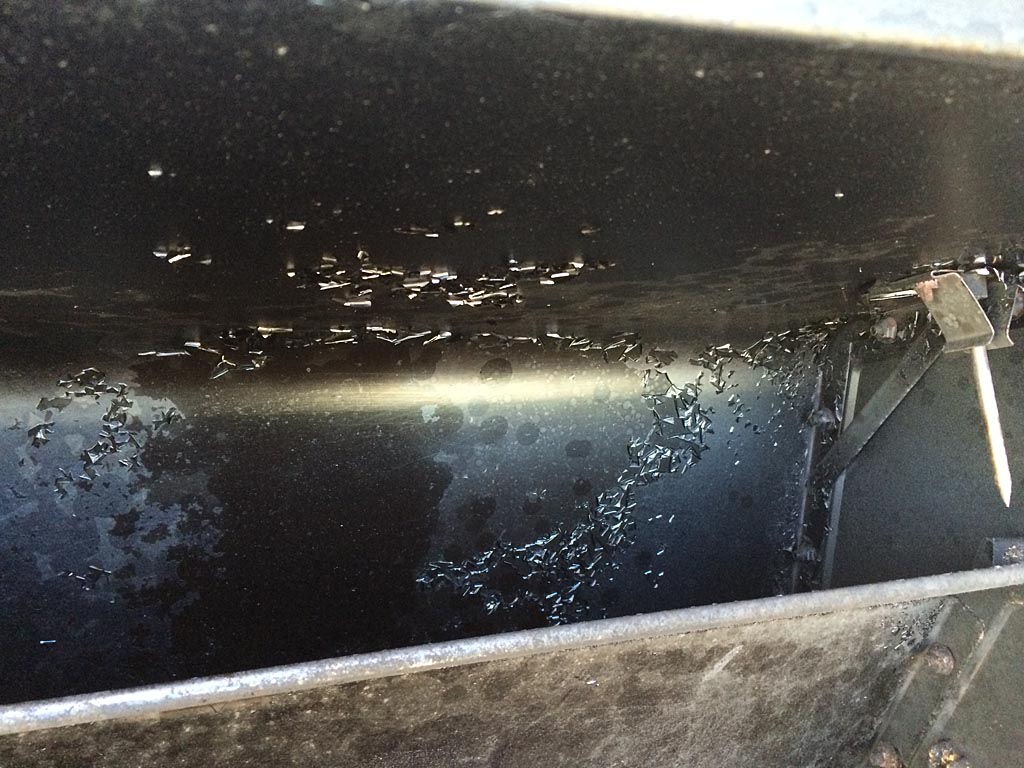
Use a grill brush or wad of aluminum foil to remove any flaking material inside the grill lid. These flakes are carbonized grease that builds up during grill and eventually flakes off. It is not rust, paint or the porcelain enamel finish coming off.
Reinstall The Flavorizer Bars & Cooking Grates
With everything inside the firebox cleaned, it’s time to reinstall the Flavorizer bars and cooking grates. You may wish to reinstall the Flavorizer bars in a different order so they wear out more evenly, swapping center bars for edge bars or whatever makes sense to you based on how you use your grill.
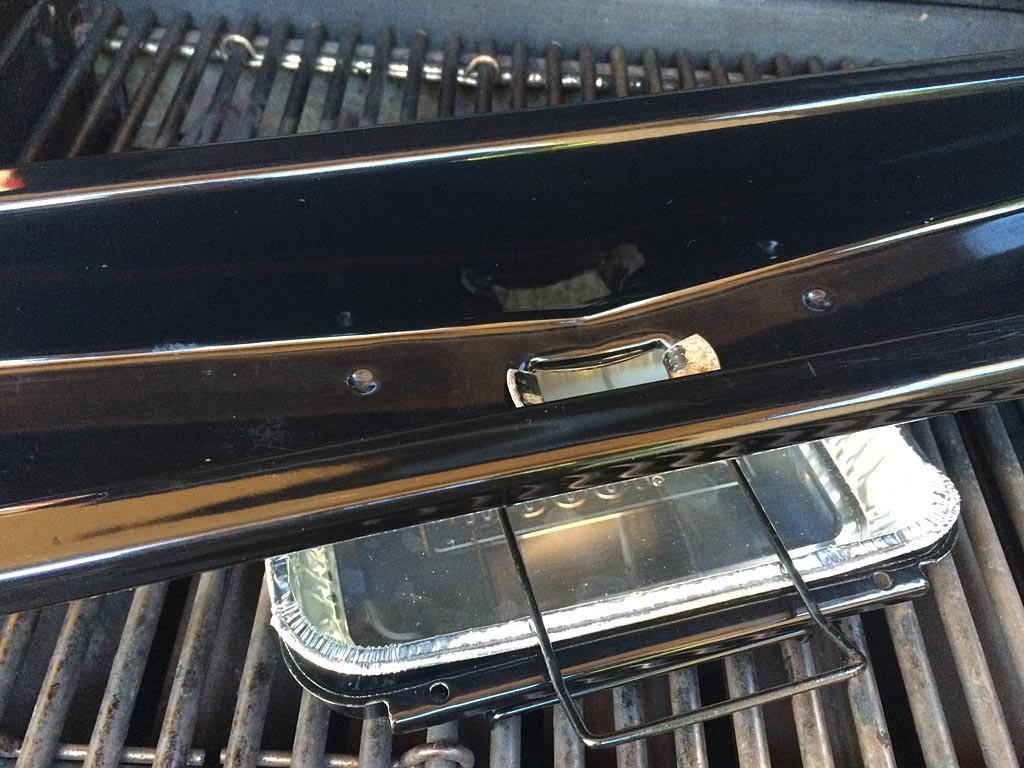
Clean The Bottom Tray & Drip Pan
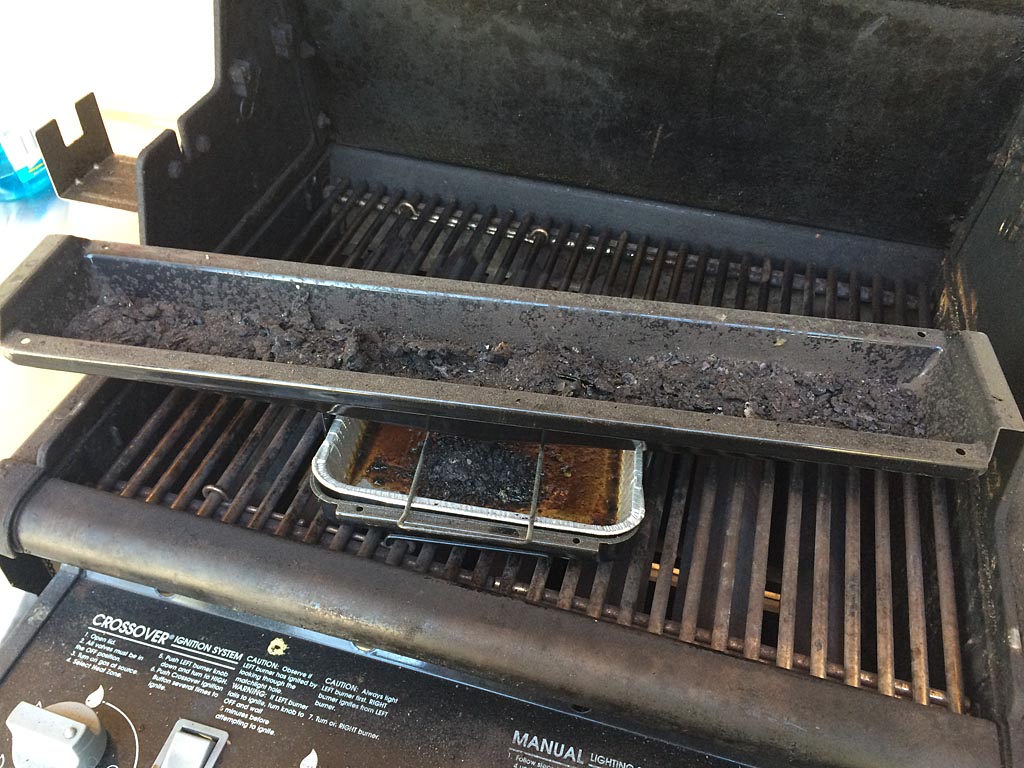
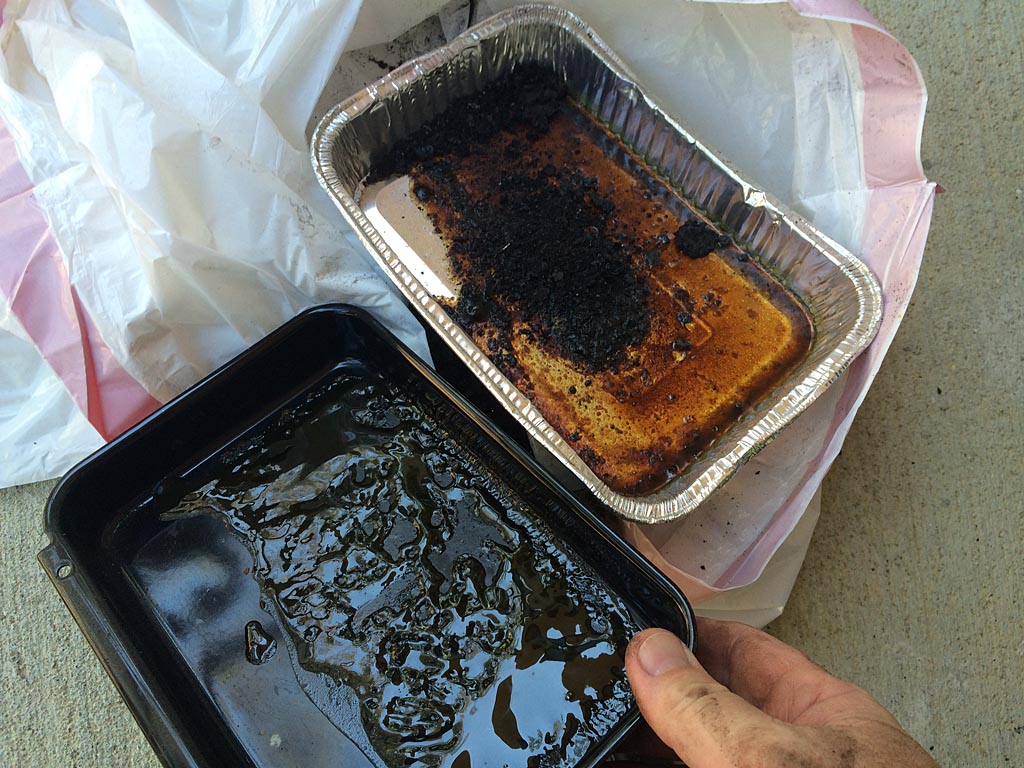
The shape and size of the bottom tray varies by grill model. Some are narrow and porcelain enamel coated like the one shown here. Some are made of stainless steel. On older grills like Genesis 1000, the bottom tray serves as the entire bottom of the grill box. The point is that your bottom tray may look quite different from the one shown here.
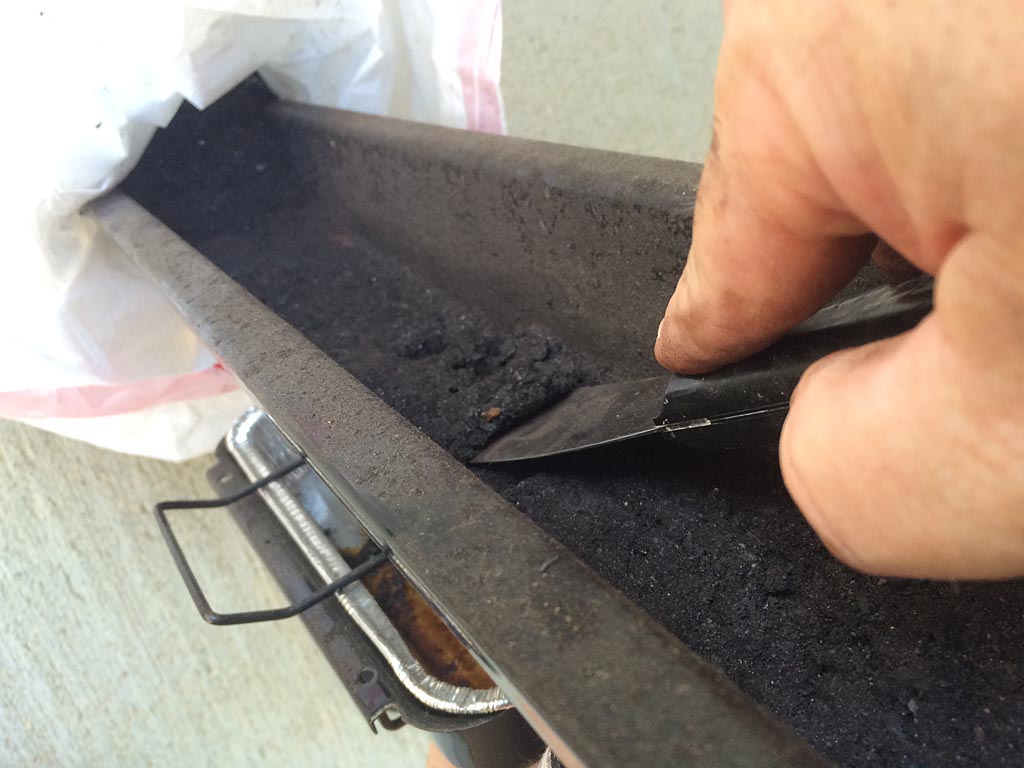
Remove the bottom tray from the grill. Use a putty knife to scrape the tray contents into a garbage bag, then use paper towels to remove any leftover grease. Remove and discard the foil drip pan liner and use paper towels to remove any liquid grease that made its way past the liner. Remove any bracket that holds the drip pan and wipe with paper towels to remove major debris and grease.
Wash the bottom tray, drip pan and bracket in hot, soapy water. Dry the parts thoroughly. Reassemble the pan and bracket with the tray, install a new foil drip pan liner, and reinstall the tray under the grill.
Clean The Work Surfaces
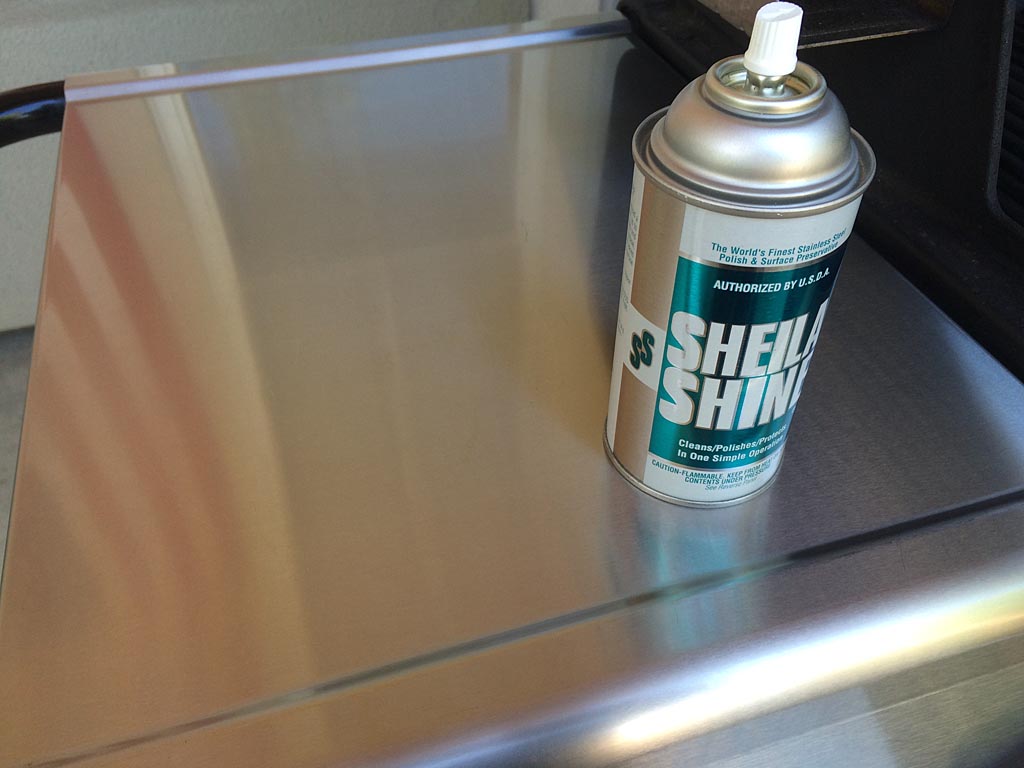
If your grill has stainless steel work surfaces, clean them using a good quality stainless cleaner like Weiman Stainless Steel Cleaner or Sheila Shine. See Cleaning Stainless Steel for a detailed discussion of this topic.
If your grill has plastic work surfaces, clean them with Simple Green or Purple Power. If stained, try using a scrubber sponge with these cleaners or a Mr. Clean Magic Eraser. Use ArmorAll protectant to give the surface a shiny, like-new appearance.
If your grill has wooden work surfaces, basic cleaning can be accomplished by brushing with warm, soapy water then rinsing and drying thoroughly. Extensive staining requires sanding and refinishing the surface.
Clean The Outside Of The Lid
If your grill has a stainless steel lid, clean it using a good quality stainless cleaner like Weiman Stainless Steel Cleaner or Sheila Shine. See Cleaning Stainless Steel for a detailed discussion of this topic.
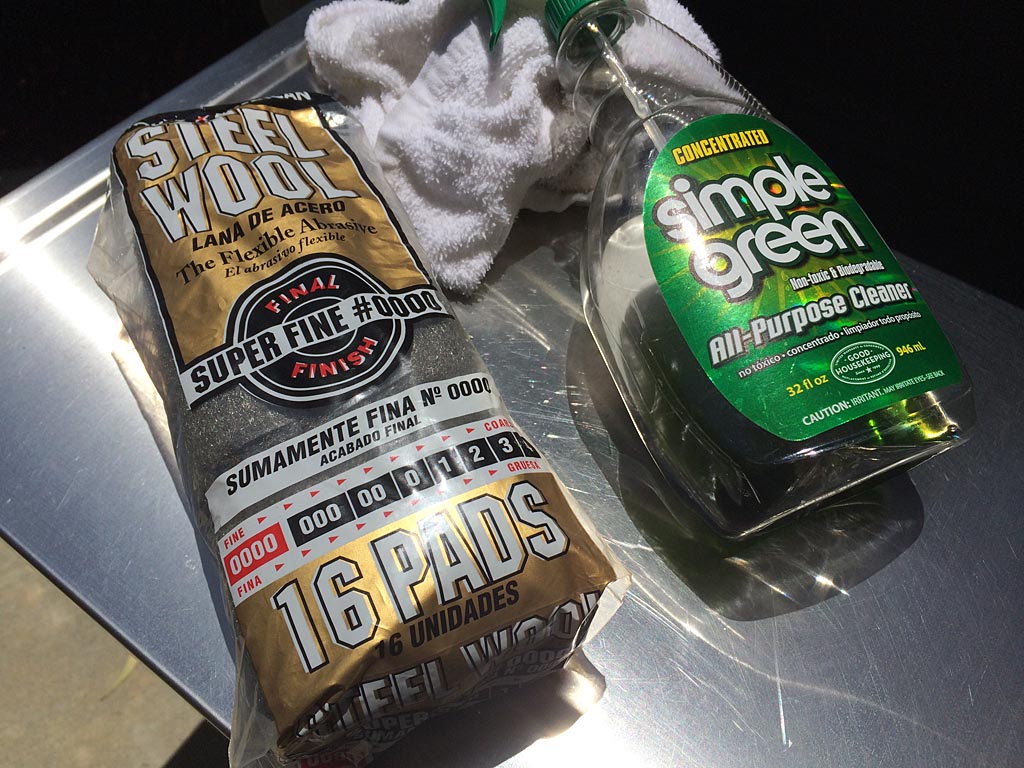
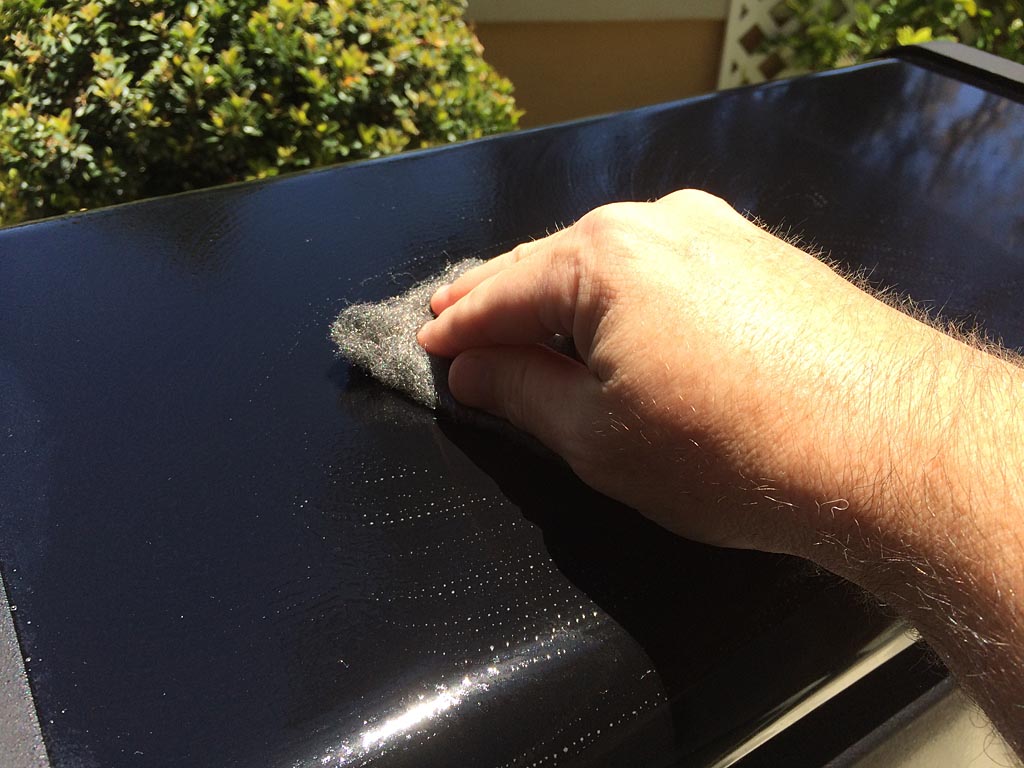
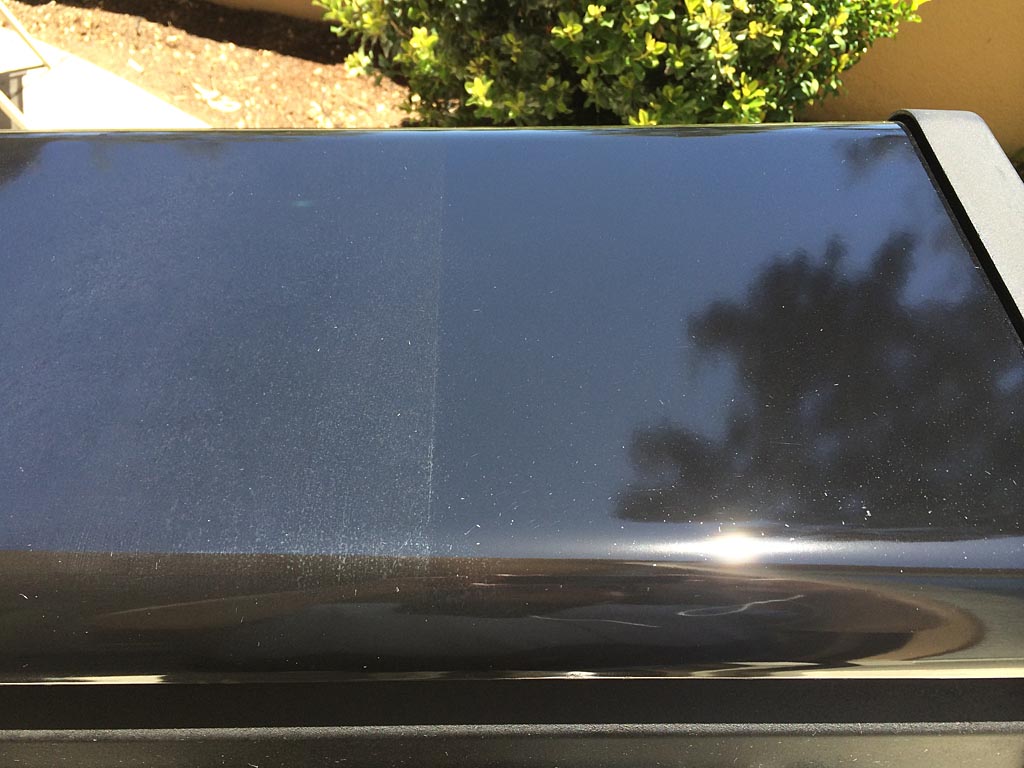
If your grill has a porcelain enamel coated lid, use Simple Green or Purple Power to remove grime. To deep clean the lid, use 0000 super-fine steel wool with these cleaners, scrubbing gently to restore the original shiny enamel finish. Wipe residue with a damp cloth and dry thoroughly. See Cleaning Porcelain Enamel With Steel Wool for details and photos of the process.
Clean The Control Knobs & Panel
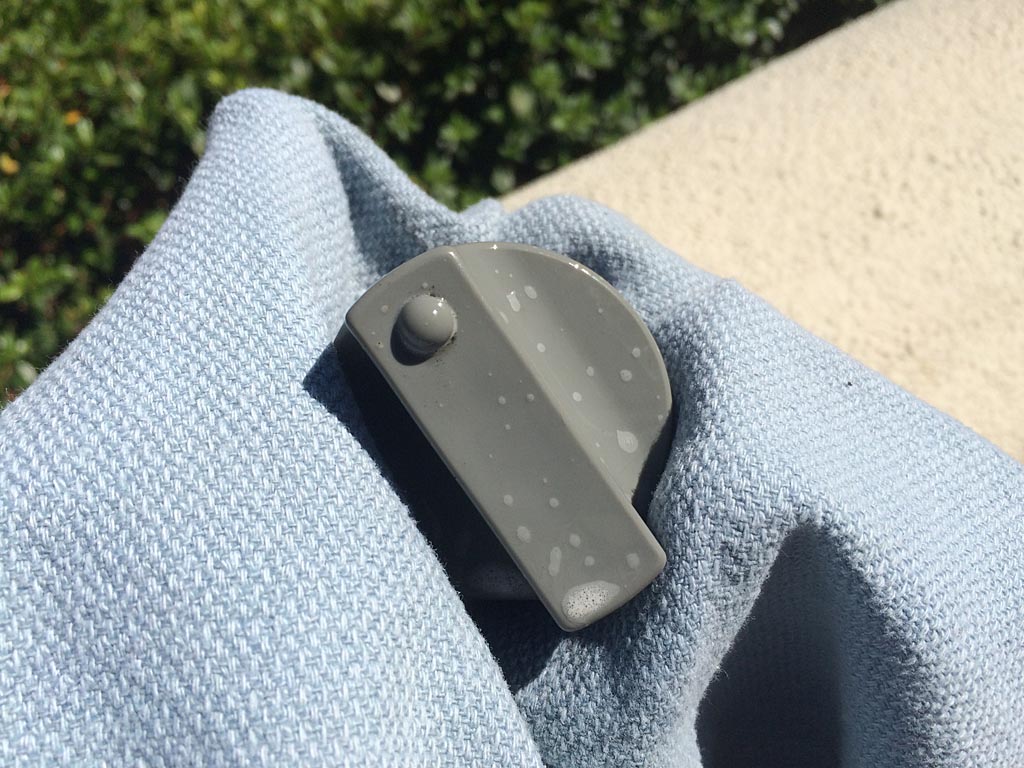

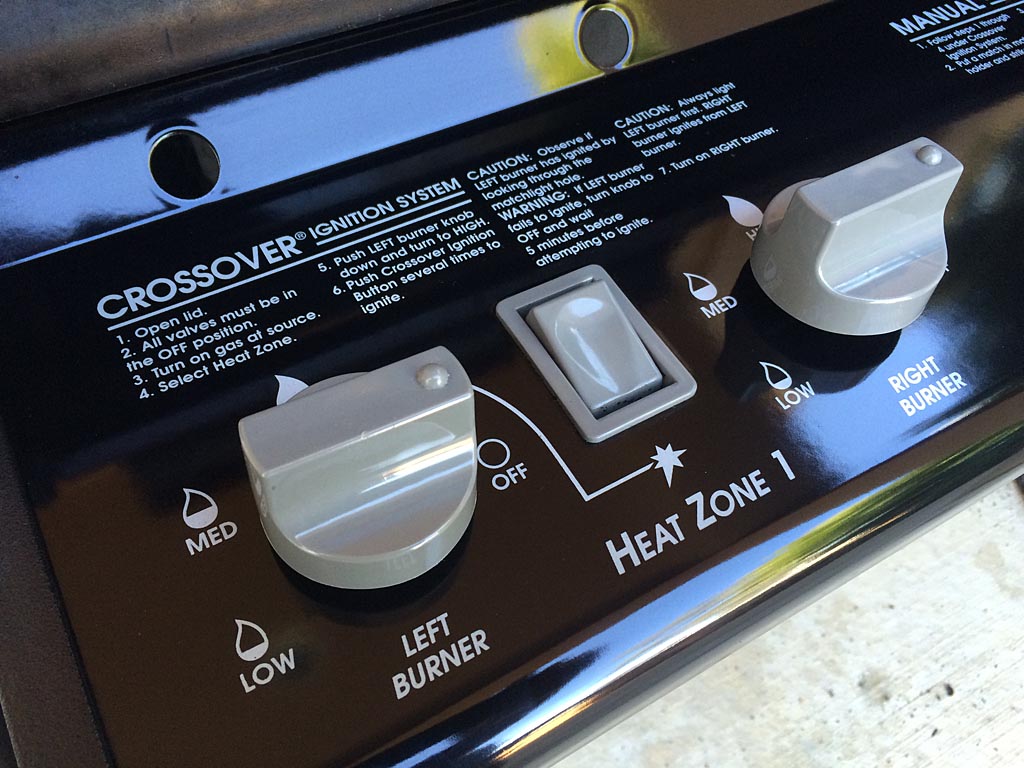
The burner control knobs and panel on your grill may vary from the one shown here, but the cleaning process is the same. Remove the knobs by pulling them away from the control panel. Clean the knobs and the panel using Windex or Simple Green, then replace the knobs.
A Clean Machine, Ready For Grilling
To finish the job, wipe the frame, cabinet and LP tank with a damp cloth to remove any grime. Now step back and behold your clean machine…then fire it up and grill something delicious!
Ordering Replacement Parts
As you go through the deep cleaning process, examine the condition of each part. If you need replacement parts, many can be ordered from Amazon.com which helps support this blog. However, some specialized parts may have to be ordered direct from Weber.com at 800-446-1071 or from online sources like eReplacementParts.com or GrillStuff.com.