Grilled Sweet Potato Wedges

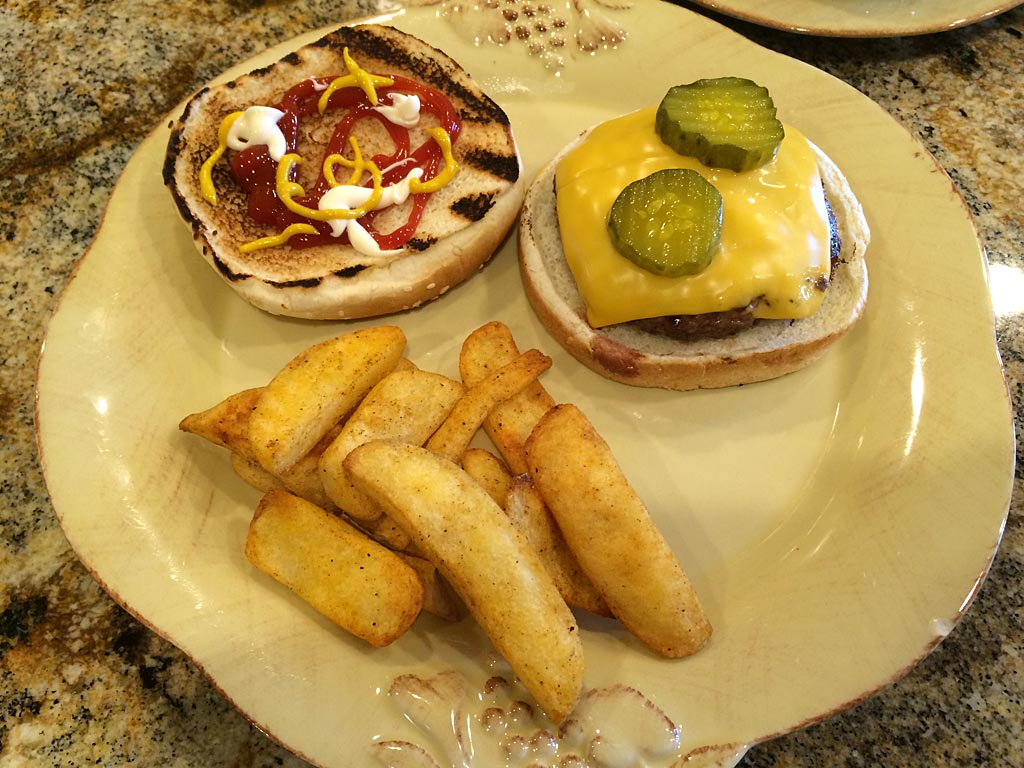
Grilled sweet potato wedges make a great side dish to accompany any meal. They’re easy to make, darned tasty, and a good alternative to regular potatoes.

Orange-fleshed yams

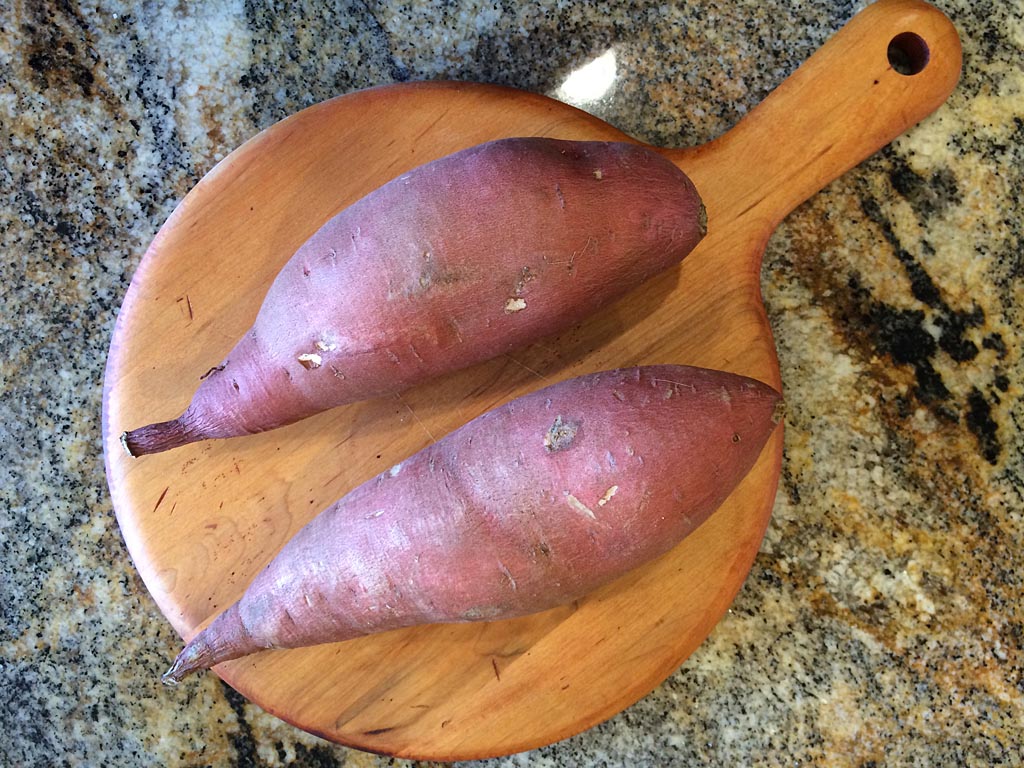
Where I live, the vegetable called “sweet potato” has a light-colored skin and yellow-white flesh, and the vegetable called “yam” has a red-colored skin with orange flesh. Lots of restaurants that serve “sweet potato fries” are serving the orange yam, and that’s what you want to buy at the supermarket for these sweet potato wedges.

Brown sugar rub

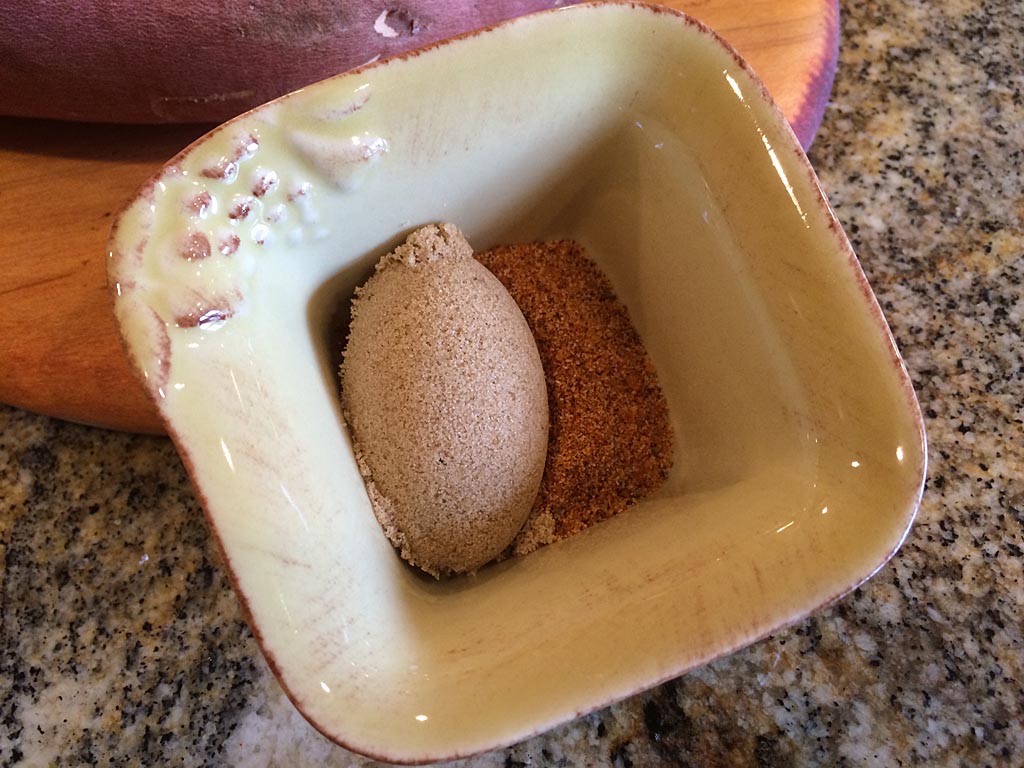
To prepare the rub for these wedges, mix 1 Tablespoon light brown sugar with 1 teaspoon of your favorite barbecue rub. The rub will flavor the yams and promote browning during cooking.

I used 1 teaspoon of Slap Yo’ Daddy All-Purpose Rub. You can buy it from SlapYoDaddyBBQ.com or make this version yourself.

Peel two good-sized yams. Cut each yam in half lengthwise, then cut each half into 3-4 wedges depending on size.

Seasoned sweet potato wedges

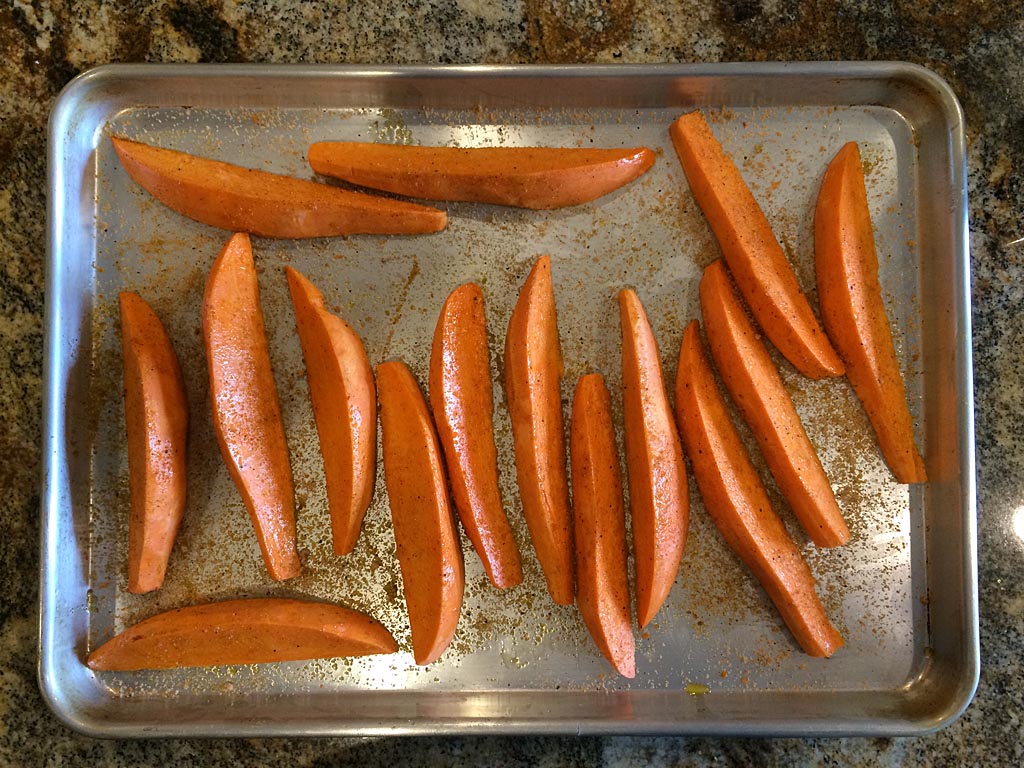
Place the wedges on a half sheet pan. Drizzle with 2 Tablespoons olive oil or vegetable oil and toss to coat evenly. Arrange wedges cut-side down and sprinkle with half of the rub. Turn wedges over and sprinkle with the remaining rub.

Sweet potato wedges go into Weber Summit gas grill

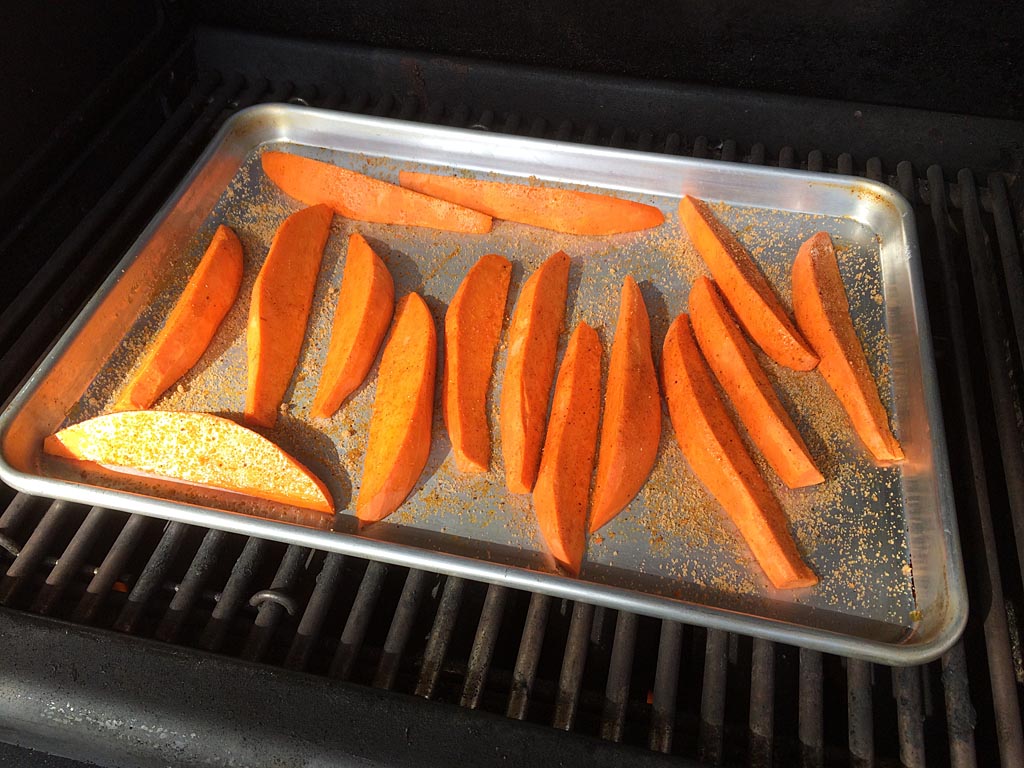
Place wedges in a preheated 450°F gas grill and cook for 20-25 minutes, turning once.

Grilled sweet potato wedges with charred surface

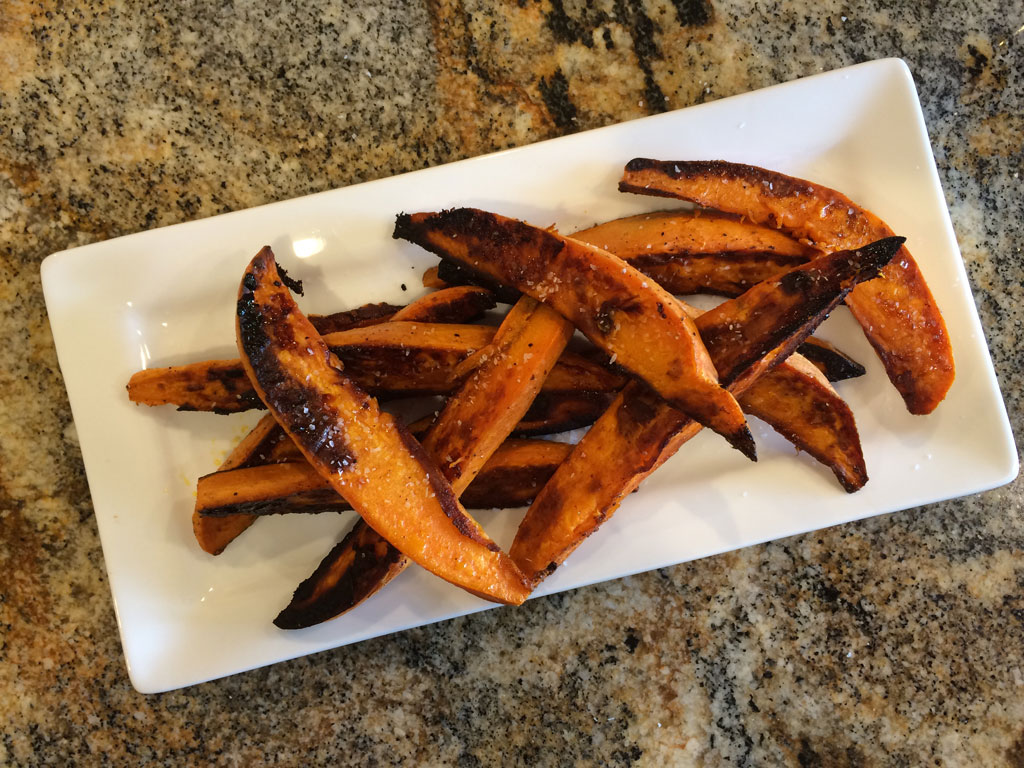
To serve, arrange wedges on a platter and sprinkle with kosher salt.

Finished sweet potato wedges sprinkled with kosher salt

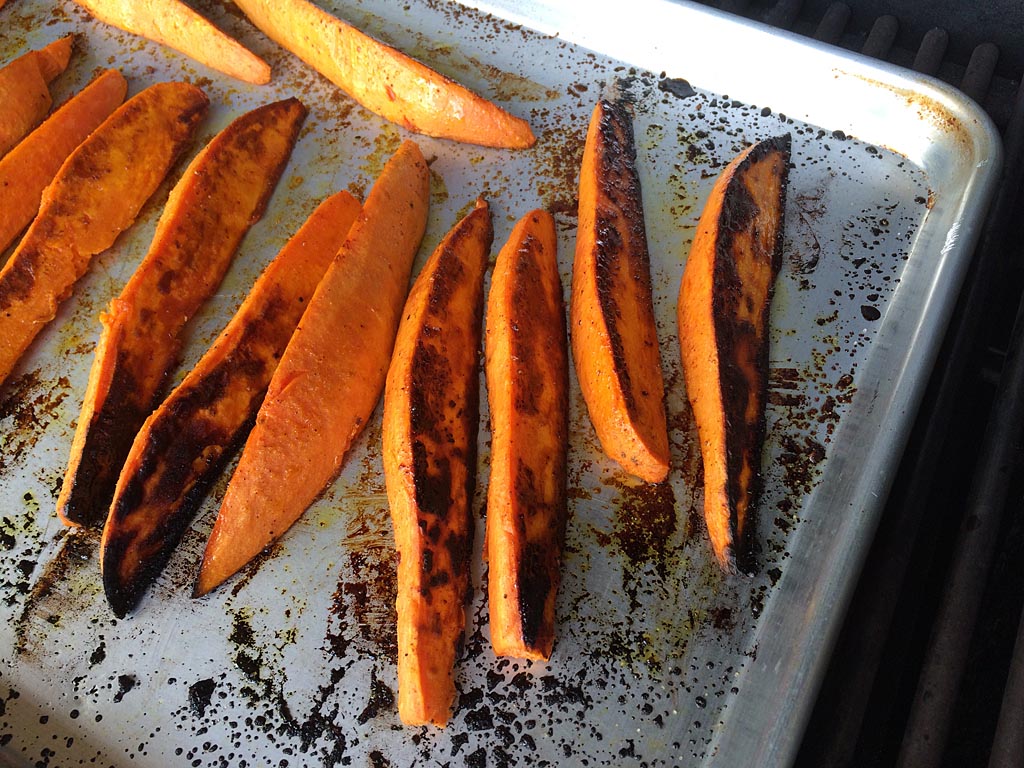
I grilled these sweet potato wedges in my Weber Summit 450 gas grill over direct heat with all burners on low and the temperature ran between 450-500°F. If you run the grill using indirect heat, the wedges will not brown evenly. Watch them carefully…mine got too brown in a few spots but were still delicious!

Of course, you can also make these wedges in the oven. Just bake at 450°F for 20-25 minutes, turning once.

Weber 6483 Burger Press

Review of Weber 6483 Burger Press

Weber 6483 Burger Press

Pros:

  • Presses burgers ranging from 1/4 to 1/2 pound
  • Clear acrylic design shows when burger is fully pressed
  • Creates a dimple in the patty that prevents puffy burgers during cooking
  • Handle can be removed for cleaning
  • Dishwasher safe

Cons:

  • Meat may stick to the press under certain circumstances

Close-up view of Weber 6483 Burger Press

I’ve formed hamburger patties by hand for years and never given much thought to doing it any other way until I recently purchased the Weber 6483 Burger Press.

The press consists of two plastic halves that form a 4-5/8″ wide patty. The bottom half is marked “1/4 LB” on one side and “1/2 LB” on the other; the offset design allows the top half to press down only far enough to make each sized patty.

To make patties, flip the bottom half of the press to the patty size you want to make. To make 1/3 pound burgers as shown here, use the “1/4 LB” side of the press.

Weighing meat for patties

Use a kitchen scale to weigh-out the amount of meat for each patty, or divide the meat evenly by eyeballing it.

Placing meat into burger press

Form the meat loosely into a ball and place it on the bottom half of the press.

Pressing the burger

Place the top half of the press over the meat and press down firmly. The clear acrylic allows you see when the meat has completely spread out to fill the press.

Close-up of dimpled patty

Removing the top half reveals that the press makes a dimple in the patty. This indentation helps prevent the burger from puffing up in the middle as it cooks.

Pressed burger patties

With the burgers pressed, they’re ready to be seasoned with salt & pepper and grilled.

Removing handle from press

The nylon handle can be removed for cleaning.

Burger press parts are dishwasher safe

The burger press parts are labeled “dishwasher safe” on the box. Since the handle was not dirty and is removable, I took it off before running the press through the dishwasher.

Pressed burgers on the grill

Now just grill your pressed burgers as you would any other. I grilled these over medium-high heat for 8-10 minutes until 135-140°F for medium doneness. If you’re concerned about the food safety of your burgers, grill to 160°F for well done.

Melting cheese slices and toasting buns

Note how the burgers grilled up nice and flat, not puffy, due to the dimples made by the press.

Pressed burger served with steak fries

Some people using this press report problems with the meat sticking to the press. I didn’t have a sticking problem, but if you do, a little non-stick cooking spray may do the trick. Some suggest using a square of waxed paper or hamburger patty papers to avoid sticking.

Overall, this is a neat gadget that I plan to keep around. It works as advertised, pressing out consistently sized and shaped burgers that grill evenly every time.

What to make sliders? Weber has you covered with the Weber 6485 Slider Press.

For tips on making better burgers, read 5 Steps to Burger Brilliance, an excerpt from Weber’s Big Book of Burgers by author Jamie Purviance.

The Weber 6483 Burger Press is available at Amazon.com.