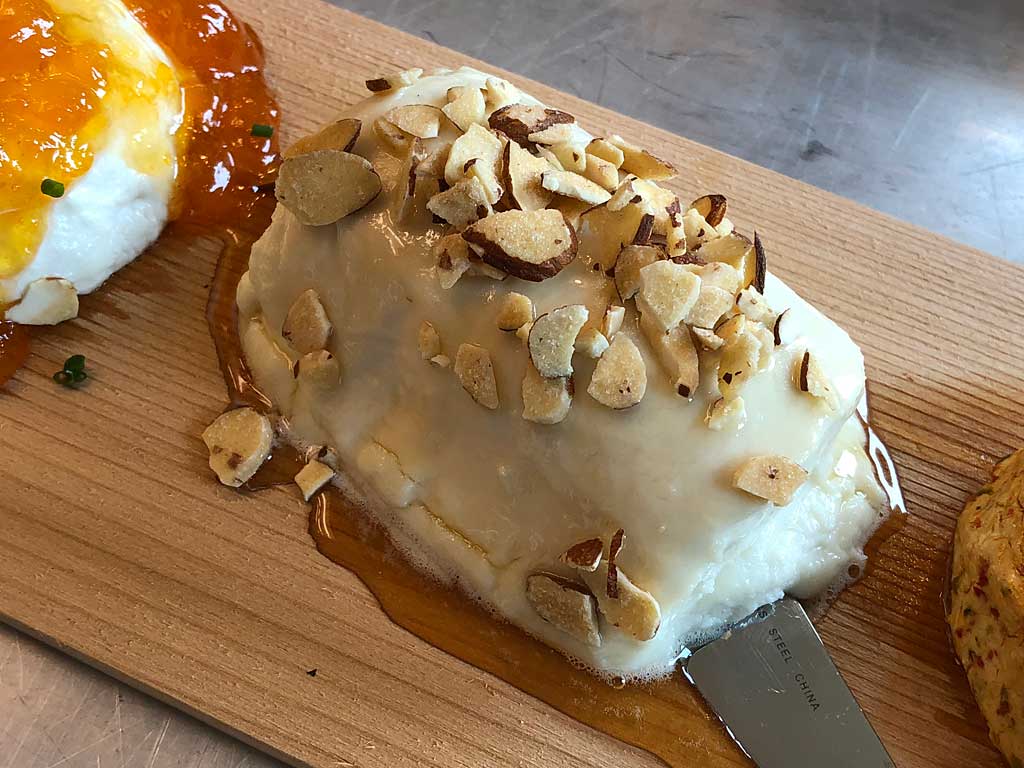
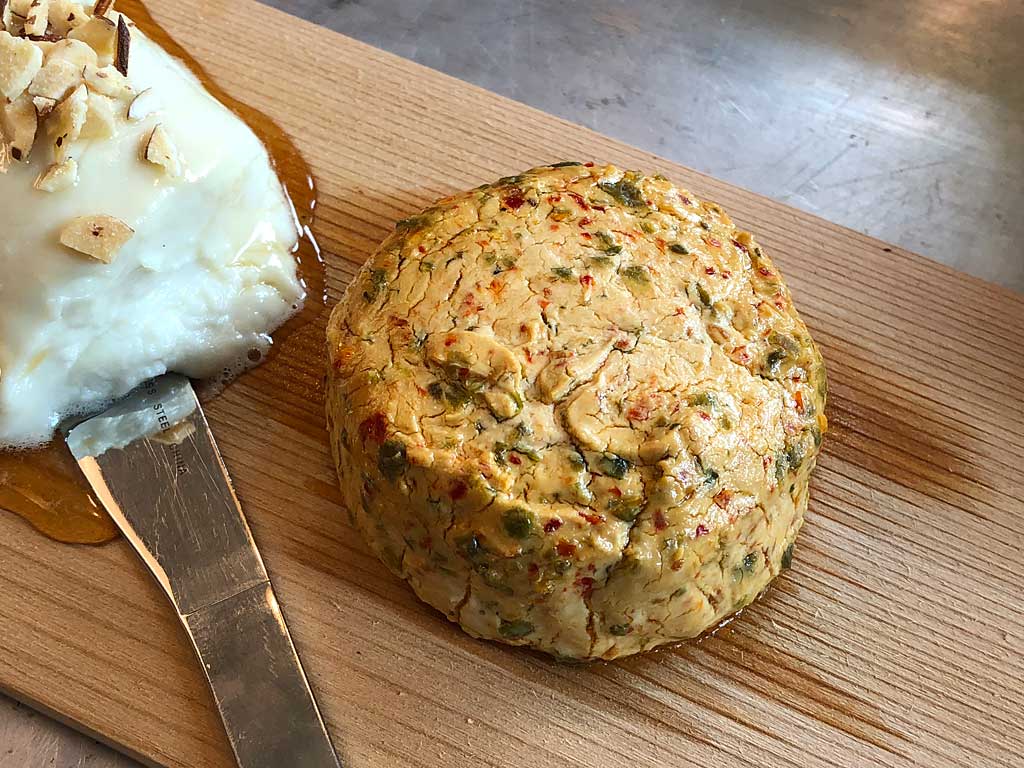
A cedar-planked goat cheese appetizer is not the first thing that comes to mind when I think about a pre-meal snack. Those who know me know that I’m more likely to grab a handful of potato chips or a slice of cheddar cheese on a Ritz cracker than head for the grilled goat cheese.
But here it was, Mother’s Day 2018. Time to do something new and different. A cedar-planked goat cheese appetizer that looks great, tastes great, and is easy to prepare on the road at Mom & Dad’s house on their Weber Genesis 2 gas grill.
Get A Wooden Grilling Plank
First things first: Buy a disposable wooden grilling plank, one that’s untreated—just raw wood, no chemicals or finish. Grilling planks come in almost every wood variety, but cedar and alder seem to be the most popular.
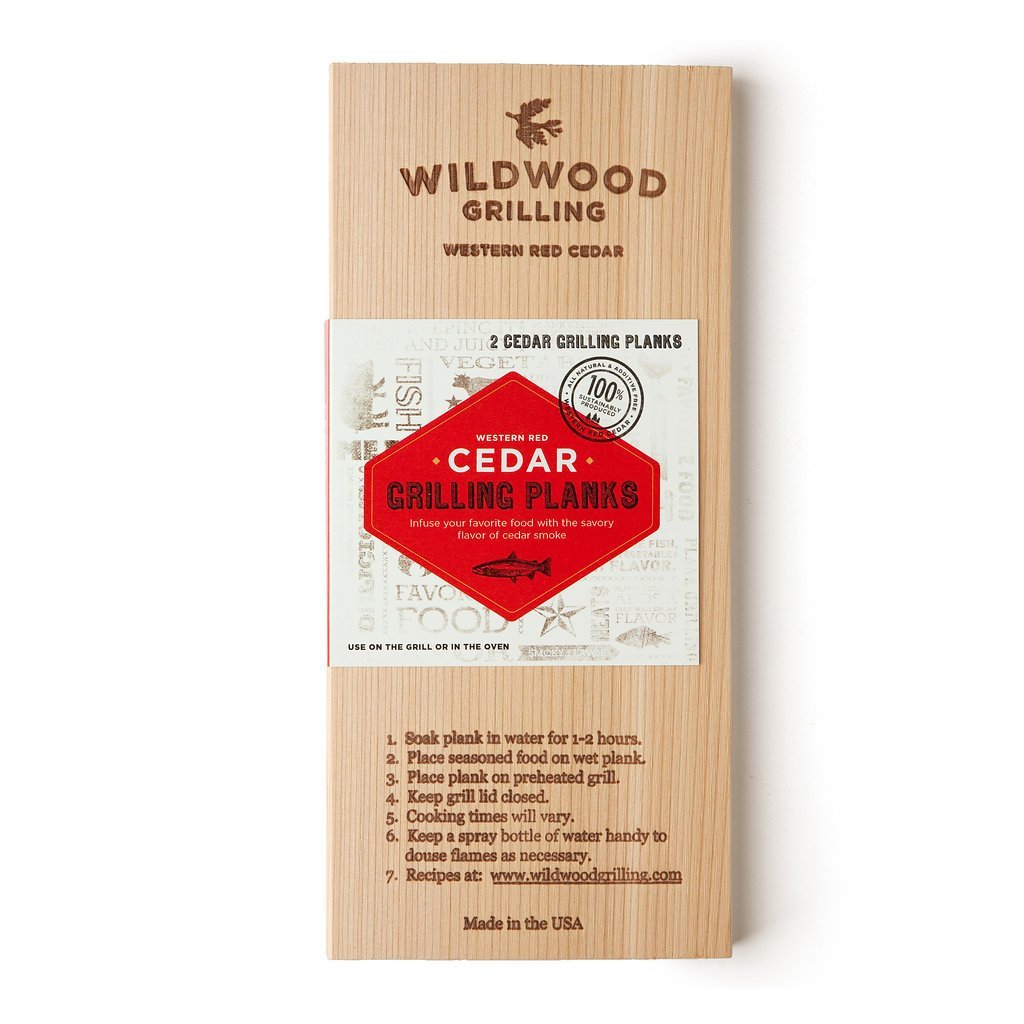
I bought a two-pack of Wildwood Grilling Western Red Cedar Grilling Planks. The day before Mother’s Day, I soaked one plank in water for 30 minutes, shook off the excess, and sealed it inside a Ziploc two-gallon freezer bag. This kept the plank moist until I was ready to use it the next day, and I didn’t have to hassle with soaking it at Mom & Dad’s house.
Select The Goat Cheeses & Toppings
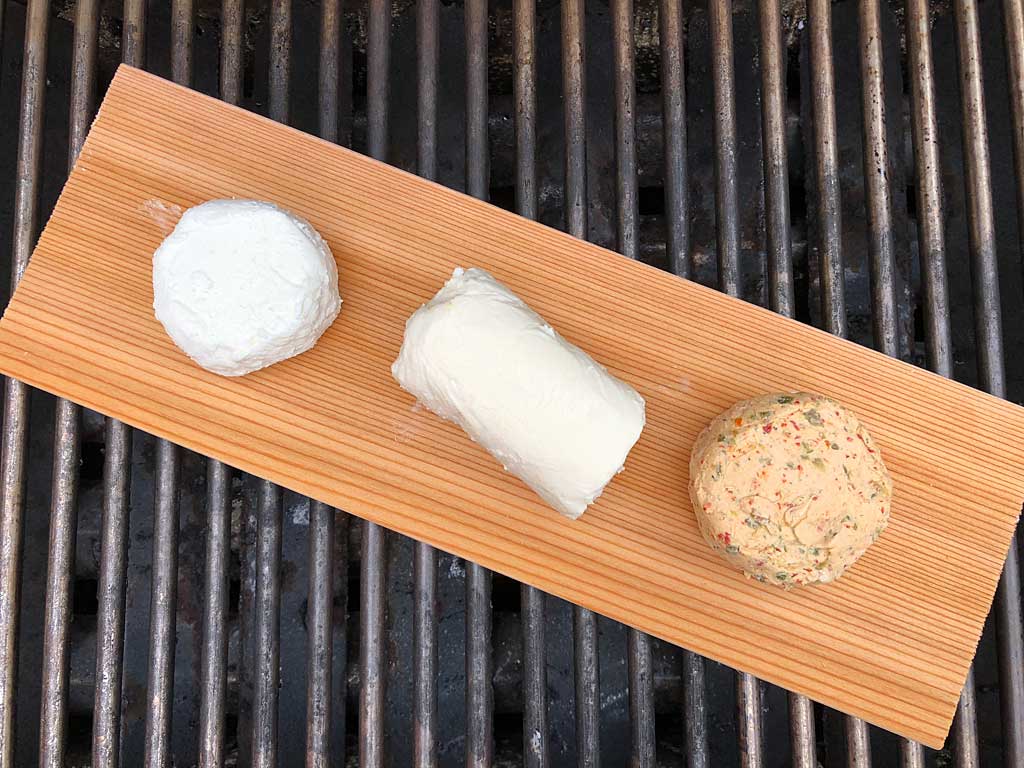
There’s enough room on a plank to grill several cheeses at once, so why not impress the crowd by doing three different preparations?
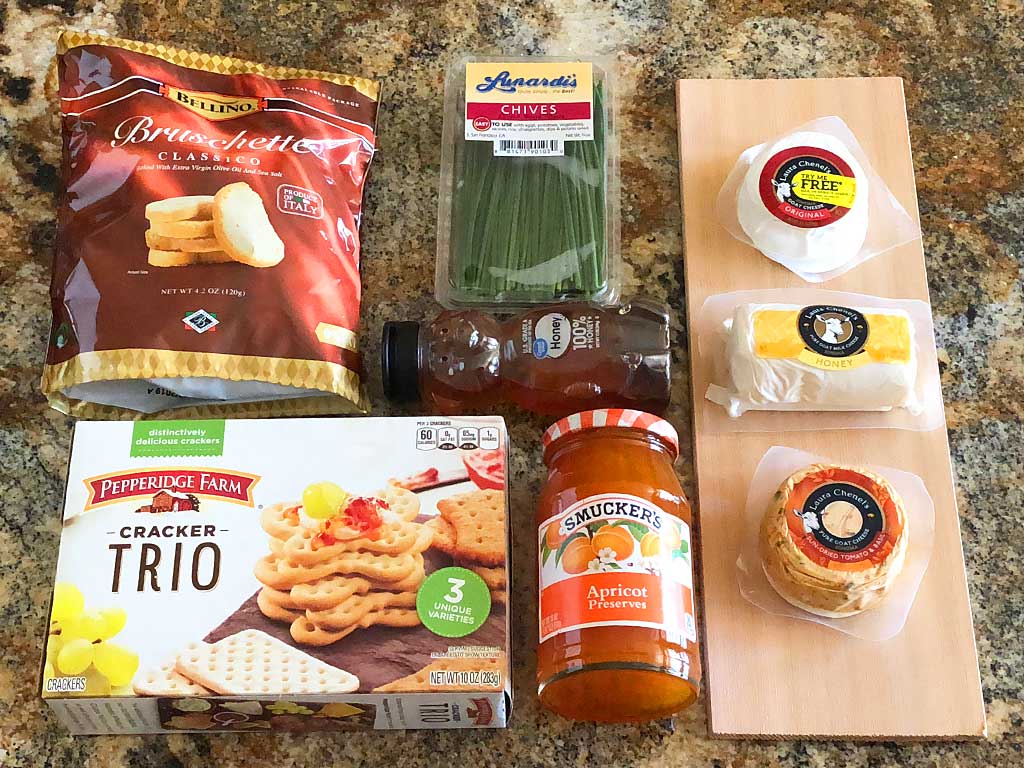
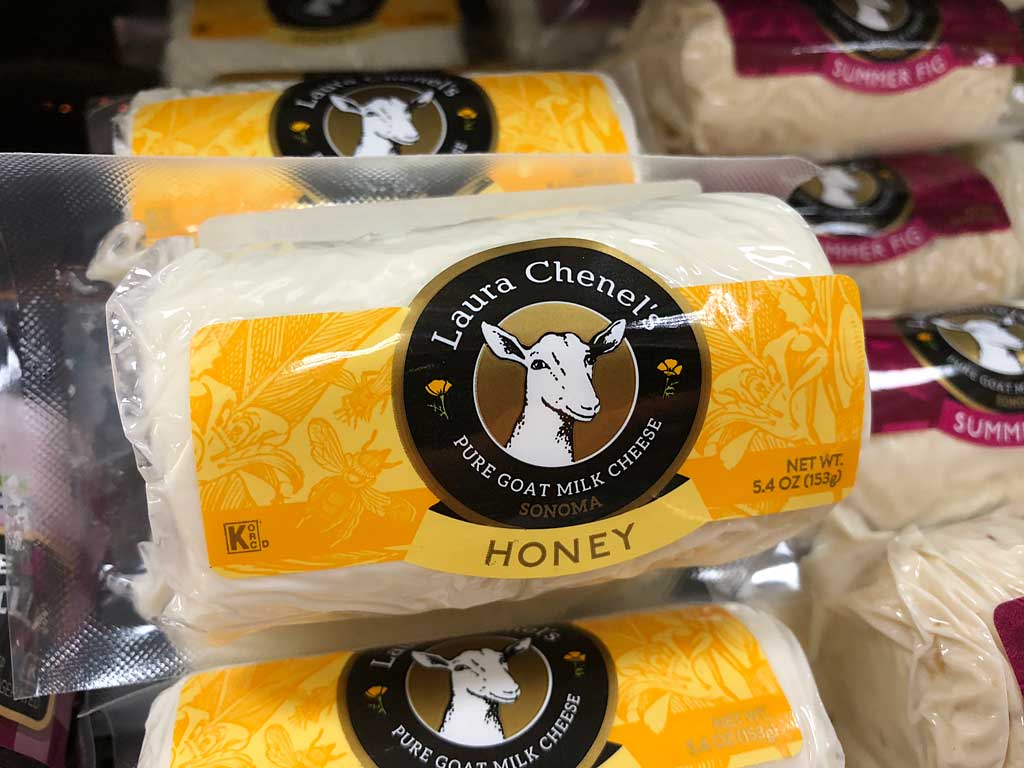
I bought three varieties of Laura Chanel goat cheese: Original, Honey, and Sun-Dried Tomato & Basil. It’s a very good brand of goat cheese made in Sonoma, California and available in better supermarkets.
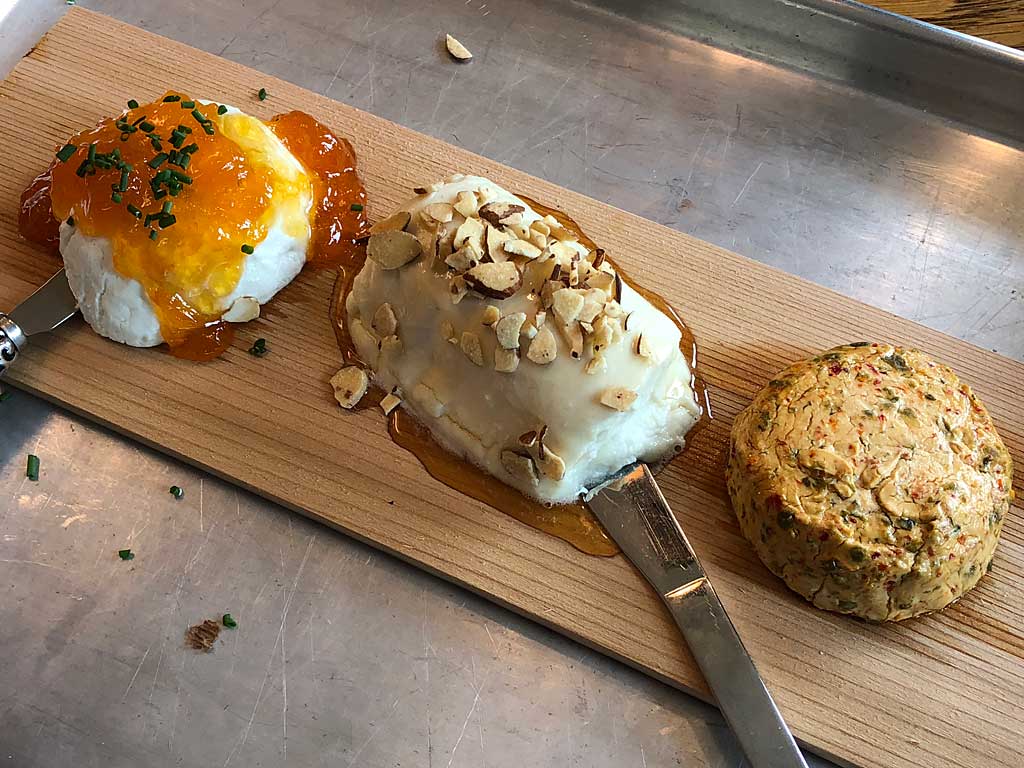
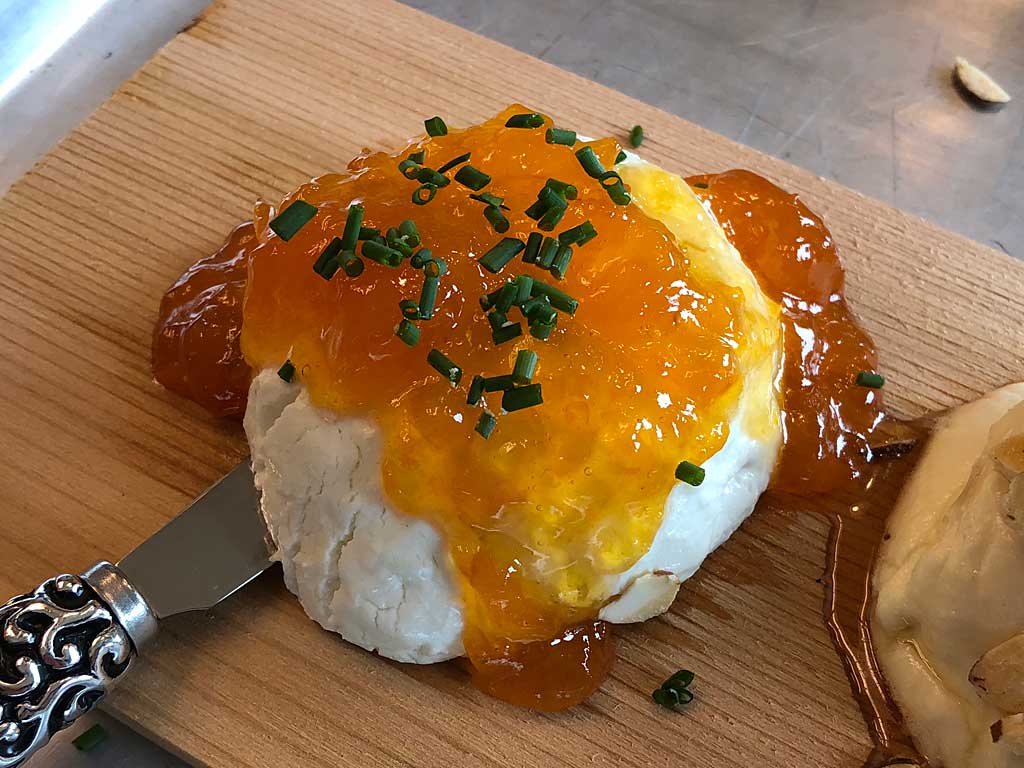
As for toppings, for the original cheese I chose Smucker’s Apricot Preserves and chives. For the honey-infused cheese I chose a drizzle of honey and Fresh Gourmet Honey Roasted Sliced Almonds. For the sun-dried tomato & basil cheese I went “au naturel”—no toppings.
Grill The Goat Cheeses
Preheat your Weber gas grill with all burners on MEDIUM for 10 minutes, then clean the grates with a good quality grill brush. Don’t preheat on HIGH, you want to give the cheese a chance at lasting more than a minute inside the hot grill!
Remove the cheeses from their packaging. Wearing disposable gloves, quickly smooth and shape the cheeses in your hands and arrange them on the soaked grilling plank.
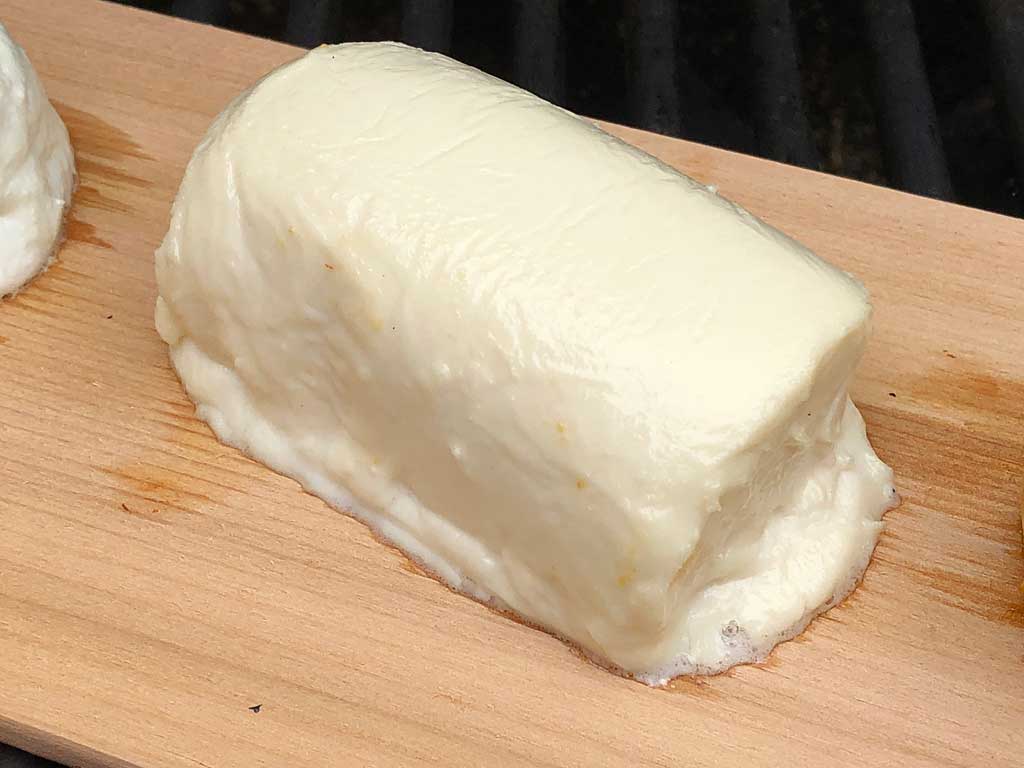
Grill the cheeses over MEDIUM heat for 8-10 minutes or until they show signs of melting/slumping around the edges, as seen in the photo below. During this time, the bottom of the wooden plank will begin to char and pop and smoke, perfuming the air and the cheese with cedar.
My cedar plank did not burst into flames while on the grill, but it would be a good idea to keep a spray bottle full of water nearby, just in case.
Apply Toppings & Serve
Use a pair of tongs to transfer the hot plank from the grill to a rimmed baking sheet pan.
Add the toppings to each cheese and serve on the wooden plank with a basket of Pepperidge Farms assorted crackers and bruschette crisps.
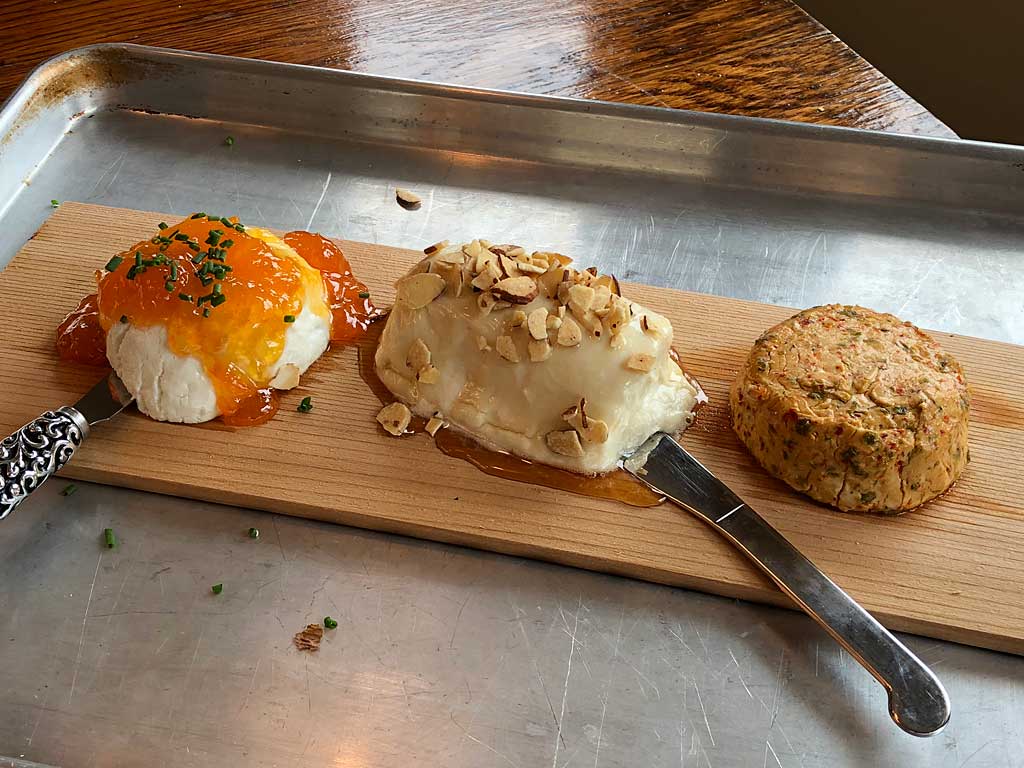
I spread a couple of spoonfuls of apricot preserves on the original goat cheese and used kitchen shears to snip fresh chives on top for color and a zip of flavor.
I drizzled clover honey over the honey-infused goat cheese and sprinkled with honey-roasted sliced almonds.
I left the sun-dried tomato & basil goat cheese as-is.
The best way to enjoy these cheeses is to start with the mildest cheese first—in this case the honey goat cheese—then progress to the original goat cheese with apricot and chives, and finally with the more intensely flavored sun-dried tomato & basil goat cheese.
It’s hard to say if the cedar really adds much in the way of flavor to these cheeses, but it does smell great on the grill and it makes for a beautiful presentation. I’m sure someone with a palette more refined than mine can taste the subtleties of the cedar.
My family was impressed by my efforts. Everything tasted great. It was easy to do “on the road” in someone else’s backyard. Best of all, Mom gave it a “thumbs up”, which is all that really mattered to me.
I hope you’ll give cedar-planked goat cheese appetizers a try. I think you and your family will enjoy it!

