Grilled Ribeye Cap Steaks

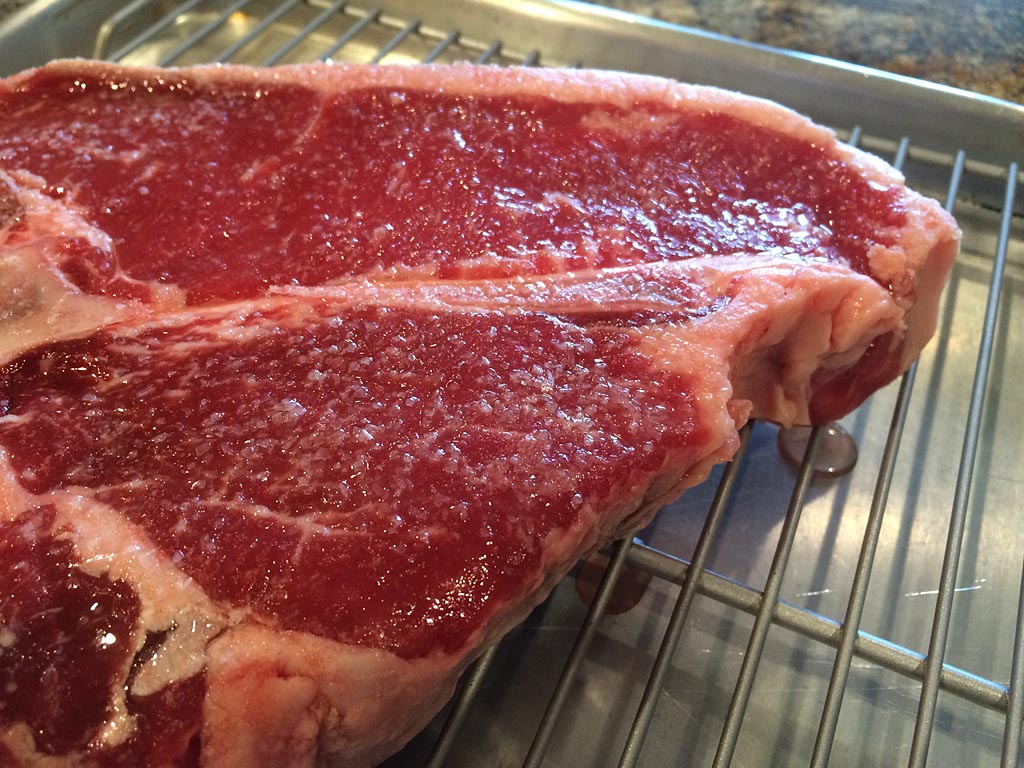
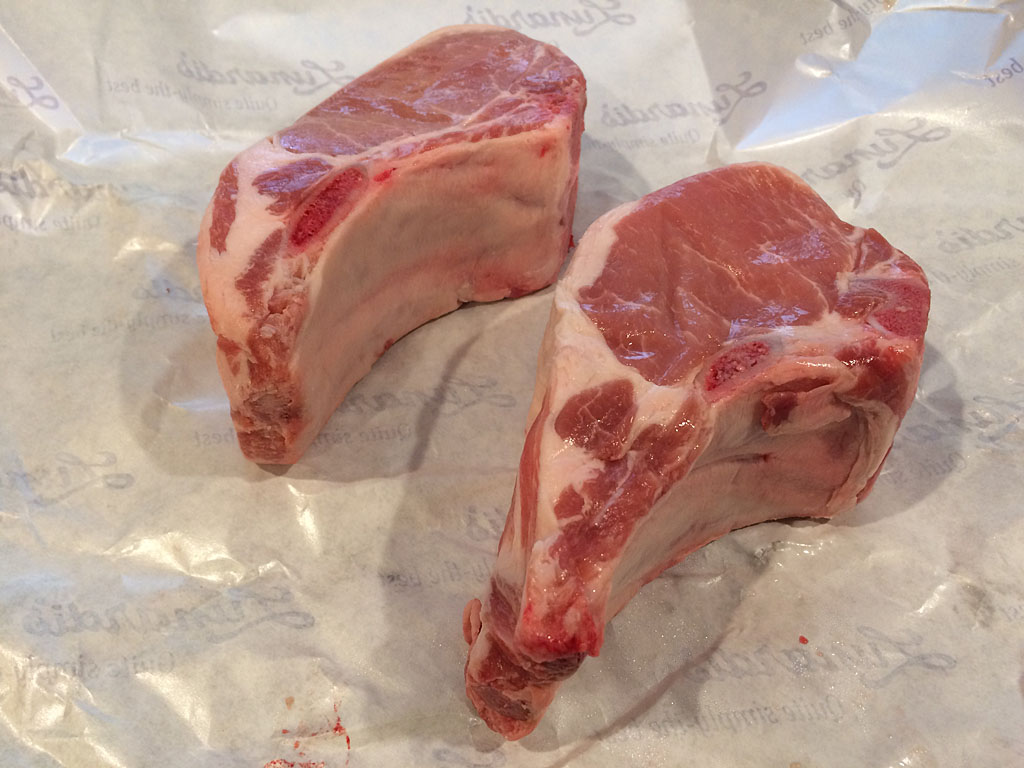
When you’re out shopping and come across a special cut of meat—buy it. That’s what I did when I spotted USDA Prime ribeye cap steaks at Costco.

USDA Prime ribeye cap steaks

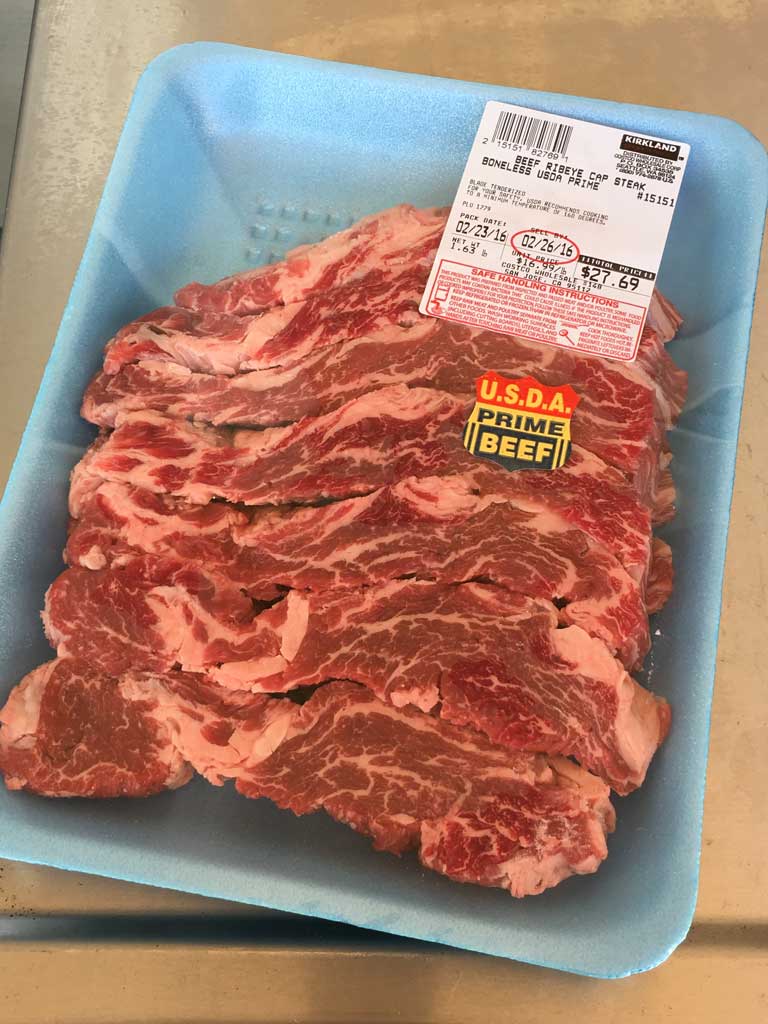
The ribeye cap, or spinalis dorsi, is probably the most flavorful part of the cow. You’ve probably enjoyed it when eating prime rib—it’s that highly marbled outside edge that surrounds the large center eye of the prime rib. Here it’s been separated from the prime rib roast in a single piece and cut into narrow “steaks”.

Ribeye cap steaks seasoned with salt, pepper and granulated garlic

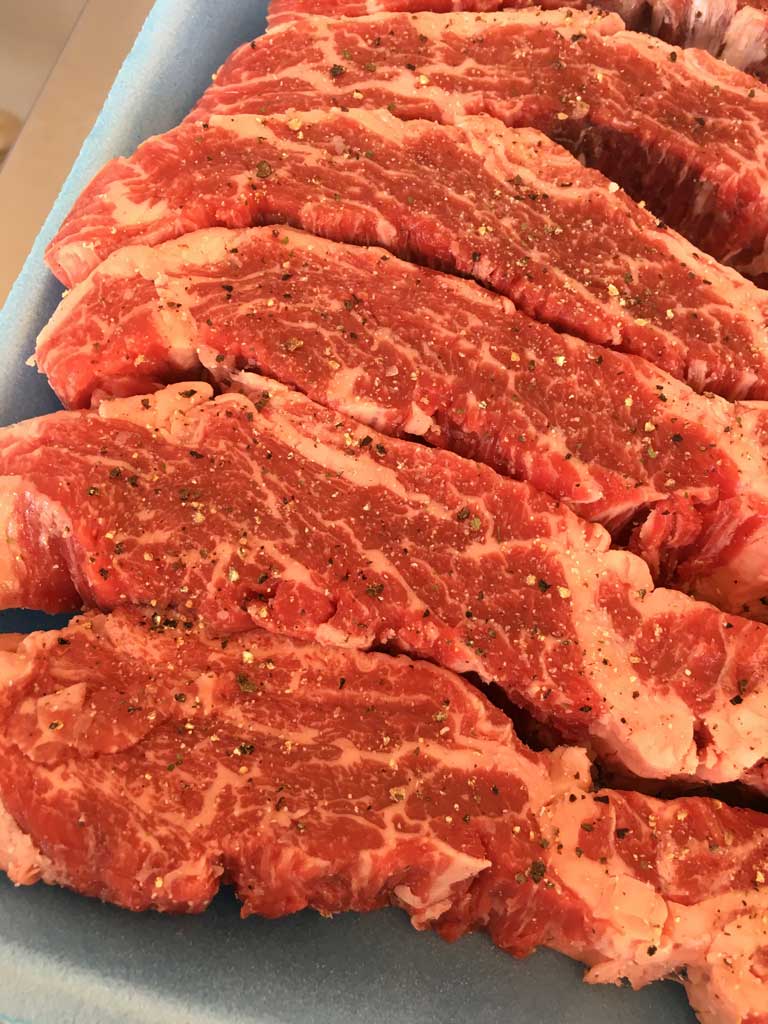
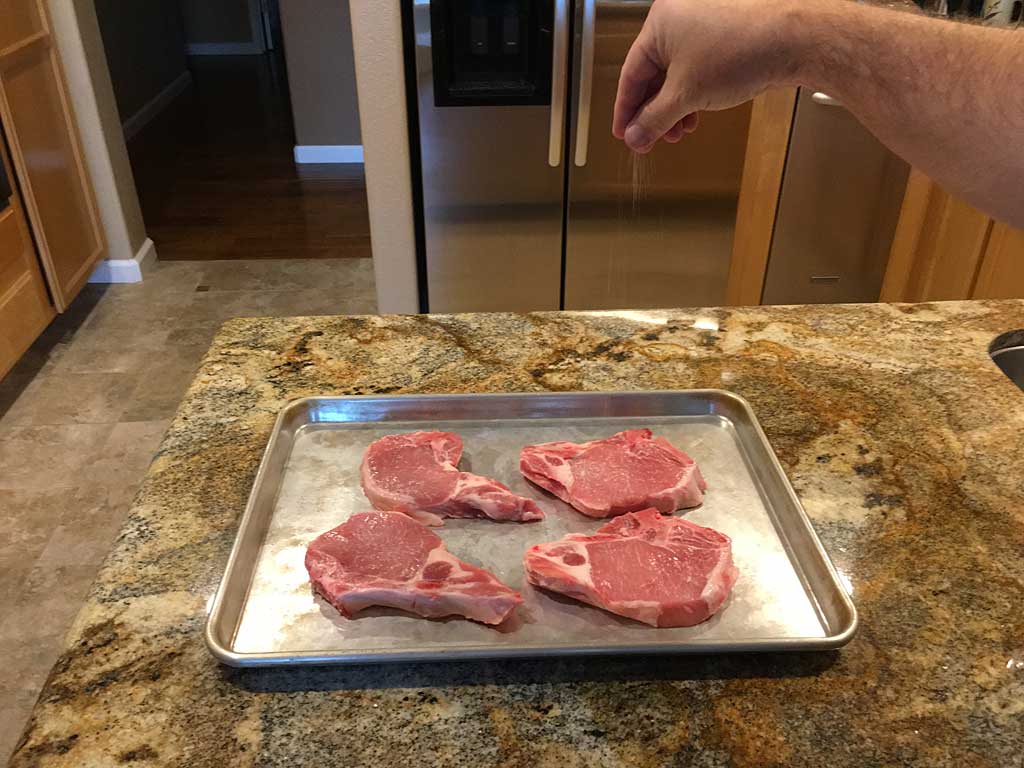
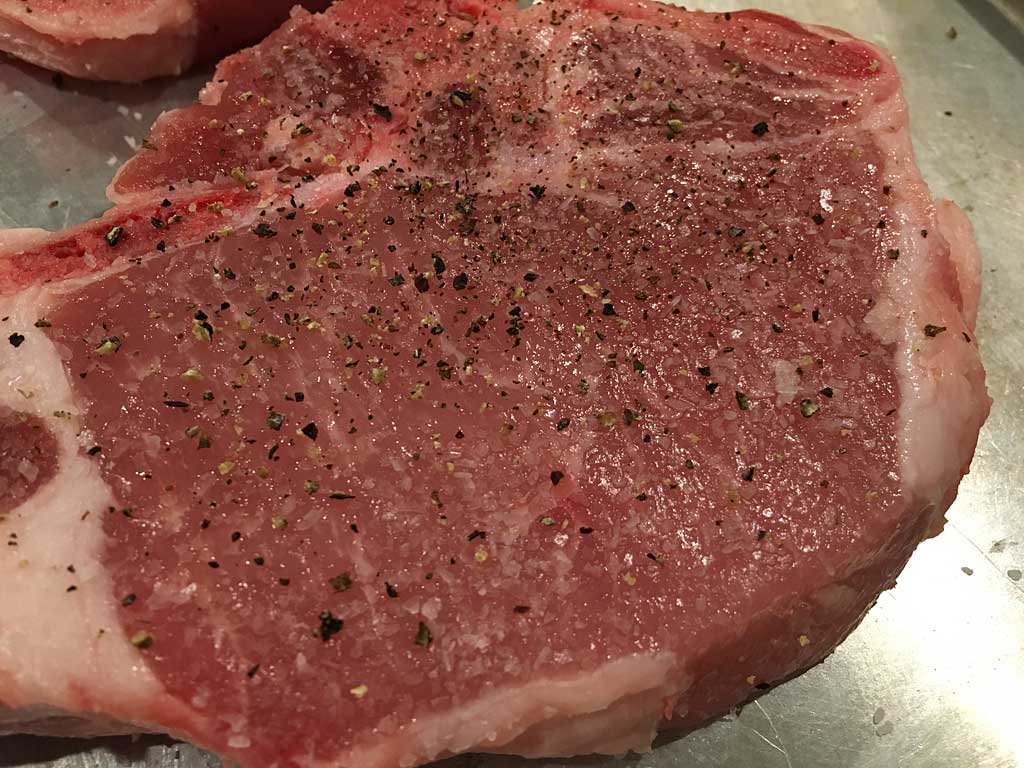
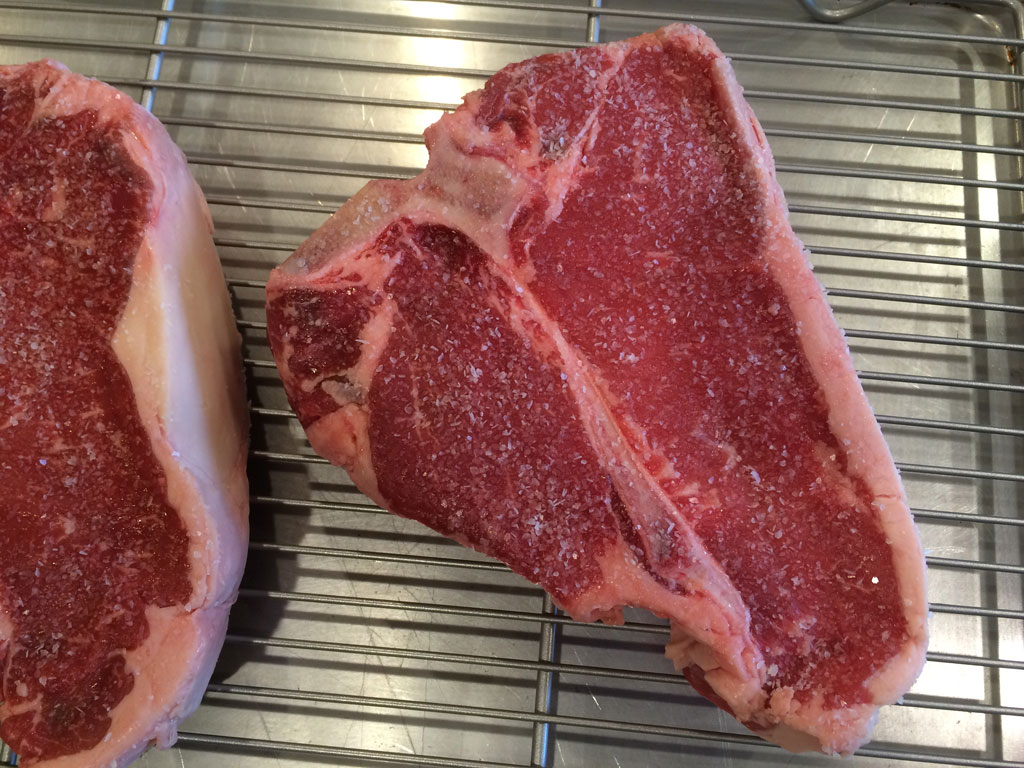
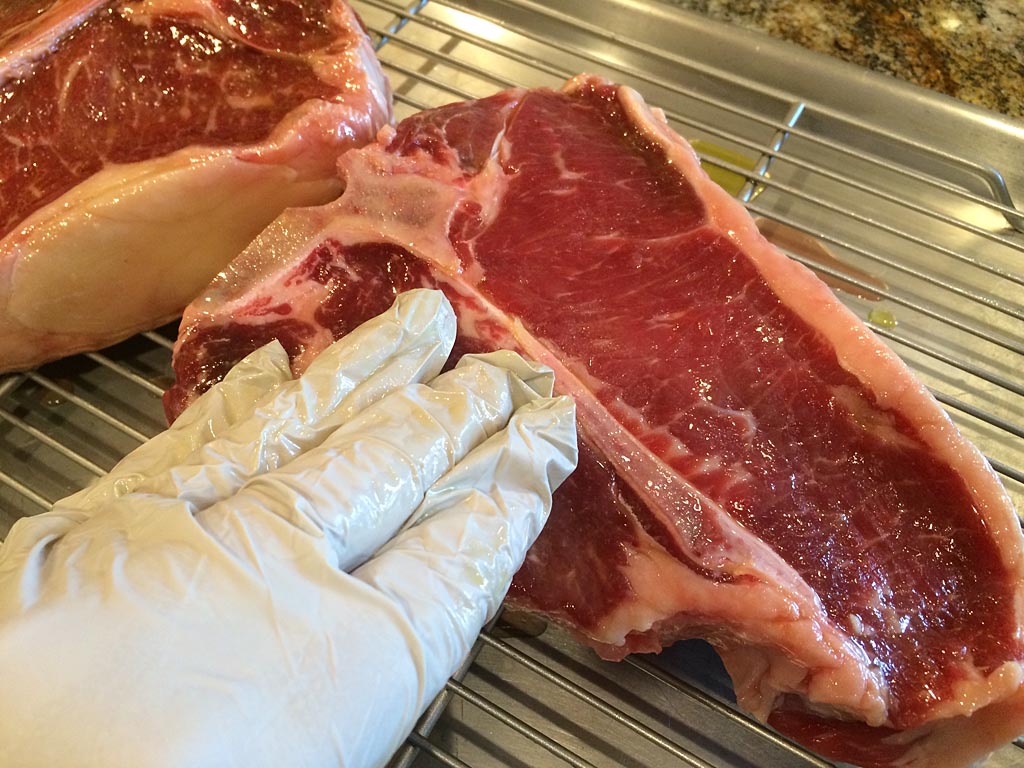
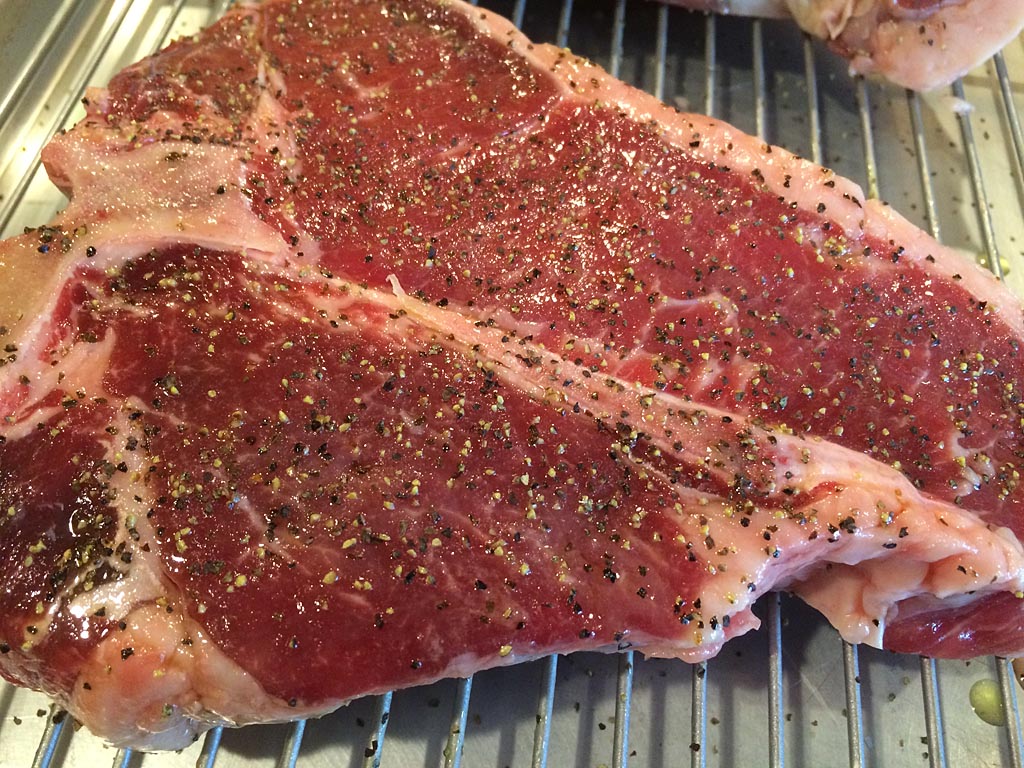
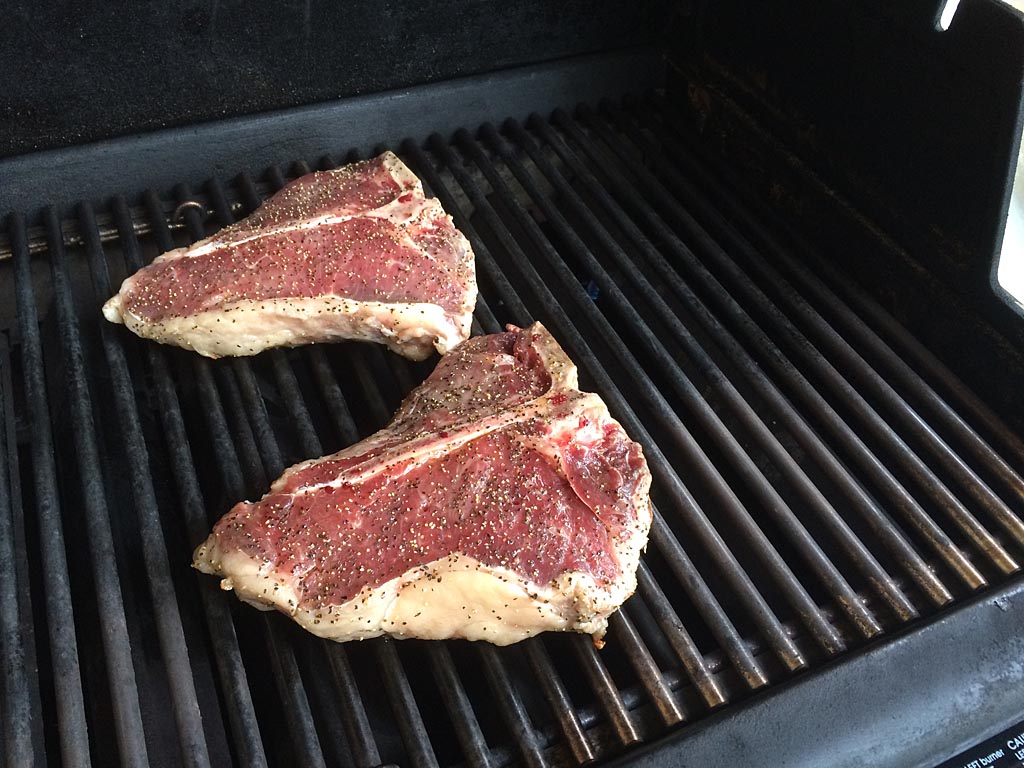
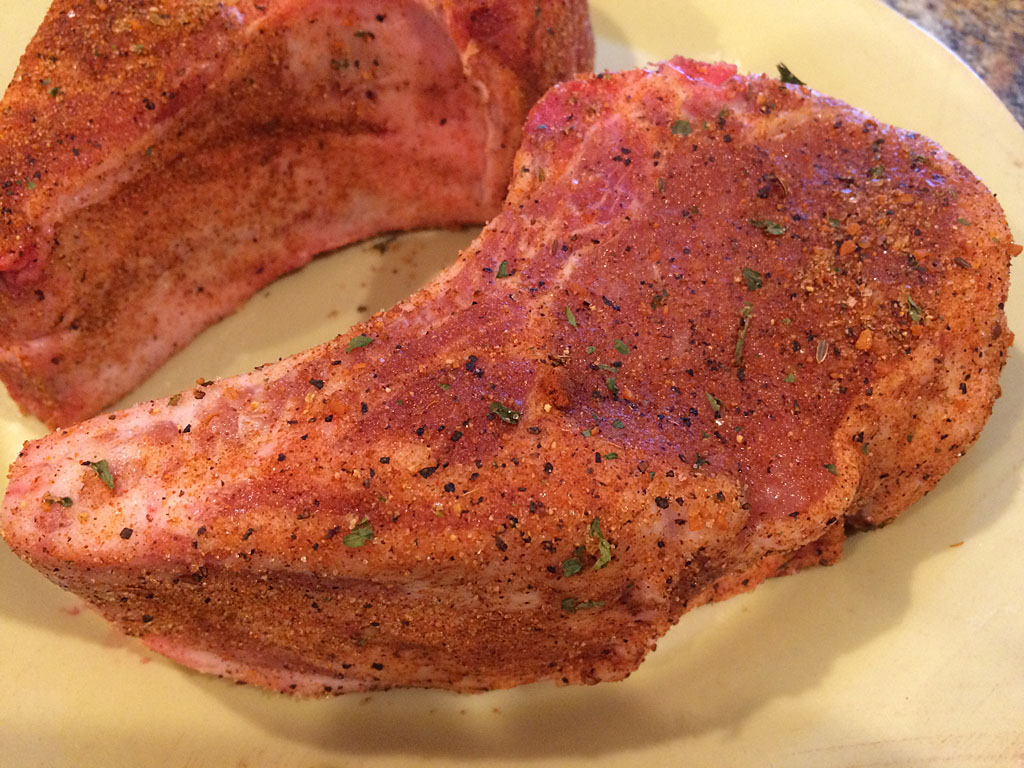
When grilling such a special cut, seasonings should be simple and used only to enhance the natural flavor of the meat. Kosher salt, black pepper, and granulated garlic are just the ticket.

Ribeye cap steaks go onto the grill

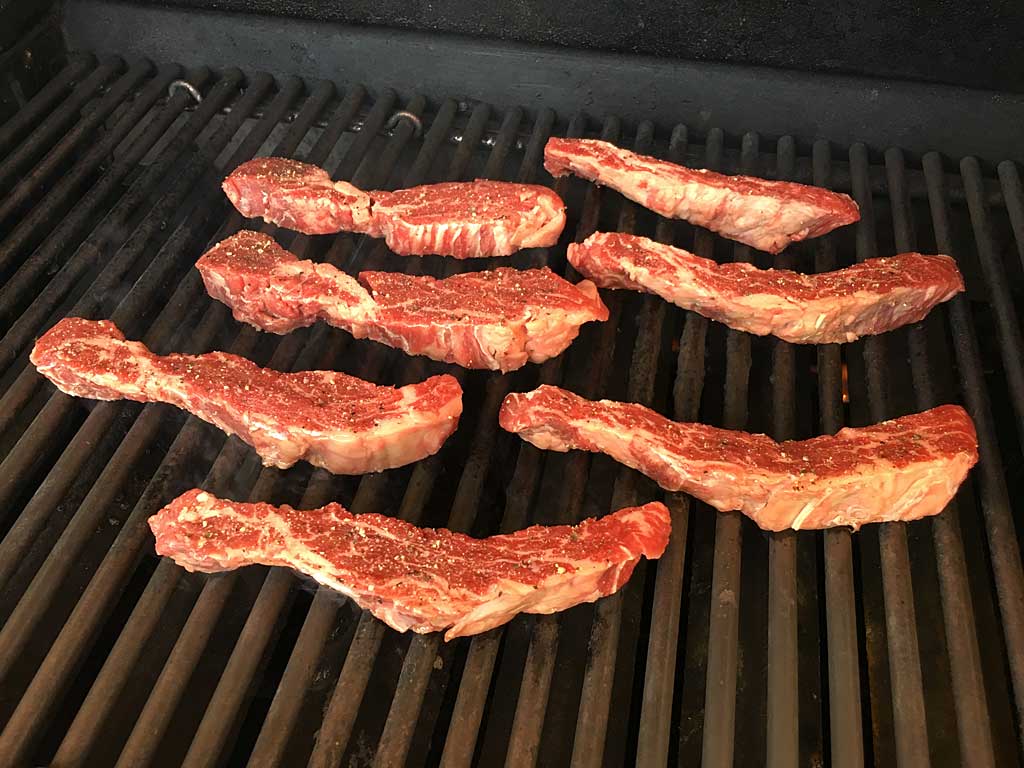
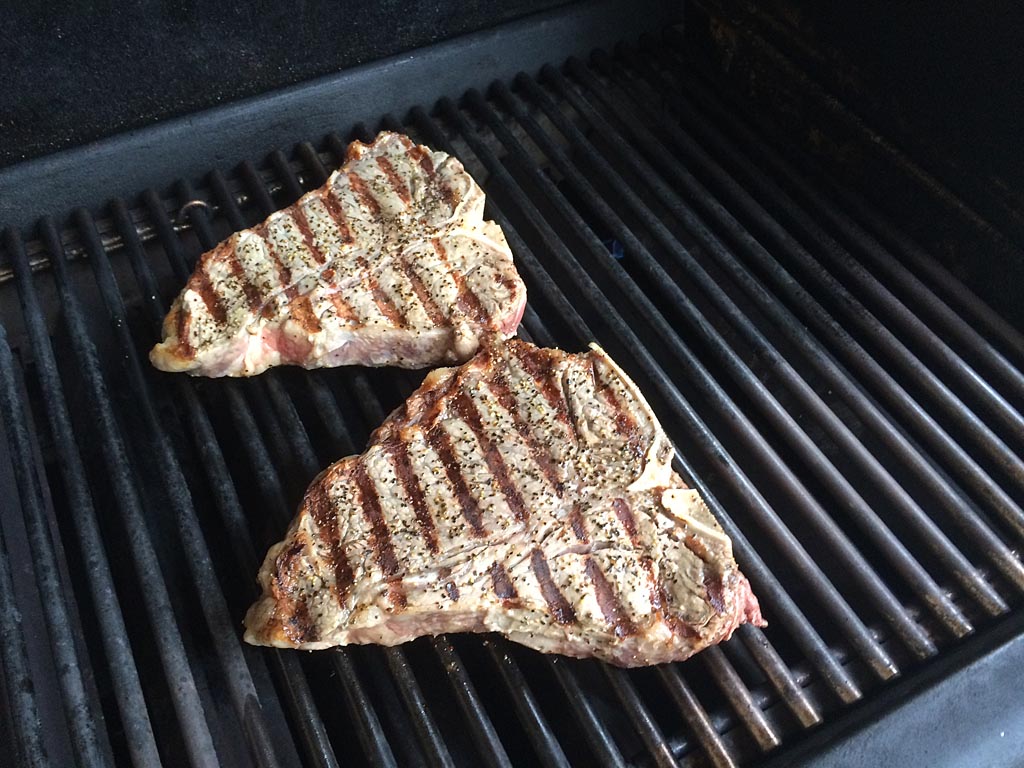
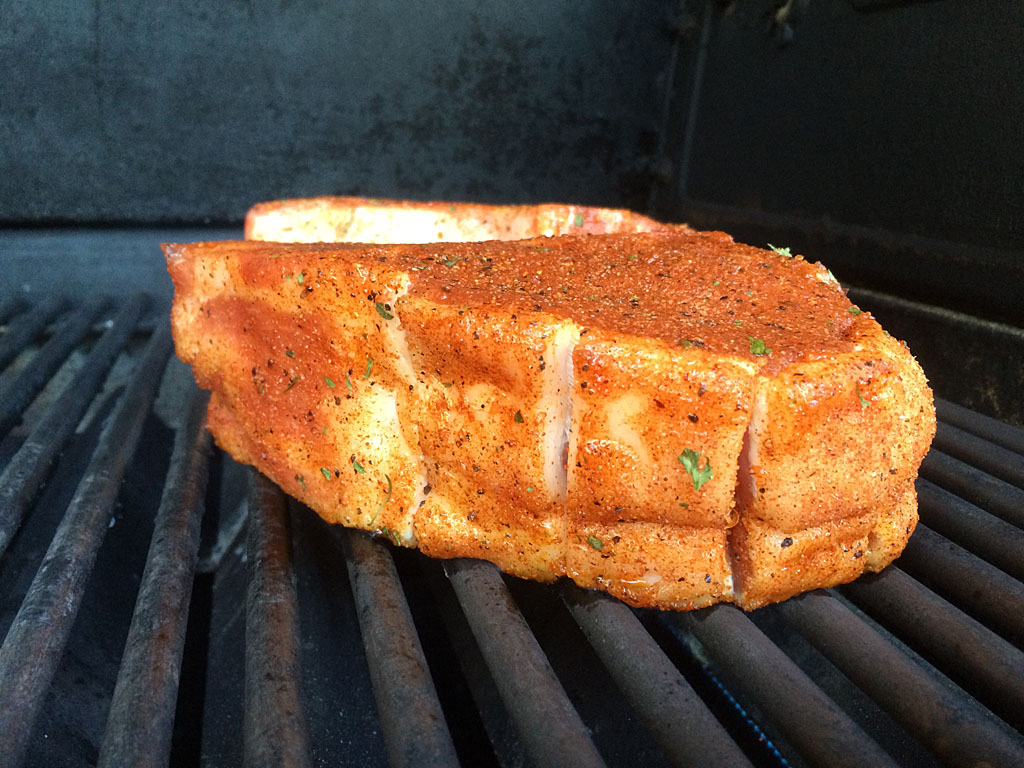
Preheat the grill on HIGH for 10 minutes, then scrub the grates with a grill brush. Turn the heat down to MEDIUM and place the steaks on the grill. Keep the lid open and turn the steaks every 60-90 seconds so they cook evenly on all four sides.

Ribeye cap steaks are almost done

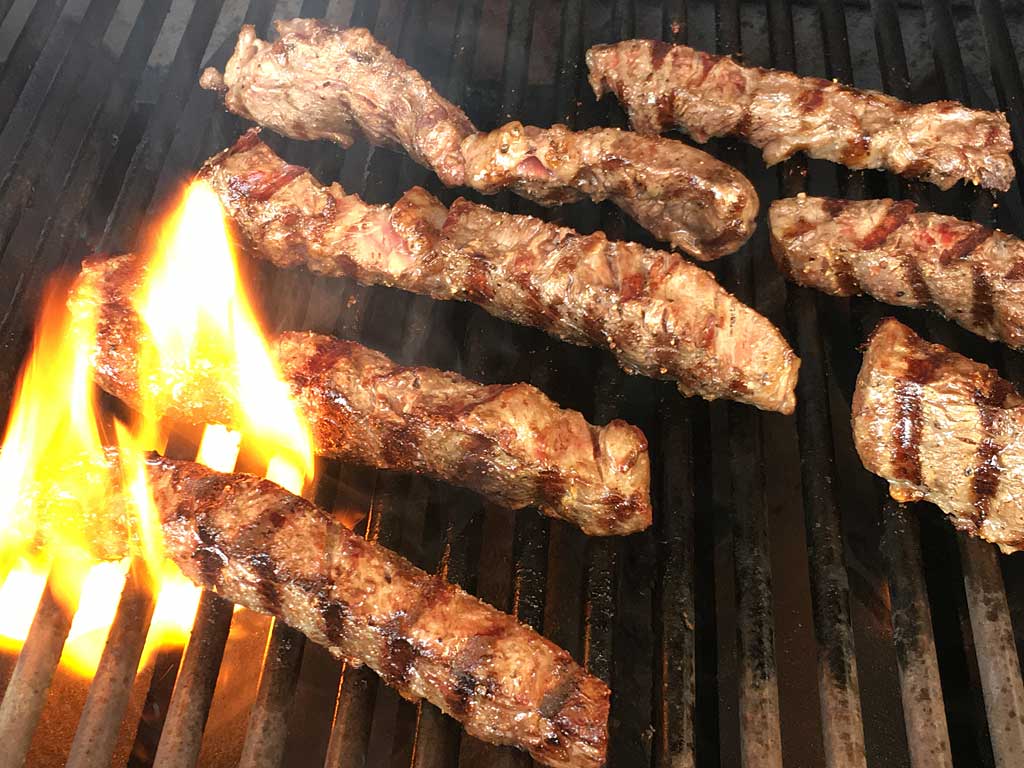
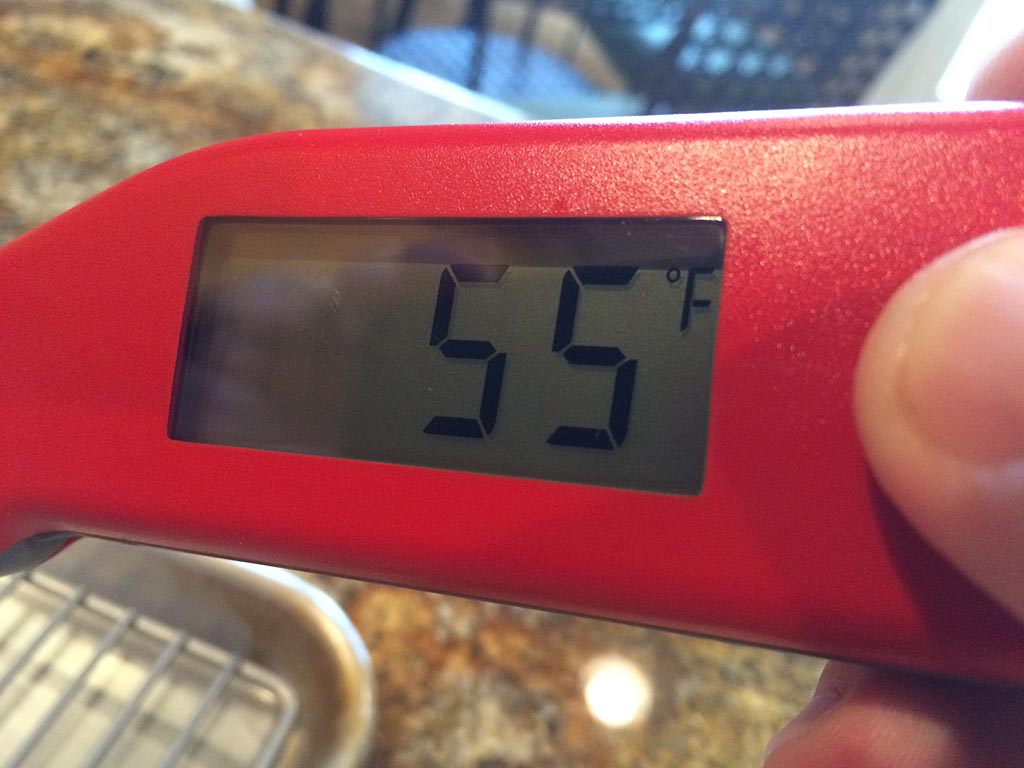
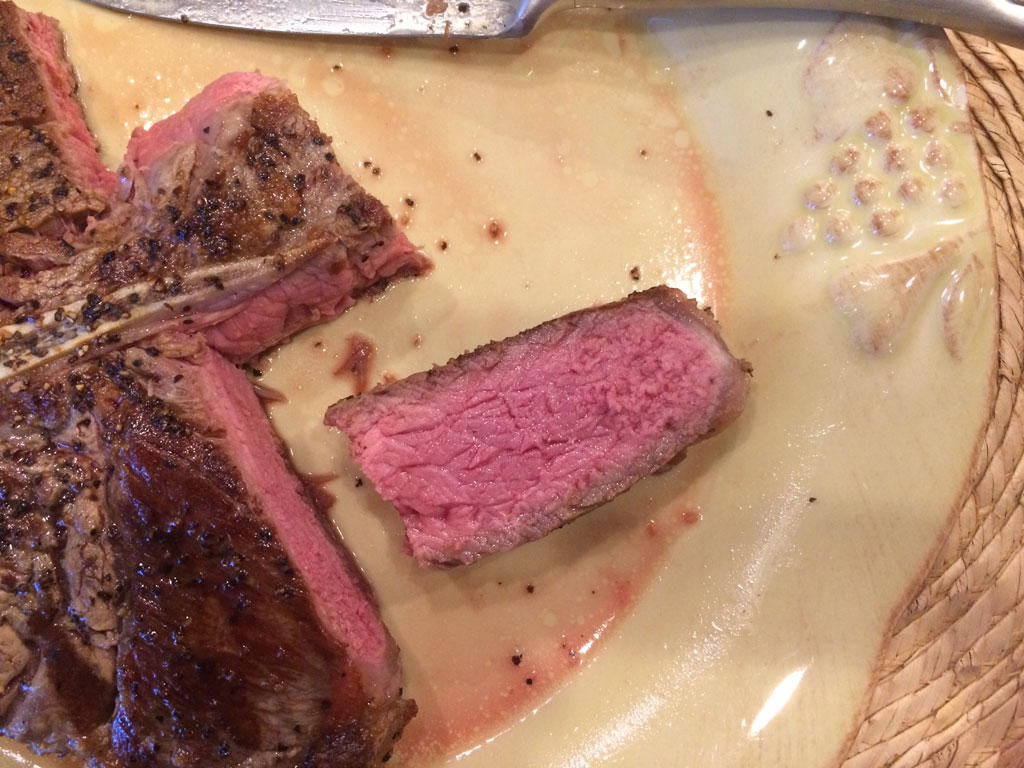
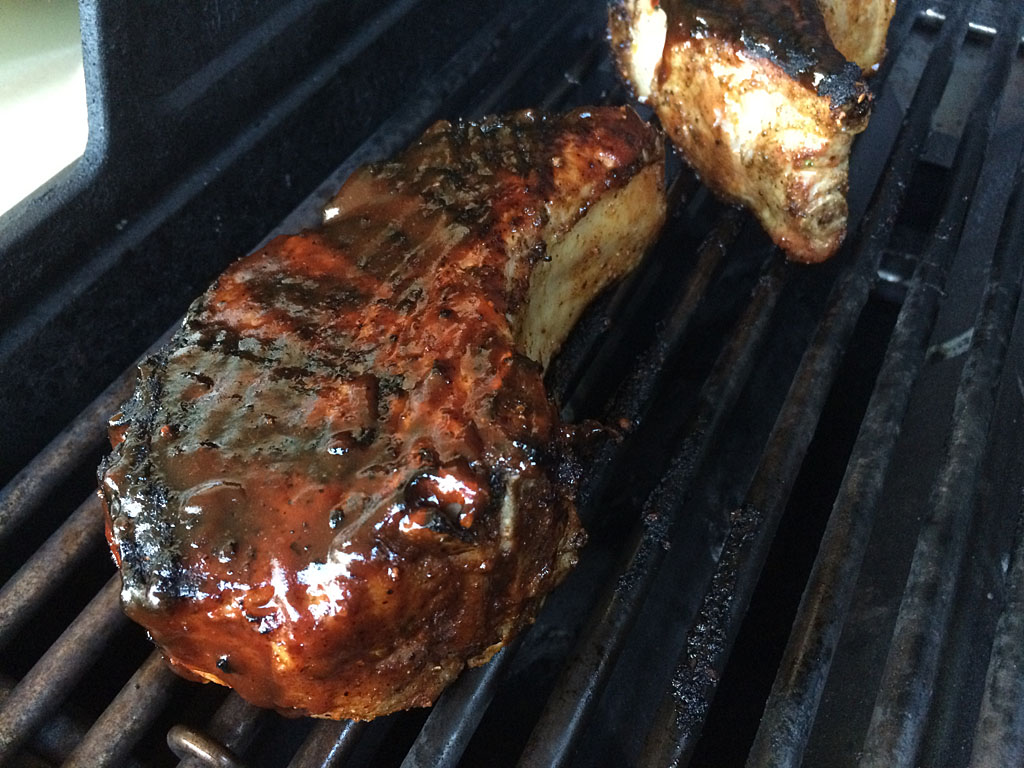
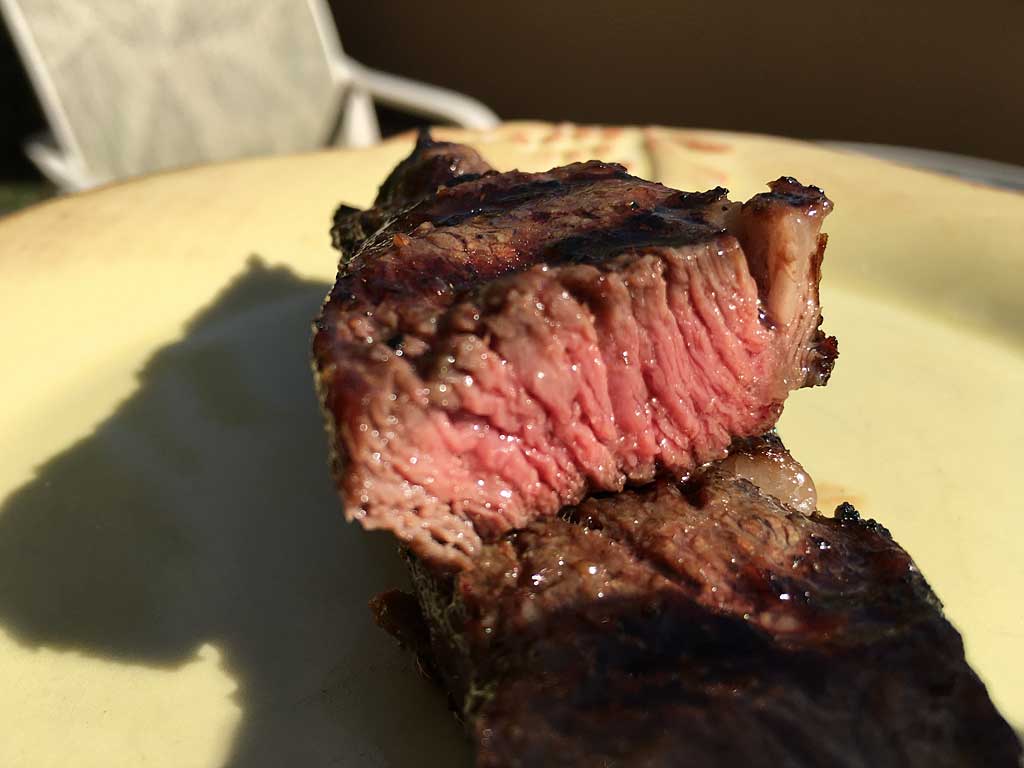
Use an instant-read thermometer to check the internal meat temp. I grilled these steaks to 135-140°F for something between medium-rare and medium doneness.

Finished ribeye cap steaks

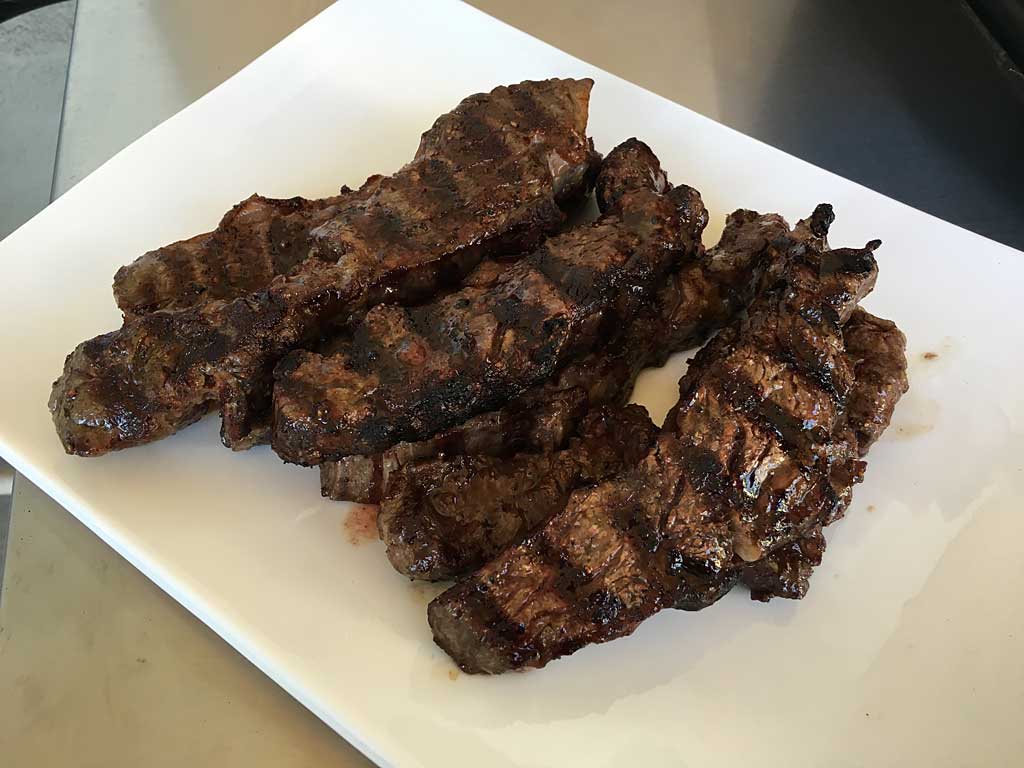
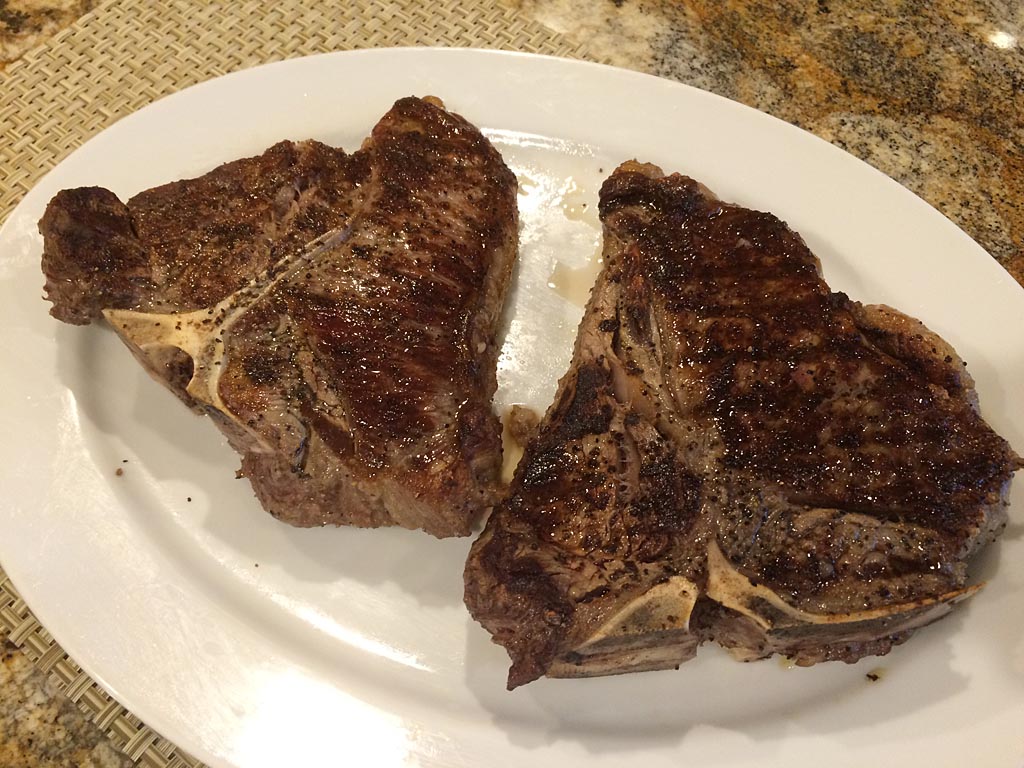
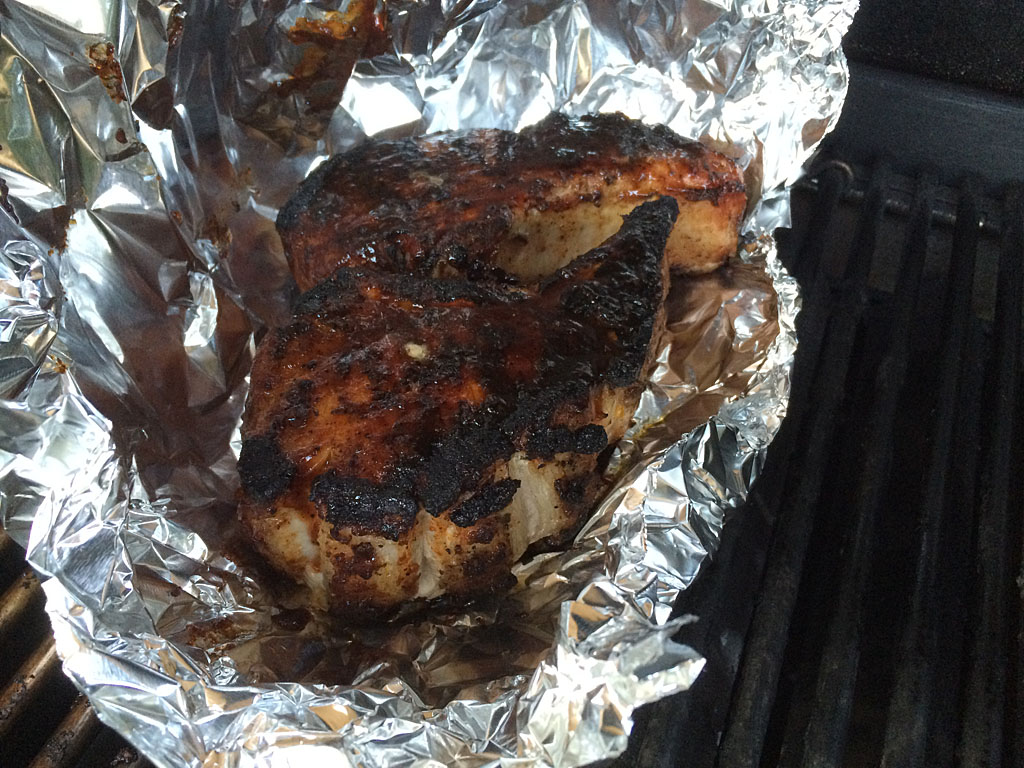
Once the meat is done to your liking, remove to a platter and let rest for just a few minutes to allow juices to redistribute within the meat. Finish with a sprinkle of sea salt or kosher salt to boost the flavor.

Inside view of ribeye cap steak

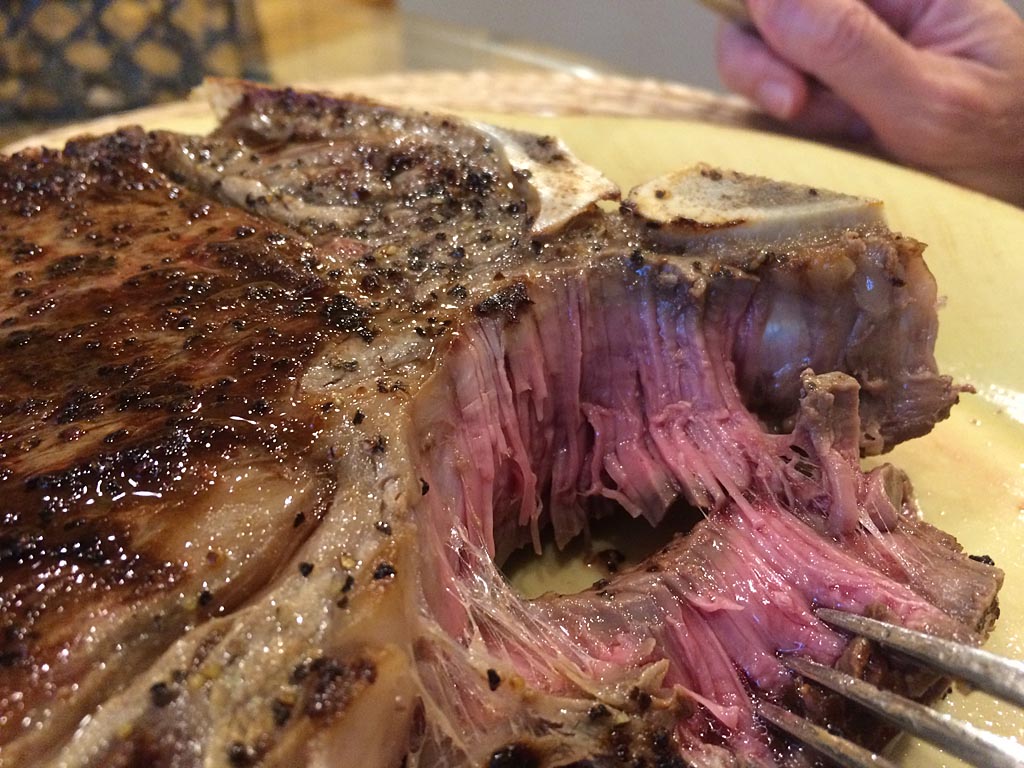
So soft, so tender, so delicious…that’s all I can say about these ribeye cap steaks. They were a real treat! If you have a chance to try them, do it. If you’re in the mood to splurge, you can order a whole ribeye cap from Snake River Farms.

Genesis Silver B Restoration by THyde

THyde from Bethlehem, PA has documented his impressive restoration of this burgundy Genesis Silver B in a series of posts on The Virtual Weber Bulletin Board.

Weber Genesis Silver B before restoration

The cooking grates had been recently replaced by the previous owner and the Flavorizer bars were in pretty good shape, but there were plenty of issues with broken bolts and rust on the frame that needed to be addressed.

Rust on the frame
Rust on the frame

THyde also replaced the burners, ignition system, and control knobs. And of course, there was lots of cleaning and cosmetic work to be done to make this beauty shine like new again.

Weber Genesis Silver B after restoration

You can read more about this restoration on The Virtual Weber Bulletin Board.

Using An Instant-Read Thermometer For The Perfect Baked Potato

Baked potato

In my opinion, nothing goes better with a grilled steak than a tender, fluffy baked potato. I’ve always baked them in a 400°F oven for 45-60 minutes and then poked with a knife to determine doneness…sometimes without much success. I cut into the potato and find the center a bit under cooked.

The folks at Cook’s Illustrated magazine tackled the question of The Perfect Baked Potato in their January/February 2016 issue. They determined that the optimal internal temperature for a uniformly fluffy baked potato is 205-212°F. Cook’s suggests baking potatoes at 450°F for 45-60 minutes until the largest potato registers 205°F in the center.

So now you’ve got yet another reason to own a good quality instant-read thermometer! Next time you bake a potato, probe it to ensure the perfect internal temp!

Weber Genesis: 30 Years & Still Going Strong

Weber Genesis 2, circa 1991

I would be remiss if I allowed the year to pass without noting that 2015 marks the 30th anniversary of the venerable Weber Genesis gas grill.

Earlier this year, Weber published a lengthy blog post documenting the process of how the Genesis came to be. It’s a fascinating read that explains how executives responded to competitive pressures and customer demands to design a gas grill that far exceeded anything on the market when it came out in 1985—including its $400 price tag.

“I think it was more or less survival. You could feel the ground shift underneath you, so we knew that we had to be in the gas business, but we had to be in it in a Weber way where consumers would have a great experience.

“We said, ‘We’re gonna make a really great gas barbecue that’s worthy of the Weber name and whatever it sells for – that’s what it sells for.’”

Mike Kempster
Weber Global Chief Marketing Officer

You can read the entire blog post at Weber.com.

Weber Genesis ad from 1989

Height Matters: How To Evenly Sprinkle Salt, Pepper & Rub On Meat

To evenly sprinkle salt, pepper or rub on meat, increase the height at which you hold your fingers or shaker.

Sprinkle salt or other seasonings from a height of 12 inches

According to America’s Test Kitchen Radio, sprinkling from a height of at least 12 inches results in a more even distribution than if you sprinkle from just a few inches above the meat. Place the meat on a rimmed baking sheet before sprinkling, then pat or roll the meat on the pan to pick up any excess seasoning.

Even distribution of salt and pepper on a pork chop

Reverse Seared Porterhouse Steaks

The porterhouse steak is one of my favorites because it’s two steaks in one: the larger strip steak on one side of the bone and the smaller tenderloin steak on the other side of the bone. The strip has better flavor, but the tenderloin has better tenderness. The porterhouse steak is the best of both worlds!

I’ve grilled these steaks over direct heat for years with good results, but grilling indirect with a reverse sear at the end is all the rage these days, so I thought I’d give it a try with these two beauties. The process I followed comes from a recipe in Cook’s Country magazine.

Salted porterhouse steaks on wire rack

Place the steaks on a wire rack over a rimmed baking sheet. Pat dry with paper towels then sprinkle with kosher salt.

Steak about 60 minutes at room temperature

Steak registers 55 degrees internal temp

Let sit at room temperature until the steaks register an internal temperature of 55*F, about 60 minutes.

Applying olive oil to steaks

Steaks sprinkled with freshly cracked black pepper

Once the steaks hit 55*F, rub both sides with olive oil and sprinkle with freshly cracked black pepper.

About 45 minutes into the salting process, preheat your gas grill with all burners on HIGH for 15 minutes, then clean the grates with a grill brush. Turn one burner to MEDIUM LOW and turn off all the other burners. Adjust this one burner as needed to maintain about 300*F.

Steaks place next to medium low burner
Medium low burner is to the right of the steaks. Burners under the steaks are turned off.

Place the porterhouse steaks on the grill just off the edge of the fire, with the bone-end facing the lit burner. Cook the steaks to 75*F, about 10-20 minutes.

Turned steaks at 75 degrees internal temp

Flip the steaks, keeping the bone-end facing the lit burner, and cook to 95*F, another 10-20 minutes.

Remove the steaks from the grill. Turn all burners to HIGH and let the grill preheat for 5 minutes. (If you have a cast iron griddle or plancha, place it on the grill and preheat for 10 minutes.)

Put the steaks back on the grill (or griddle or plancha) and sear both sides until well browned to an internal temp of 120*F for medium-rare, about 4 minutes per side.

Steaks resting before serving

Remove steaks from the grill, cover loosely with foil and let rest for just a few minutes while getting the rest of your meal to the table.

Interior view of tenderloin portion
Interior view of strip portion

The indirect cooking process with reverse sear results in evenly done meat with minimal overcooked meat at the surface of the steak. The process is a little fussy and takes a bit more time versus the typical direct cooking process, but the results are worth it.

Testing Knives For Sharpness

Victorinox Cutlery 12-Inch Curved Cimeter KnifeIt seems counterintutive, but a sharp knife is actually safer in the kitchen and around the grill than a dull knife. When a knife is dull, we saw, hack or force it through whatever it is we’re trying to cut, and it’s in those moments that we lose control of the knife and cut ourselves. A sharp knife is easily controlled because it slices through meat or veg or bread smoothly and easily, and is therefore safer.

The folks at America’s Test Kitchen suggest that you test your knives for sharpness as follows: Grasp the top edge of a piece of printer paper firmly with one hand and draw the knife blade across the edge of the paper from heel to tip. The knife should slice easily through the paper with minimal effort.

Here’s a 3-second video clip showing how to do the knife sharpness test:

There are many ways to sharpen knives. One of the best electric sharpeners is the Chef’s Choice 130 Professional Knife-Sharpening Station ($150). I’ve used this sharpener for many years and it does a fine job.

Chef's Choice 130 Professional Knife-Sharpening Station

Less expensive options include the Chef’s Choice 464 Pronto Manual 2-Stage Diamond Hone Knife Sharpener ($39) and the AccuSharp 001 Knife Sharpener ($9).

Double-Thick Bone-In Grilled Pork Chops

Double-thick, bone-in pork chops

I spotted some beautiful, double-thick, bone-in Niman Ranch pork chops at a supermarket here in San Jose. I thought they’d be a real treat for my birthday dinner. What could be better than giving myself the gift of delicious, juicy pork?

Here’s how I grilled these chops on the Weber Summit 450 gas grill.

Rubbed pork chops

To prevent the chops from cupping during grilling, make a series of cuts around the edge of each chop through the fat just to the meat. Pat the chops dry with paper towels and apply Slap Yo’ Daddy All-Purpose Rub to all sides. Cover and refrigerate for 1 hour.

Preheat the grill on HIGH for 10 minutes. While the grill is heating, remove the chops from the refrigerator. Spray both sides with non-stick cooking spray.

Pork chop goes onto the grill

Clean the grates with a grill brush and turn the burners down to MEDIUM.

Place the chops on the grate. Cook 2-3 minutes on the first side. Use a spatula to help release the chops from the grate. Cook the second side for 2-3 minutes. Turn the chops back onto the first side, rotating 90 degrees to create diamond pattern grill marks. Cook 2-3 minutes, then repeat for the second side.

Watch the grill carefully for flare-ups during this initial searing process. The chops shown here had some nice fat around the edges that rendered and flared-up; just move the chops away from the flames if this happens.

After 8-12 minutes of cooking, the double-thick chops are now nicely seared on the outside, but not even close to being done on the inside. They need to be cooked more at a lower temperature until perfectly done.

Seared pork chop ready for foil

Use an instant-read thermometer to check the internal temperature of the meat. Apply a thin coat of barbecue sauce to both sides of the chops and wrap them in heavy-duty aluminum foil.

Setup the grill for indirect cooking at 350°F by turning some burners OFF and some burners to LOW or MEDIUM. Place the foil package over the OFF burner(s) and cook the chops until they reach an internal temperature of 140°F.

Opening foil to check internal temp

Open the foil every 5 minutes, check the meat temp quickly, then close the foil and the grill lid. While checking the temp, occasionally flip and turn the chops so they cook evenly.

The chops shown here were seared for about 10 minutes then cooked in foil for an additional 30 minutes and flipped/turned twice in the foil. Your timing will vary, of course, depending on your specific grill and the thickness and starting internal temp of your chops.

Chop resting on a plate after cooking

Once the chops reach 140°F, remove them from the foil and give them another thin coat of barbecue sauce. Remove the chops to a serving plate and let rest for 5 minutes while getting the rest of your meal to the table.

Plated pork chop with mashed potatoes and apple sauce

Pork chops al fresco by candlelight

We served these pork chops with mashed potatoes, apple sauce, and a hipster pineapple cider al fresco by candlelight. Couldn’t have asked for a nicer birthday dinner or a more succulent pork chop. I can’t wait to make these again, and I won’t be waiting for another birthday to do so!

Chef-Recommended Meat Doneness Temperatures

Here’s some good information from ThermoWorks, the makers of the highly accurate Thermapen instant-read thermometer, on chef-recommended meat doneness temperatures.

Note that all temperatures listed are peak temperatures, meaning that meat should be removed from the grill a couple of degrees below these temps and allowed to rise during a short resting period.

Beef, Veal & Lamb: Roasts, Steaks & Chops

  • Rare: 120-130°F
  • Medium Rare: 130-135°F
  • Medium: 135-145°F
  • Medium Well: 145-155°F
  • Well Done: 155°F and higher

Pork: Roasts, Steaks & Chops

  • Medium: 137°F
  • USDA-Done: 145°F
  • Well Done: 150°F and higher

And in case you’re wondering, here are the food safe minimum doneness temps for meats that pose a greater health risk if not cooked thoroughly.

Ground Meat: Beef, Veal & Lamb

  • 160°F

Chicken, Turkey & Duck (Whole or Pieces)

  • 165°F

Husk-Grilled Corn With Brown Sugar-Cayenne Butter

Husk-grilled corn with brown sugar-cayenne butter

There’s nothing better than summer corn, and unless you’re standing out in a corn field eating it raw, there’s no better way to prepare corn than to grill it.

This recipe for husk-grilled corn comes from Cook’s Country Magazine, June/July 2015. You can follow the basic grilling technique described below and serve with butter, salt and pepper at the dinner table, or you can “guild the lily” by serving the corn with this brown sugar-cayenne butter.

I hope you enjoy it!

Husk-Grilled Corn with Brown Sugar-Cayenne Butter

Ingredients:

  • 6 ears of corn in husks
  • 6 tablespoons unsalted butter, softened
  • 2 Tablespoons packed brown sugar
  • 1/2 teaspoon table salt
  • 1/2 teaspoon coarse black pepper
  • 1/4 teaspoon cayenne pepper

Stir butter, brown sugar, salt, black pepper, and cayenne until smooth and combined.

Butter mixture in foil boat

Make a foil boat to hold the butter mixture: Tear a sheet of heavy duty aluminum foil 12″ x 14″. Fold in half to 12″ x 7″. Roll up sides and crimp to form a boat just big enough to hold an ear of corn.

Place butter mixture into the foil boat.

Preheat your gas grill on HIGH for 15 minutes. Use a grill brush to scrub the grates clean.

Fresh corn goes onto the grill


Corn ready to be shucked

Cut silk from the end of each ear of corn. Put corn straight onto the ripping hot grill and close the lid. Cook 3 minutes, then use long tongs to give the corn a 1/4 turn. Repeat until 4 sides have been grilled, about 12 minutes total time. Corn is cooked when you pull back the husk to reveal steaming corn and bright yellow kernels.

Removing stem from corn

Removing husk with tongs and towel

Remove corn to a cutting board. Cut off the stem ends. Carefully remove husks and silk using tongs and a towel.

Rolling corn in butter mixture

Corn flaring-up on the grill

Roll corn in the butter mixture and return it to the grill with the lid open. The grill may initially flare-up and make some loud popping noises due to the butter. Move the corn around to avoid flames, turning frequently until there is some char, maybe 3-5 minutes max. If you see any soot on the corn due to burned butter from the initial flare-up, gently wipe it off with a towel.

Corn ready to come off the grill

Husk-grilled corn with brown sugar-cayenne butter

Remove corn from the grill. Roll again in the butter mixture. Serve with any leftover butter on the side.

This corn is sweet with a little heat. You may notice a slight caramel corn note. Delicious!

Your best source for Weber gas grill information and discussion on the Web