Category Archives: Tips & Techniques

Herb & Spice Storage

img_3039-1024

Proper Storage of Herbs & Spices

Herbs and spices should be stored properly to protect their flavor. Heat, light, moisture and air are the enemies of dried herbs and fresh spices. They should be held in airtight containers in a dark, cool cupboard or drawer. Glass containers with tight fitting screw-on lids seem to work best, since many plastic bags are not truly airtight. Herbs and spices should not be stored near heat sources like the stove, oven, dishwasher, refrigerator, microwave, sink, a heater vent, or in direct sunlight.

What about storing herbs and spices in the refrigerator or freezer? Penzeys Spices says that whole, crushed and ground chili peppers, including paprika, will stay fresh and colorful longer in the refrigerator, especially during the summer. With the exception of vanilla beans and extract, the flavor of spices is not harmed by cold storage. The only problem they cite is that cold jars form condensation when opened in a humid kitchen, causing the spices inside to get wet. Their solution: keep small quantities of spices in your cupboard and the backup supply in the refrigerator or freezer.

When Should You Replace Herbs & Spices?

According to Penzeys, there are no set rules on how long herbs and spices stay fresh. In fact, Penzeys says that they don’t really go bad, they just begin to fade away! When in doubt about a spice, give it a smell…if it smells strong and spicy, use it. Otherwise, throw it away.

U.S. Government guidelines for freshness dating are 4 years for whole spices and 2 years for ground spices. Many cooking authorities say that 6 months is the maximum for spice freshness.

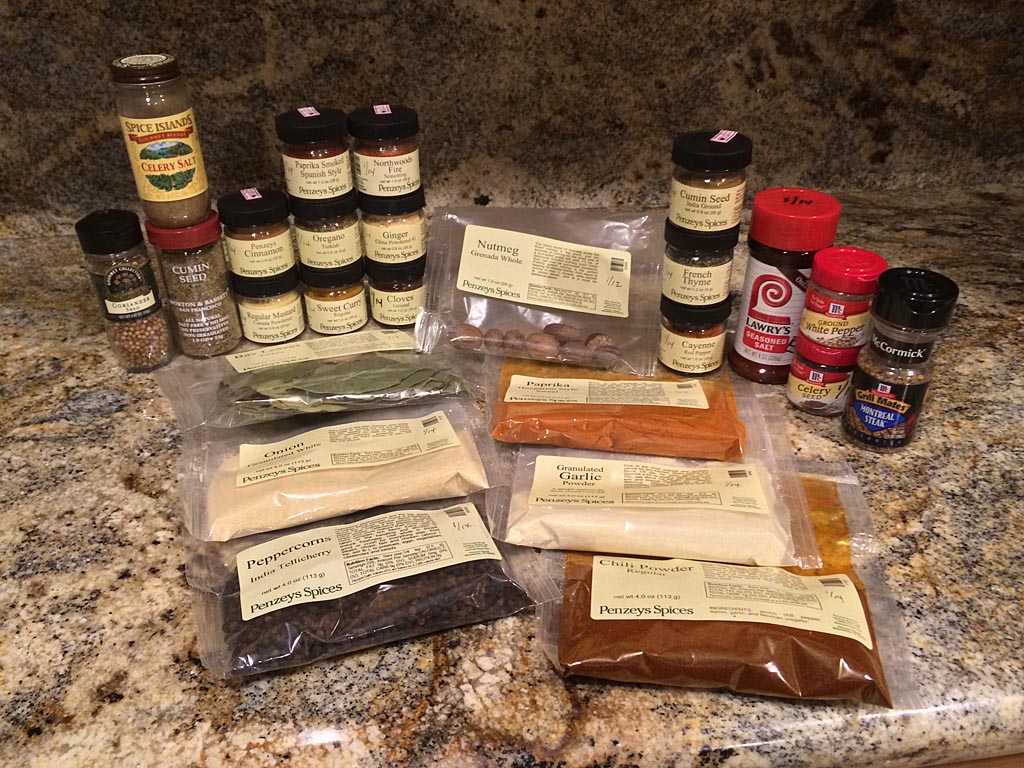
Penzeys points out that since most spices are harvested only once a year, it doesn’t make sense to throw away all your spices after just 6 months. However, they feel that 2 years is too long to hold spices. Their suggestion: buy no more than a 1 year supply of herbs and ground spices, and a 1-2 year supply of whole spices.

IMG_3040-1024

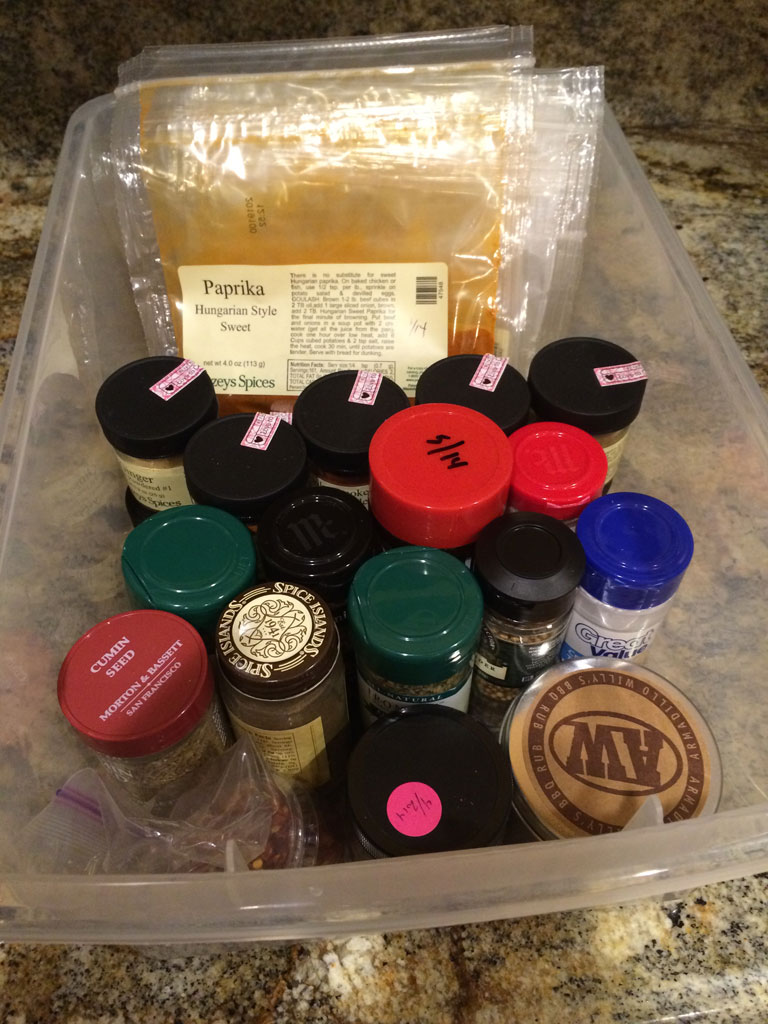
I’ve gotten into the habit of cleaning out my herb & spice box just after New Year’s every other year. I make a trip to my nearest Penzeys Spices store and buy everything fresh and I’m good to go for two years. I write the purchase date on each jar or package so I remember when I bought it.

How To Prevent Foods From Sticking To Grates

Grates just waiting for foods to stick!

There’s nothing more frustrating than foods that stick to the grate. We’ve dealt with this subject numerous times on The Virtual Weber Bulletin Board…a new Weber owner is about to kick his $700 gas grill to the curb in frustration because no matter what he tries, everything seems to stick!

In my experience, meats with high fat content like 80/20 burgers and steaks don’t tend to stick. It’s lean cuts like skinless chicken breasts and pork tenderloins that are the problem.

Here’s the procedure I use to ensure the least amount of sticking when I grill lean meats.

  1. Light all burners. Preheat the grill on the highest heat setting for 10 minutes to burn-off residue from the last grilling session.
  2. Use a grill brush to remove any residue from the grates.
  3. Before putting food on the grill, examine the grates for any brush or scrubber bits that would be dangerous if eaten and carefully remove them.
  4. After cleaning the grates, adjust the burners to your desired setting and allow the grill temperature to stabilize.
  5. Spray the surface of the lean meat with non-stick cooking spray before placing it on the grate. You can spray right over any dry seasonings or rub. If using a marinade, pat-off any excess before spraying.
  6. Place the sprayed side down on the grate. Allow the meat to get a good sear on the first side before turning. Some meats will initially stick a lot but then release when a good sear has developed.
  7. When turning meat, use a large spatula to carefully separate it from the grate. Lift it high above the grate and spray the top side, then place the sprayed side down. Alternatively, move the meat quickly to a rimmed baking sheet pan and spray it there, then move the meat back to the grill. Spraying meat on the grate may result in dangerous flare-ups and is not recommended.

It’s usually not necessary to spray again after both sides have been seared. Just carefully work that large spatula under the meat when turning it.

My secret to preventing sticking on the grill: PAM non-stick cooking spray
My secret to preventing sticking on the grill: PAM non-stick cooking spray.

Many experts recommend oiling grates before grilling. I don’t find this to be a particularly effective technique, but here’s how to do it if you want to give it a try. Place a good amount of vegetable oil in a small bowl. After Step 3 above, wipe vegetable oil on the grates using long tongs and a large wad of paper towels. Repeat up to 10 times to create a somewhat non-stick surface. You must repeat this process each time you grill.

5 Steps To Burger Brilliance

Photo from 5 Steps to Burger Brilliance

The good folks at Weber have provided this excerpt from Weber’s Big Book of Burgers by Jamie Purviance titled “5 Steps To Burger Brilliance”. It contains great tips for making your best grilled burger this summer!

I’ve posted the text and photos on our companion discussion forum The Virtual Weber Bulletin Board. I hope you enjoy it!

Read “5 Steps To Burger Brilliance” 

Preheating The Grill

Grilling on a Weber Q 220 after proper preheating

It’s important to preheat your gas grill thoroughly before cooking. Proper preheating has the following benefits:

  • Preheating burns off any residue left from the last time you grilled.
  • Foods tend to stick less to grates that have been preheated.
  • Foods tend to cook more quickly and evenly in a grill that’s been preheated.

Check the owner’s manual for your grill for the recommended preheating instructions and length of time. Although your grill may vary, many experts recommend 10-15 minutes of preheating before grilling.

Cooking Meat On Edge

Cooking a tri-tip on edge

If you’ve grilled your fair share of tri-tip roasts, you’ve probably encountered a few that were very thick, especially on one side. The one shown in this photo is an example of that. I had seared both sides nicely, but that big, thick edge was just begging for a good sear, too.

I was aware of techniques like using wadded-up aluminum foil to prop-up meat on edge, but while grilling this roast I noticed a solution sitting right in front of me: the swing-up part of the grate on my Summit 450 that allows access to the smoker box.

Just pop open that grate, lean the tri-tip against it with the thick side facing down, and sear away to  your heart’s content.

If you have a grill with a swing-up grate, I hope you can take advantage of this simple but effective tip.

Searing Meat Doesn’t Seal In The Juices

Searing steaks on the grill

Good ol’ George Stephen. We owe him a lot. He invented the iconic Weber kettle grill and founded a company that continues to innovate and produce some of the best grills money can buy.

But George didn’t know what he was talking about when it came to searing meat.

Here’s the first ad that George ran to sell his grills:

Weber's first ad

It says, “Seals in rich flavor and natural juices of meat, poultry, fish and game.”

George can be forgiven for this misstatement, for it’s been made many times by many chefs and cooking authorities over the years.

Searing meat does not seal-in flavor and juices. This myth has been disproved numerous times. You can read one example here from the America’s Test Kitchen blog.

What searing does is create great color and flavor on the surface of meat as a result of caramelization and the Maillard reaction. These processes create an array of flavor compounds that give grilled meat its wonderful flavor. And interestingly, you can sear meat at the beginning or at the end of cooking and get good results either way.

So go ahead and sear those steaks and chops…but do it to create great color and flavor. To keep the meat juicy, measure internal temperatures using an instant-read thermometer so you don’t overcook the meat.

Go Ahead…Poke Your Meat

Weber 6615 Grilling Fork

Contrary to popular belief, a piece of meat is not like a balloon filled with water. It won’t pop and let out all the moisture if you poke it or “nick and peek” to check for doneness.

A piece of meat is more like a sponge. It holds almost all of its moisture even when poked or probed.

America’s Test Kitchen did a test in which they cooked two sets of steaks to medium rare. One set was poked constantly with a fork, the other was not. The result: Both sets of steak lost exactly 19.6% of their moisture during cooking.

So go ahead, use a grill fork or stick your steak with a probe thermometer to check for doneness. You’re not doing any harm.