The Secret To Moist Grilled Chicken

Moist grilled chicken halves

Brining. Salting. Marinating. Injecting. Buttering. Beer butting. (Is that even a word?) These are but a few of the methods that people use in an attempt to make moist, tasty chicken.

But I am now going to reveal to you the #1 Secret to grilling moist, delicious chicken every time you cook:

DO NOT OVERCOOK IT!

That’s right. Don’t overcook it. Get yourself a good instant-read thermometer and measure the internal temp during grilling. I don’t care how you season the bird or brine it or inject it…if you cook the breast meat to 160-165°F and the thigh meat to 170-175°F and then remove the chicken from the grill, I guarantee* you will have moist, delicious meat.

Yes, brining chicken provides a margin of error, allowing you to cook to higher internal temps than those listed above and still achieve moist meat, and it can flavor the meat, too. But you can get moist meat and perhaps more real chicken flavor if you don’t brine and keep the internal temp within the ranges above.

So season your chicken well, use your thermometer, don’t overcook it and tell us how it turns out on The Virtual Weber Bulletin Board. And remember, we like to see your photos!

* Guarantee not valid in the Americas, EMEA, Asia-Pacific, polar regions, or territorial & international waters.

More New Grilling Books for 2015

There’s yet another crop of new grilling books out for 2015. And here you thought everything had been written about our favorite outdoor cooking method…

Take a look at these new offerings. If you like any of these, let us know on The Virtual Weber Bulletin Board.


Grilling With House of Q

Grilling With House of Q

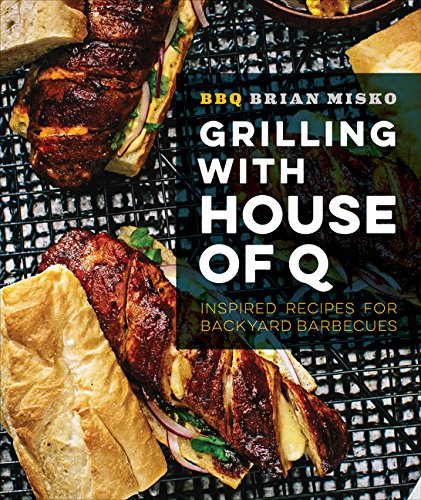
Amazon.com says, “If you love the taste of barbecue but worry about cooking the perfect steak or if you’re a whiz with burgers but want to grill other foods or if you harbor aspirations of presenting your own smoked brisket to a panel of trained judges, then this book is for you. BBQ Brian has spent more than a decade smoking and grilling foods, competing against other pit masters and learning from some of the best in the business. And not only does he regularly win awards for his barbecue and House of Q BBQ sauces, but he’s now one of the most sought-after teachers around. Why? Because he tells a great story, makes learning fun and easy and freely shares his recipes and his love of good food. Grilling with House of Q is part handsome cookbook, part instruction manual and part story collection. The result is that rare volume that entertains and becomes your go-to for delicious, no-fail smoked ribs, shrimp tacos, pulled pork and pit beans—or burritos, mac ’n’ cheese and baklava—all prepared on your grill and all eagerly anticipated by friends, backyard neighbors and barbecue judges.”


Build Your Own Burger

Build Your Own Burger

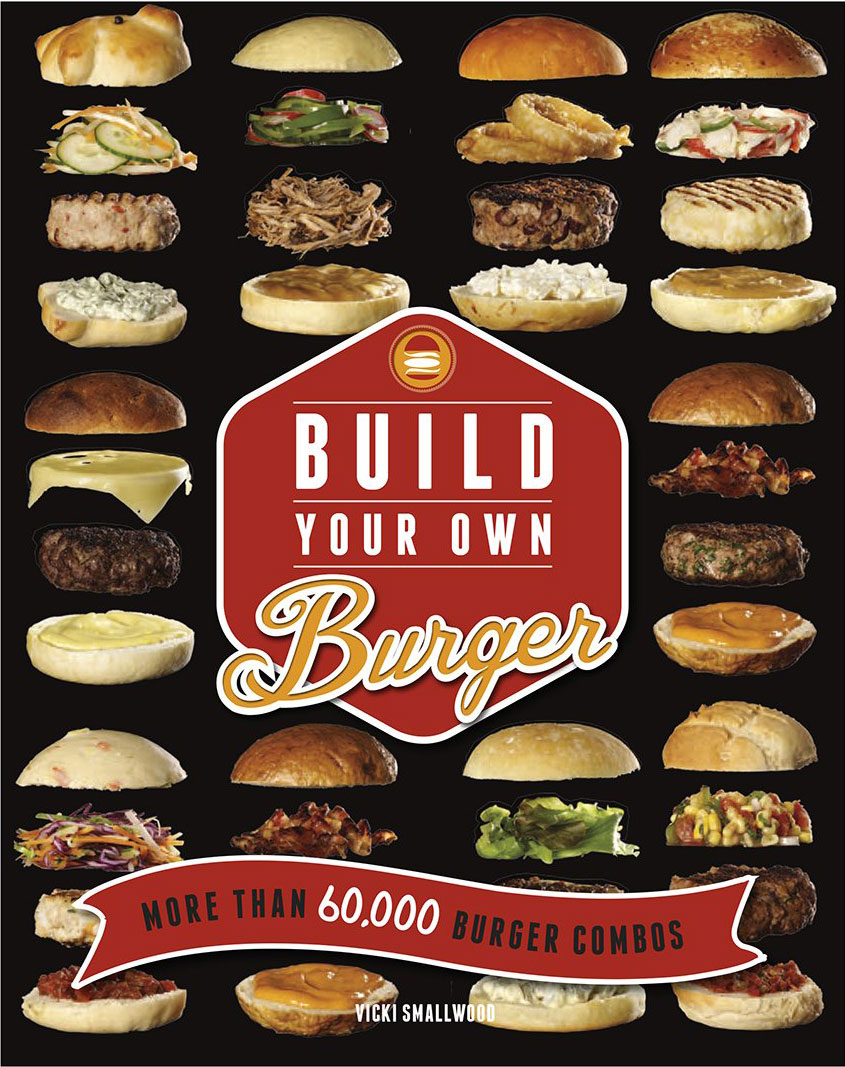
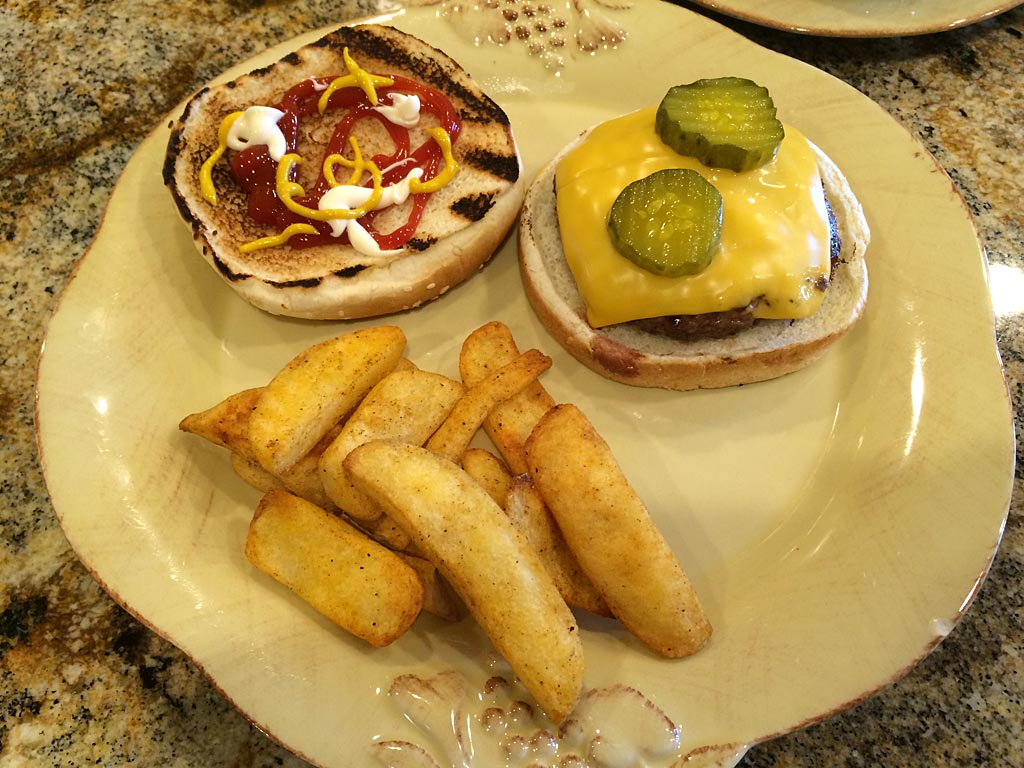
Amazon says, “Want to take your burger making skills to a whole new and exciting level? Let Build Your Own Burger show you how. This fun and practical guide to creating delicious and original burgers has literally thousands of combinations. In this inventive and fun format, ingredients are split into four categories – the buns, the sauces, the patties, and the toppings – each image presented in its own panel. Mix and match the panels to create your ideal burger. A comprehensive section covers the basics, including equipment, ingredients, and troubleshooting tips to get you started. The tasty-looking photography and the clever format will inspire cooks to create unique and mouth-watering flavor combinations such as: A fiery Chili Bun with a Beef Jalapeno Patty, topped with Sweet Chili Mayo and a Cooling Cucumber Salad or an Olive Ciabatta bun with a Field Mushroom Patty, topped with Vine-Ripened Tomato Salsa and Grilled Halloumi. With easy-to-follow recipes and photographs of all the elements, even a beginner can create luscious burgers in no time at all. Filled with burger ideas for any occasion and every palate, this really is the only burger book you’ll ever need.”


Southern Cooking For Company

Southern Cooking For Company

Not a grilling book per se, but with some imagination many of the main dish recipes can be adapted to the grill. This book is probably worth owning just for the side dish and dessert recipes alone!

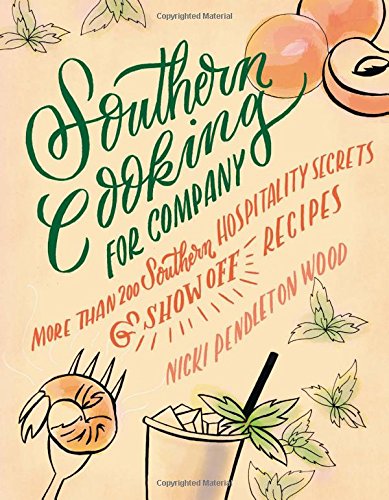
Amazon says, “Nicki Pendleton Wood has gathered recipes from more than 100 Southerners that they prepare when company is coming. These are the show-off recipes hosts pull out when guests are on the way, whether for an intimate evening with another couple, a party for 100 people celebrating a milestone birthday, or anything in between. In addition to the recipes, contributors share their secrets for making guests feel at home.”


The Eat Like A Man Guide To Feeding A Crowd

The Eat Like A Man Guide To Feeding A Crowd

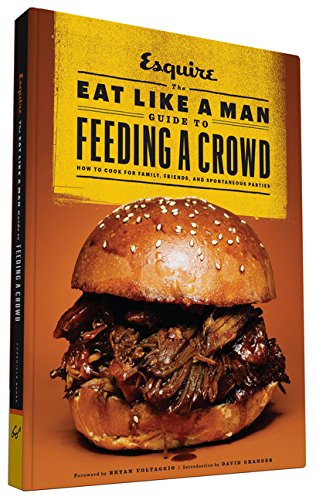
Amazon says, “This welcome follow-up to Esquire’s wildly popular Eat Like a Man cookbook is the ultimate resource for guys who want to host big crowds and need the scaled-up recipes, logistical advice, and mojo to pull it off whether they’re cooking breakfast for a houseful of weekend guests, producing an epic spread for the playoffs, or planning the backyard BBQ that trumps all. With tantalizing photos and about 100 recipes for lazy breakfasts, afternoon noshing, dinner spreads, and late-night binges—including loads of favorites from chefs who know how to satisfy a crowd, such as Linton Hopkins, Edward Lee, and Michael Symon—this is the only cookbook a man will ever need when the party is at his place.”


The Beer Bible

The Beer Bible

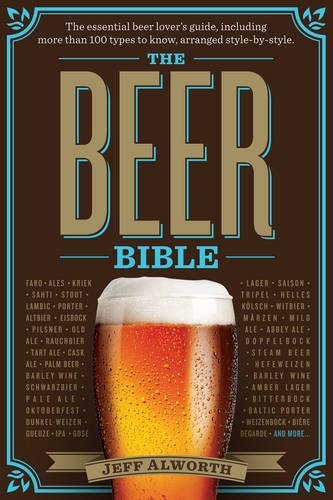
Amazon says, “It’s finally here—the comprehensive, authoritative book that does for beer what The Wine Bible does for wine. Written by an expert from the West Coast, where America’s craft beer movement got its start, The Beer Bible is the ultimate reader- and drinker-friendly guide to all the world’s beers.

“No other book of this depth and scope approaches the subject of beer in the same way that beer lovers do—by style, just as a perfect pub menu is organized—and gets right to the pleasure of discovery, knowledge, and connoisseurship. Divided into four major families—ales, lagers, wheat beers, and tart and wild ales—there’s everything a beer drinker wants to know about the hundreds of different authentic types of brews, from bitters, bocks, and IPAs to weisses, milk stouts, lambics, and more. Each style is a chapter unto itself, delving into origins, ingredients, description and characteristics, substyles, and tasting notes, and ending with a recommended list of the beers to know in each category. Hip infographics throughout make the explanation of beer’s flavors, brewing methods, ingredients, labeling, serving, and more as immediate as it is lively.

“The book is written for passionate beginners, who will love its “if you like X, try Y” feature; for intermediate beer lovers eager to go deeper; and for true geeks, who will find new information on every page. History, romance, the art of tasting, backstories and anecdotes, appropriate glassware, bitterness units, mouthfeel, and more—it’s all here. Plus a primer on pairing beer and food using the three Cs— complement, contrast, or cut. It’s the book that every beer lover will read with pleasure, and use with even more.”


School of Booze

School Of Booze

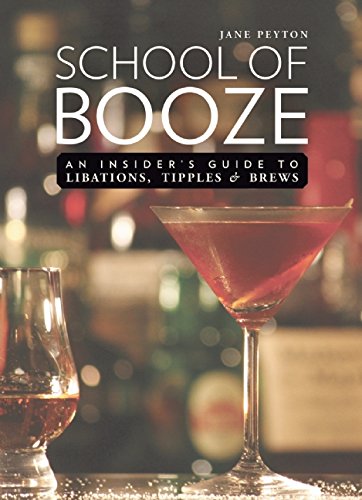
Amazon says, “Humans were seeking out alcohol millions of years before the word “keg” was coined. School of Booze contains everything you have ever wanted to know about alcoholic beverages, from how to make absinthe to the cultural history of zythos (beer). It covers the discovery and invention of fermented alcohol, ancient history, toasting, alcohol and health, alcohol’s role in religion, origin of slang expressions, virtually every known form of alcoholic beverage and their histories, temperance and prohibition movements and law, and much more. Packed with fascinating miscellany and curious facts to entertain your friends at the pub, this book is an essential compendium of knowledge about what essayist Dr. Samuel Johnson called life’s “second greatest pleasure.” It is the perfect gift for yourself, or for anyone who enjoys raising a glass to good health. Bottoms up!”

Deep Cleaning Your Weber Gas Grill

In a post last year, I said I was a clean freak when it comes to my grill. But sometimes I get busy and/or lazy and I let my Weber Summit 450 go too long between cleanings. I know it’s starting to get bad when I have a hard time lighting the grill because the ignitors are clogged with debris. I know it’s getting even worse when the burners are burning unevenly and with yellow flames because some of the burner holes are clogged. That’s when I know it’s time to break down and do a deep cleaning of my grill.

Here’s how I do it.

Grill Cleaning Tools & Supplies Needed

Grill cleaning supplies & tools
Some of the supplies & tools needed to do a Weber gas grill deep cleaning

To deep clean your grill you’ll need the following tools and supplies:

  • Grill brush
  • Leather grilling  gloves
  • Narrow and wide putty knives
  • Stainless steel bristle brush
  • Eyeglass screwdriver or paper clip
  • Disposable latex/nitrile gloves
  • Windex, Simple Green or similar cleaner
  • Stainless steel cleaner
  • Compressed air duster
  • 0000 super-fine steel wool
  • Towels/rags
  • Garbage bag

During some of the steps shown below, you may want to wear disposable gloves to keep your hands clean. Continue reading Deep Cleaning Your Weber Gas Grill

Spicy Apricot Chicken Wings

Spicy Apricot Chicken Wings

This recipe comes from our friends at Kingsford to celebrate National Chicken Wing Day, July 29. It was developed by Chris Lilly of Big Bob Gibson’s BBQ and is adapted here to the gas grill.

Spicy Apricot Chicken Wings

Cook Time: 30 minutes
Prep Time: 4 hours
Yields: 4 to 6 servings

Marinade
1 cup apricot preserves
¼ cup Worcestershire sauce
¼ cup brown sugar
2 tablespoons soy sauce
2 tablespoons Dijon mustard
2 tablespoons kosher salt
4 teaspoons black pepper
2 teaspoons garlic powder
2 teaspoons paprika
1 teaspoon red pepper
½ teaspoon ground ginger

14 whole chicken wings cut into wings and drumettes (28 pieces total)

Instructions
Mix the marinade ingredients in a small bowl and whisk until well blended. Place the chicken in a shallow dish or resealable plastic bag and pour the marinade over the wings, turning to coat. Cover or seal, and marinate the wings in the refrigerator for 4 hours.

Fire-up your gas grill for indirect cooking, with a hot side and a cool side. When the grill temperature reaches 450˚F, remove the wings from the marinade (do not shake off the excess marinade) and place them on the cool side of the grill. Close the lid and cook indirect for approximately 30 to 35 minutes, flipping each wing piece once.

Remove the wings from the grill and serve.

Tips For Making The Perfect Burger

According to the National Cattlemen’s Beef Association, people in the United States consumed 25.6 billion pounds of beef in 2013. And I would guess that a lot of this beef was consumed in the form of hamburgers!

Pressed burger patties

It’s hard to beat a good burger cooked at home on the grill, just the way you like it. Here are some tips for making the perfect burger this summer.

  • Use ground chuck that’s 80% lean, 20% fat. If you can find a butcher that grinds fresh chuck, even better. Don’t use ground round, which can have a livery taste.
  • Use a kitchen scale to weigh 1/3 lb or 1/2 lb portions of ground beef, then form them into a consistent size and thickness so all the burgers cook the same way on the grill.
  • Press a dimple into the top of each burger with your thumb. This prevents thick burgers from puffing up like a ball during grilling.
  • Sprinkle patties generously with salt and pepper just before they go onto the grill.
  • Cook burgers on a clean, hot grill, perhaps 8-10 minutes total for medium doneness. If concerned about the safety of commercial ground beef, consider cooking to an internal temp of 160°F measured with an instant-read thermometer. See Burger Temperature Guide for more details.
  • Let thick burgers rest, tented under foil, for 3-5 minutes before serving so juices can redistribute and reabsorb into the meat.
  • Serve burgers on a good quality potato bun or sesame seed bun.

Burger close-up

Learn More: 5 Steps to Burger Brilliance by Jamie Purviance

Genesis 1100 Redhead Restoration by KellyMc

TVWBB member KellyMc from Austin, Texas picked up this 1998 Weber Genesis 1100 redhead on Craigslist for just $45.

“I spent about $160 on paint, wood and finishes, warming basket and shelf, catch pan and holder, cover and a propane tank,” says Kelly. “I’ve used it half a dozen times already and it works great. I like it so much better than something new that would have cost twice as much or would have been half as well-made.”

Weber Genesis 1100 redhead before restoration
Weber Genesis 1100 redhead after restoration

What really stands out about Kelly’s restoration is the woodwork. “I used cedar from Home Depot — 1x2s for the side shelf and just plain fence pickets for the bottom shelf. The handle is the original wood, which seems like very cheap pine, with the gray paint sanded off.

“I sanded everything thoroughly and did 3 or 4 coats of teak oil. Then I sanded again and topped with spray-on spar varnish. I think I did 2 or 3 coats, sanding between each. It looks quite nice and seems plenty water-resistant. I keep it completely covered between uses, so I’m hoping it stays looking great for a long time.”

You can read more about this restoration, with lots of photos, on The Virtual Weber Bulletin Board.

Carne Asada by Tony & Maribel

Maribel and Tony with Chris Allingham

Tony and Maribel are grilling fanatics. They live in Southern California where the sunshine allows for outdoor grilling almost every day of the year, and they do just that using their collection of Weber grills. When not grilling, Tony makes low & slow barbecue on his Weber Smokey Mountain Cooker or uses a taco cart with a flat-top griddle to make amazing Mexican fare.

Don’t think that Tony is the only one grilling in this household! Maribel knows her way around a Weber kettle and proves it in the photos they post on Instagram. Make sure to follow them to see what’s on the grill tonight…their photos will make your mouth water, I guarantee!

Tony and Maribel's collection of Weber grills

It’s fair to say from the photo above that Tony prefers cooking over charcoal, but some time ago he picked up a Weber Genesis gas grill that he calls “Jennifer” and uses it to make a variety of things, including the carne asada shown here.

Two pounds of flap meat

Tony starts with two pounds of flap meat and cuts it into pieces that can be easily managed on the grill. The meat goes into a bowl and gets sprinkled generously with Lawry’s Seasoned Salt.

While the meat sweats, Tony prepares the marinade ingredients:

  • 1/4 bunch of cilantro, chopped
  • 1/2 white onion, cut into rings
  • Juice of 4 limes
  • Juice of 3 oranges
  • 5 Tablespoons vegetable oil
  • 1 Tablespoon cumin
  • 1 Tablespoon black pepper
  • 1 Tablespoon garlic powder
  • 1 Tablespoon onion powder
  • 3 jalapeño peppers, sliced in half
  • 1 lime, cut into thin slices

Flap meat marinating with green onions

Combine all the marinade ingredients and add to the meat. Allow the meat to marinate for two hours. “As with tradition, I added green onions that get grilled and eaten on the side,” says Tony.

Carne asada grilling on the Weber Genesis

Preheat the grill to MEDIUM HIGH heat. Place the meat, onions and jalapeños on the grill and cook the meat to medium well doneness, about 8 minutes per side. Turn the veg once or twice to cook evenly. You’ll notice that Tony snuck two hot links onto the grill for good measure.

Carne asada with rice and beans

Tony and Maribel serve carne asada with red rice and refried beans and salsa roja on the side…and always an ice-cold cerveza! You’ll find the recipes for the rice and beans on The Virtual Weber Bulletin Board:

Thanks to Tony and Maribel for allowing me to share this amazing dish!

Grilled Sweet Potato Wedges

Grilled sweet potato wedges make a great side dish to accompany any meal. They’re easy to make, darned tasty, and a good alternative to regular potatoes.

Orange-fleshed yams

Where I live, the vegetable called “sweet potato” has a light-colored skin and yellow-white flesh, and the vegetable called “yam” has a red-colored skin with orange flesh. Lots of restaurants that serve “sweet potato fries” are serving the orange yam, and that’s what you want to buy at the supermarket for these sweet potato wedges.

Brown sugar rub

To prepare the rub for these wedges, mix 1 Tablespoon light brown sugar with 1 teaspoon of your favorite barbecue rub. The rub will flavor the yams and promote browning during cooking.

I used 1 teaspoon of Slap Yo’ Daddy All-Purpose Rub. You can buy it from SlapYoDaddyBBQ.com or make this version yourself.

Peel two good-sized yams. Cut each yam in half lengthwise, then cut each half into 3-4 wedges depending on size.

Seasoned sweet potato wedges

Place the wedges on a half sheet pan. Drizzle with 2 Tablespoons olive oil or vegetable oil and toss to coat evenly. Arrange wedges cut-side down and sprinkle with half of the rub. Turn wedges over and sprinkle with the remaining rub.

Sweet potato wedges go into Weber Summit gas grill

Place wedges in a preheated 450°F gas grill and cook for 20-25 minutes, turning once.

Grilled sweet potato wedges with charred surface

To serve, arrange wedges on a platter and sprinkle with kosher salt.

Finished sweet potato wedges sprinkled with kosher salt

I grilled these sweet potato wedges in my Weber Summit 450 gas grill over direct heat with all burners on low and the temperature ran between 450-500°F. If you run the grill using indirect heat, the wedges will not brown evenly. Watch them carefully…mine got too brown in a few spots but were still delicious!

Of course, you can also make these wedges in the oven. Just bake at 450°F for 20-25 minutes, turning once.

Weber 6483 Burger Press

Review of Weber 6483 Burger Press

Weber 6483 Burger Press

Pros:

  • Presses burgers ranging from 1/4 to 1/2 pound
  • Clear acrylic design shows when burger is fully pressed
  • Creates a dimple in the patty that prevents puffy burgers during cooking
  • Handle can be removed for cleaning
  • Dishwasher safe

Cons:

  • Meat may stick to the press under certain circumstances

Close-up view of Weber 6483 Burger Press

I’ve formed hamburger patties by hand for years and never given much thought to doing it any other way until I recently purchased the Weber 6483 Burger Press.

The press consists of two plastic halves that form a 4-5/8″ wide patty. The bottom half is marked “1/4 LB” on one side and “1/2 LB” on the other; the offset design allows the top half to press down only far enough to make each sized patty.

To make patties, flip the bottom half of the press to the patty size you want to make. To make 1/3 pound burgers as shown here, use the “1/4 LB” side of the press.

Weighing meat for patties

Use a kitchen scale to weigh-out the amount of meat for each patty, or divide the meat evenly by eyeballing it.

Placing meat into burger press

Form the meat loosely into a ball and place it on the bottom half of the press.

Pressing the burger

Place the top half of the press over the meat and press down firmly. The clear acrylic allows you see when the meat has completely spread out to fill the press.

Close-up of dimpled patty

Removing the top half reveals that the press makes a dimple in the patty. This indentation helps prevent the burger from puffing up in the middle as it cooks.

Pressed burger patties

With the burgers pressed, they’re ready to be seasoned with salt & pepper and grilled.

Removing handle from press

The nylon handle can be removed for cleaning.

Burger press parts are dishwasher safe

The burger press parts are labeled “dishwasher safe” on the box. Since the handle was not dirty and is removable, I took it off before running the press through the dishwasher.

Pressed burgers on the grill

Now just grill your pressed burgers as you would any other. I grilled these over medium-high heat for 8-10 minutes until 135-140°F for medium doneness. If you’re concerned about the food safety of your burgers, grill to 160°F for well done.

Melting cheese slices and toasting buns

Note how the burgers grilled up nice and flat, not puffy, due to the dimples made by the press.

Pressed burger served with steak fries

Some people using this press report problems with the meat sticking to the press. I didn’t have a sticking problem, but if you do, a little non-stick cooking spray may do the trick. Some suggest using a square of waxed paper or hamburger patty papers to avoid sticking.

Overall, this is a neat gadget that I plan to keep around. It works as advertised, pressing out consistently sized and shaped burgers that grill evenly every time.

What to make sliders? Weber has you covered with the Weber 6485 Slider Press.

For tips on making better burgers, read 5 Steps to Burger Brilliance, an excerpt from Weber’s Big Book of Burgers by author Jamie Purviance.

The Weber 6483 Burger Press is available at Amazon.com.

How To Grill Thin Supermarket Steaks

Many steaks sold in supermarkets are not particularly thick, perhaps 3/4″ to 1″ thick. One of the challenges with grilling steaks like this is that by the time a good sear is achieved on the exterior, the interior can be gray and overcooked.

Here’s how to solve this problem, thanks to the good folks at America’s Test Kitchen.

Two bone-in ribeye steaks

Choose 3/4″ to 1″ thick ribeye or strip steaks. Pat steaks dry with paper towels.

Kosher salt and cornstarch mixture

For two steaks, combine 1 tablespoon kosher salt and 1-1/2 teaspoons cornstarch.

Steaks rubbed with salt and cornstarch

Rub steaks on both sides with the salt/cornstarch mixture.

Steaks in the freezer

Place the steaks on a wire rack over a rimmed baking sheet and place in the freezer for 30 minutes to chill.

Preheat your gas grill on HIGH starting 10 minutes before the steaks come out of the freezer. Use a grill brush to clean the grates.

Applying ground pepper to very cold steaks

Just before putting the steaks on the grill, apply ground black pepper to taste on both sides.

img_4555-1024

Grill the steaks on the first side for 2 minutes. Flip and grill for 2 minutes on the second side. Repeat the process, turning the steaks 90° to create diamond grill marks, for a total of 8 minutes of grilling. Use an instant-read thermometer to check for doneness; medium rare will be 120-125°F.

Steak on a plate

Remove steaks from the grill, cover loosely with foil, and let rest for just a couple of minutes while you get the other food to the table—5 minutes max.

Why This Method Works

  • Patting the meat dry with paper towels, applying cornstarch and allowing the meat to sit in the low humidity of the freezer all help to dry the surface of the meat, which promotes browning.
  • Chilling the steaks in the freezer allows them to stay on the grill long enough to sear the exterior without overcooking the interior.

Bright pink interior of steak

Note how the interior of this thin steak stays pink inside with just a thin layer of gray cooked meat around the outside edge.

Using This Method With Thicker Steaks

You can use this method for steaks up to 1-1/2″ thick.

How To Improve Searing

As nice as these steaks looked and as good as they tasted, the exterior sear could be improved by cooking them on a cast iron griddle or cast iron skillet on the grill.  Next time…

Your best source for Weber gas grill information and discussion on the Web