Category Archives: Restore

How To Disable A Broken FlameCheck Safety System

Background On The FlameCheck Safety System

The FlameCheck Safety System button

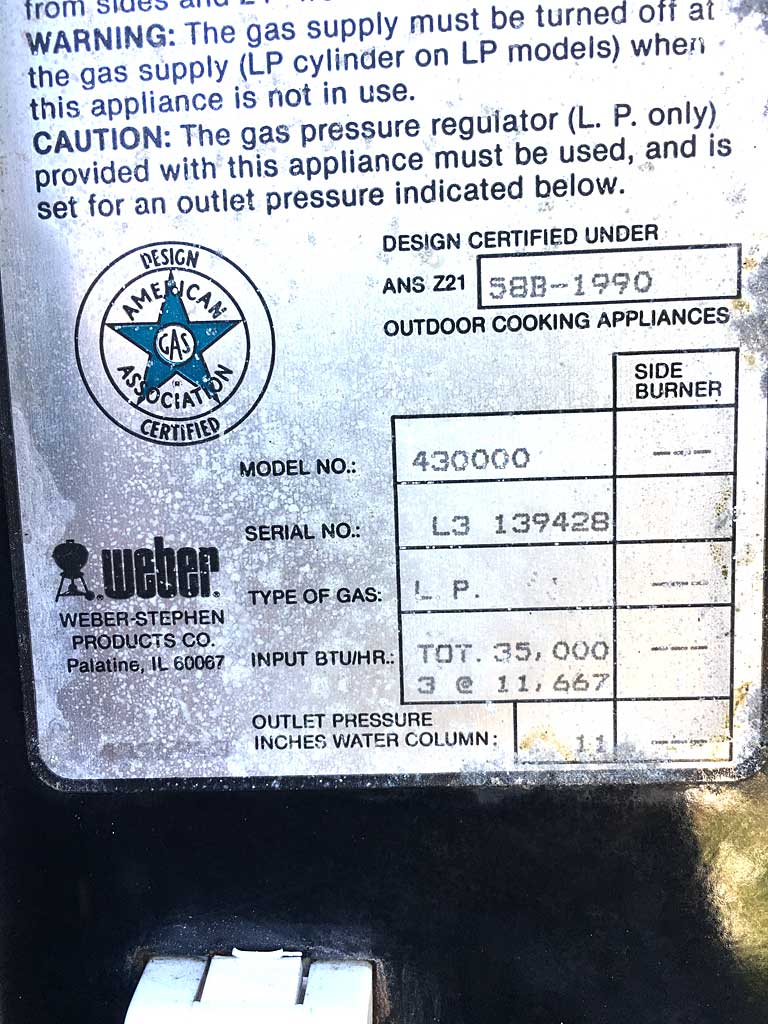
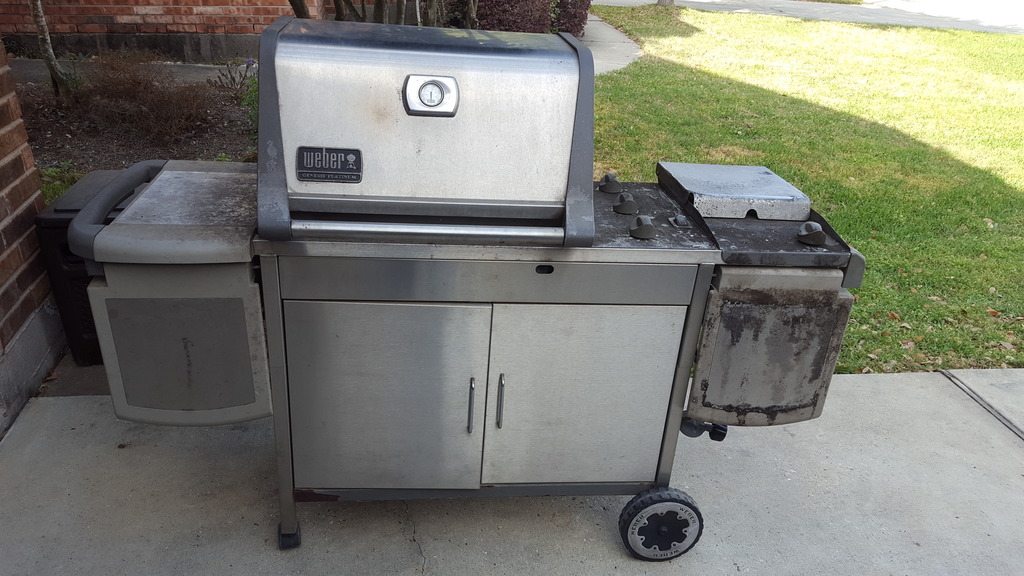
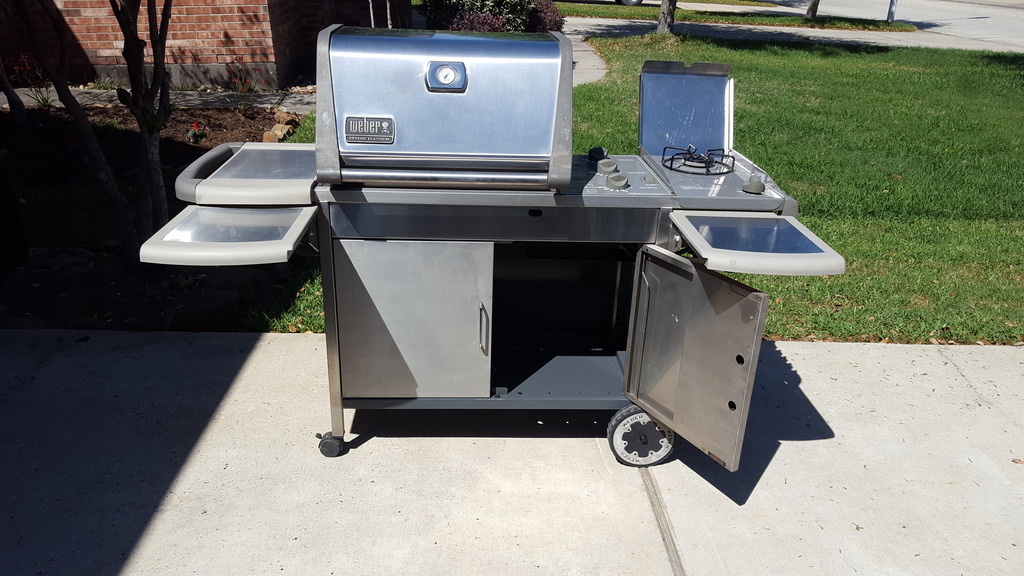
This is an obscure topic that applies only to people with Genesis gas grills featuring the FlameCheck Safety System. These grills include:

  • Genesis 4 and 5
  • Genesis 4000 and 5000
  • Some Genesis models sold outside the United States

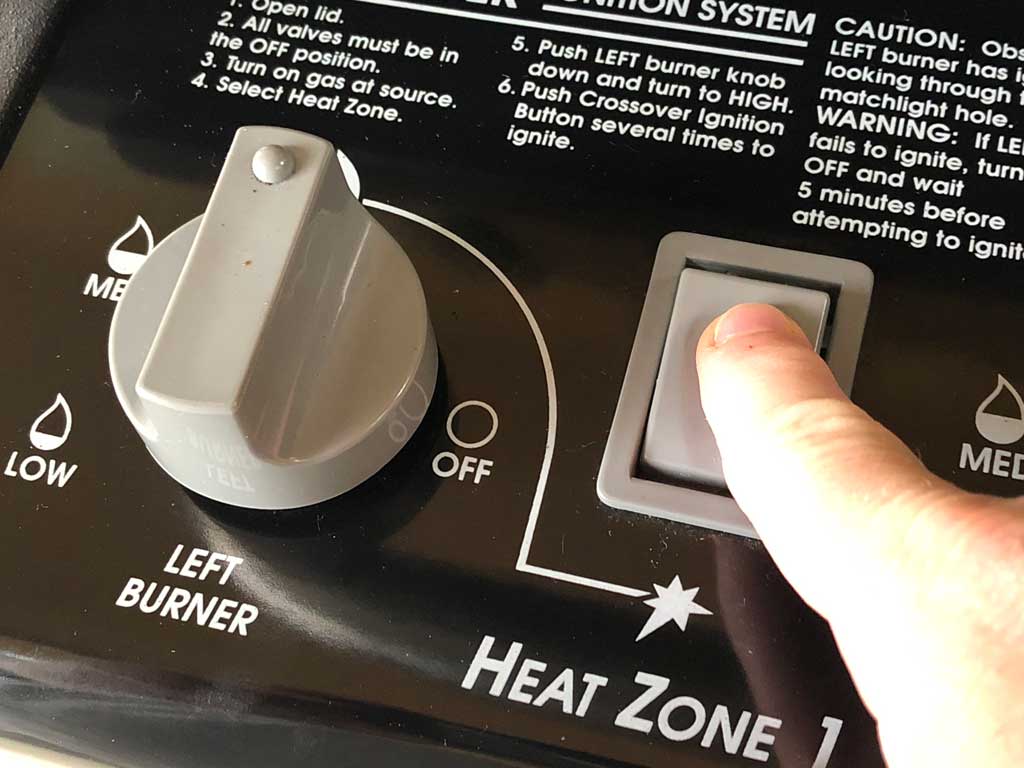
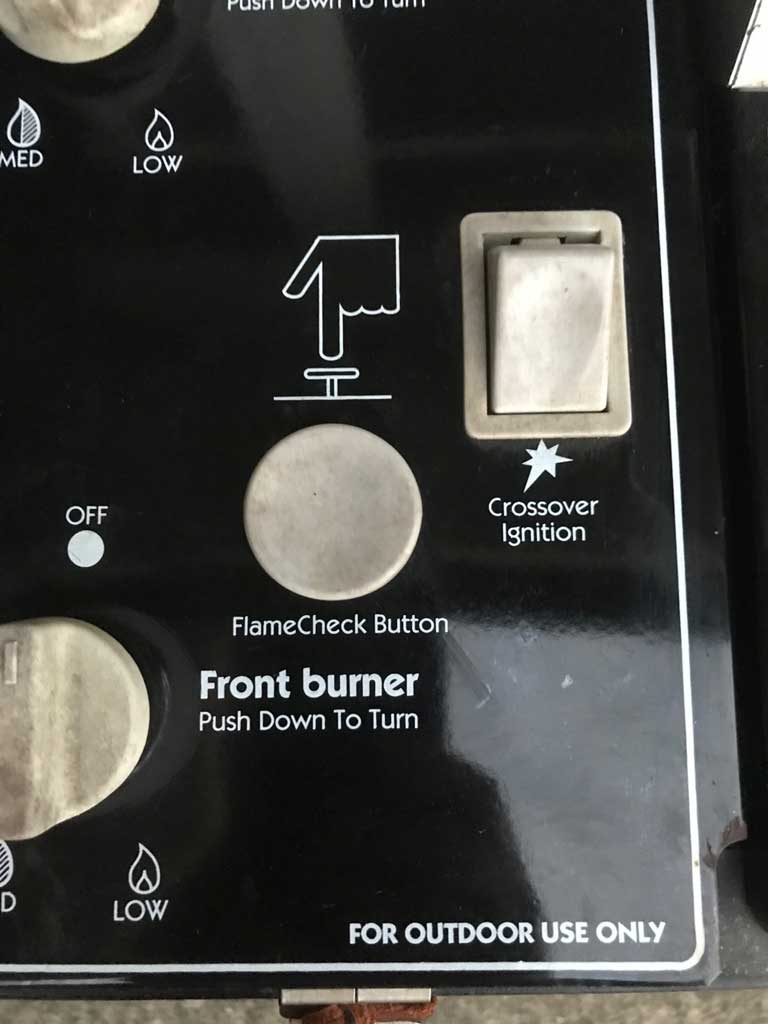
As described in this post from August 2018, FlameCheck was a safety feature on some Genesis gas grills that monitored the flame on the #1 burner. If the flame went out for whatever reason, a thermocouple-controlled valve would close, cutting off gas to the manifold. In order to initially light the #1 burner, you had to hold down a spring-loaded safety button while depressing the igniter button.

With time, the thermocouple would fail, causing the valve to stay in the closed position and shutting off gas to the grill. At some point, Weber stopped selling a replacement thermocouple, so owners of these grills resorted to placing a brick over the FlameCheck button to hold it down to keep gas flowing to the burners!

A Workaround To A Broken FlameCheck

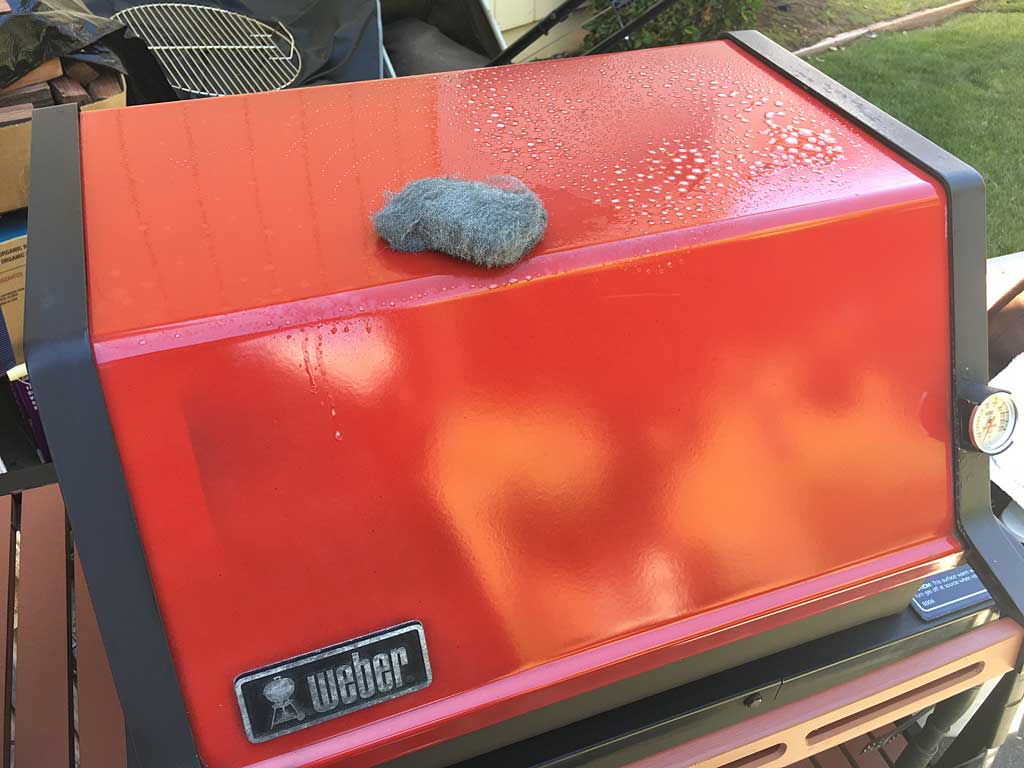
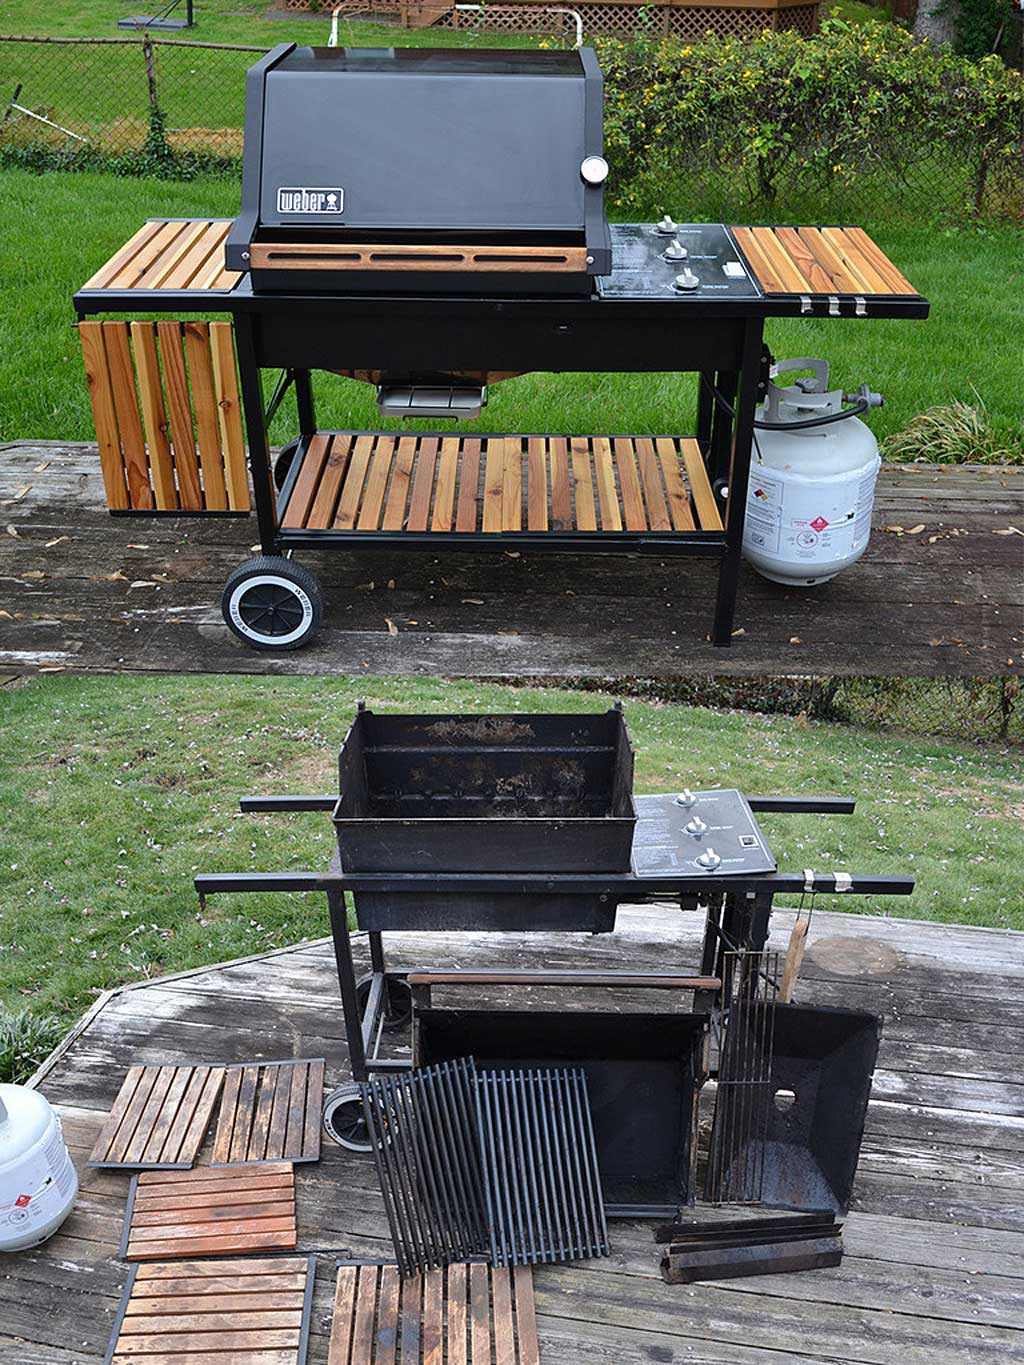
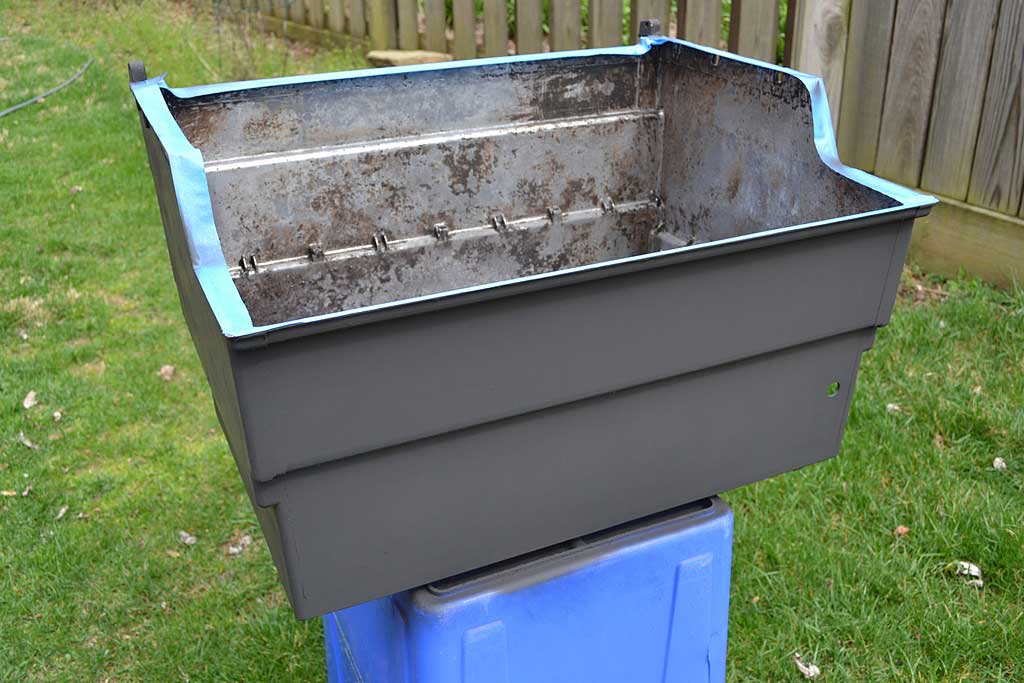
Joe Anshien, a member of The Virtual Weber Bulletin Board, restored a Genesis 5 and shared his workaround to a broken FlameCheck Safety System that does not involve the use of a brick!

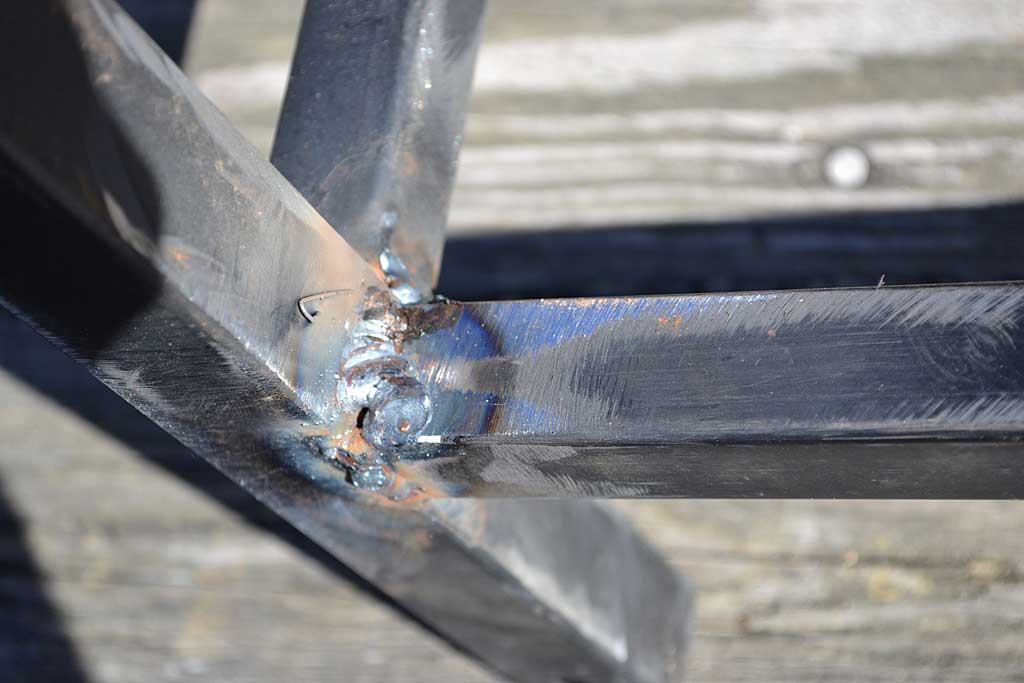
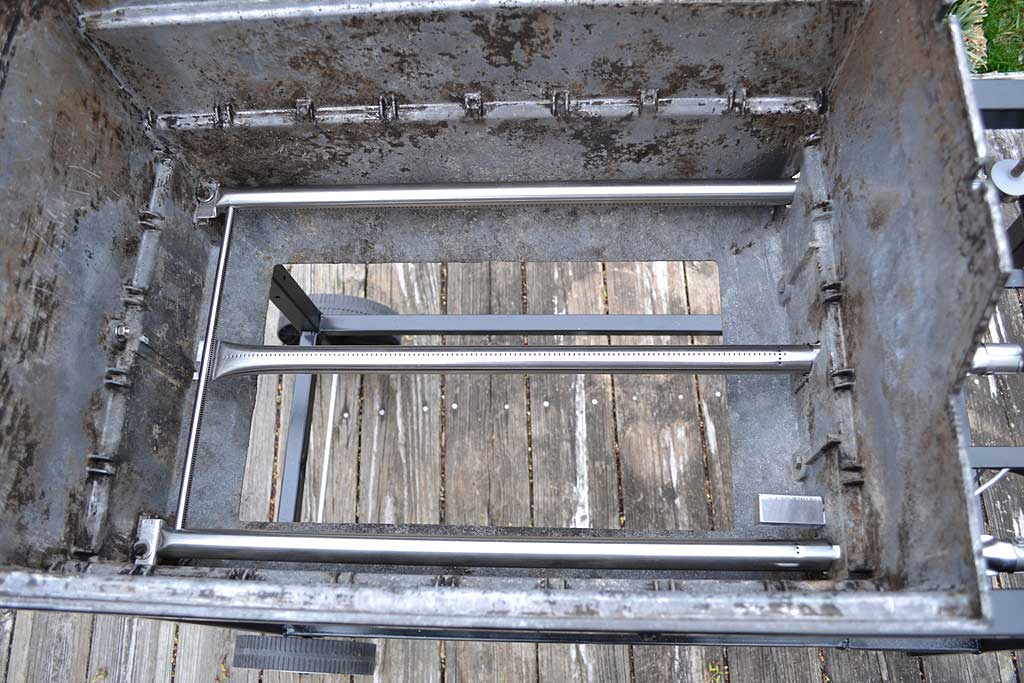
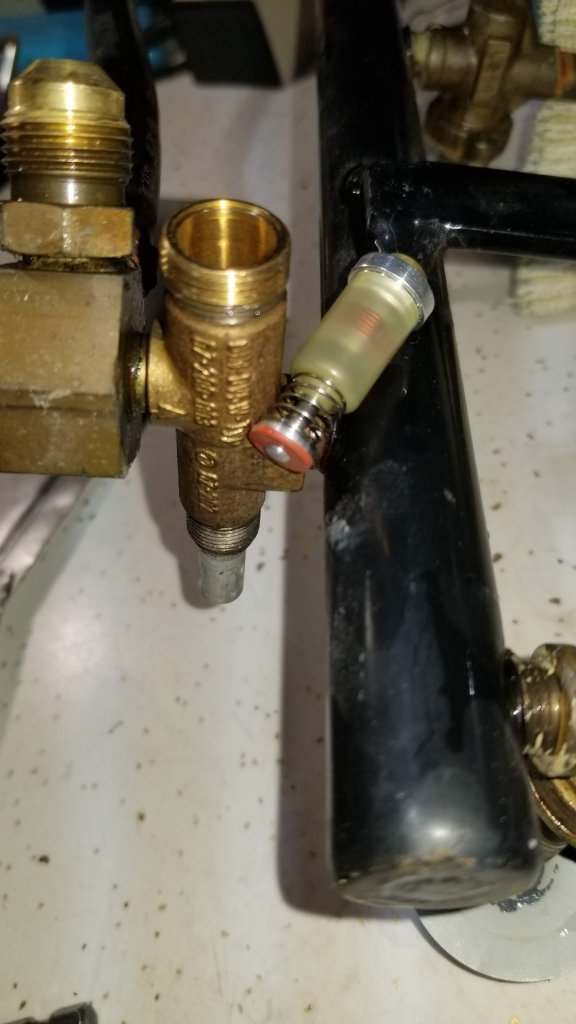
Find the FlameCheck valve situated between the incoming gas supply hose and the manifold. Unscrew the bottom portion of the valve where the thermocouple wire is connected. Inside you’ll find a valve cartridge with a spring assembly on one end.

Valve cartridge removed from valve body

Using a pair of pliers, pop-off the spring assembly, then remove and discard the spring retainer at the end of the spring.

Valve cartridge with washer removed

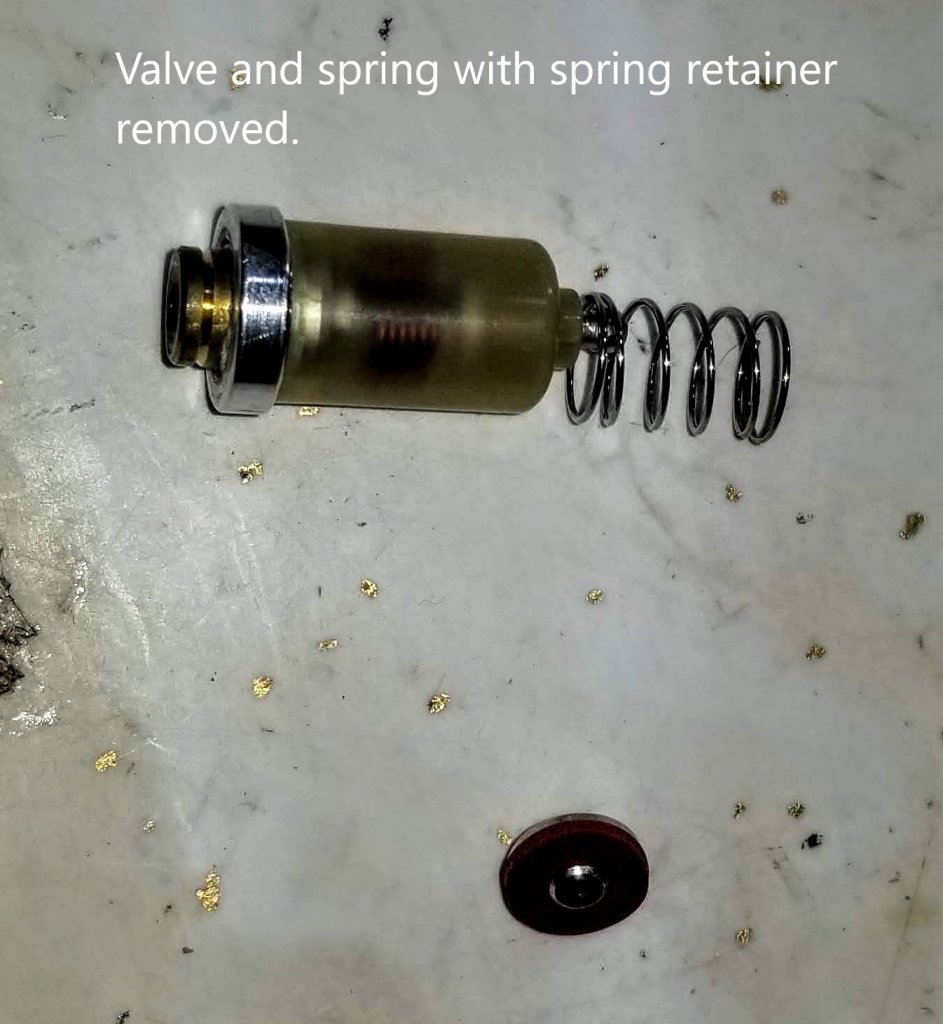
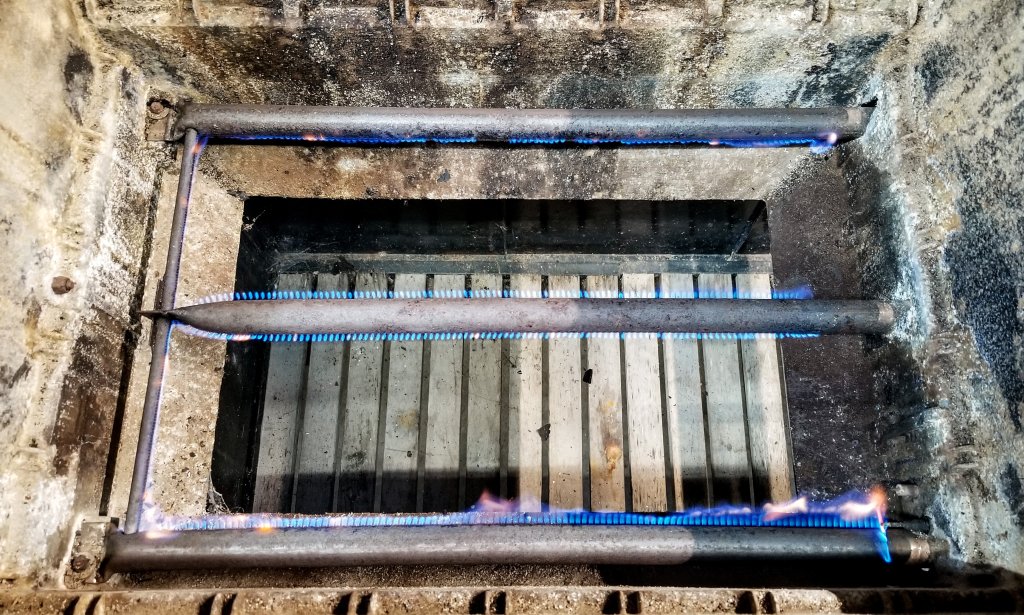
Replace the cartridge and spring inside the valve and screw the bottom portion back on. Spray a soapy water solution on the valve to check for gas leaks, then check that the burners light without depressing the FlameCheck button.

Burners stay lit without the FlameCheck button depressed

Got An Obscure Restoration Question? TVWBB.com Is Ready To Help!

We’ve got lots of members who are knowledgeable in vintage Weber gas grill restoration and know how to answer even the most difficult questions. Please visit at tvwbb.com!


Valve Photos: 2021 by Joe Anschien

Replacing Weber Gas Grill Igniters

Introduction

Pushing igniter button

It’s common to hear someone say that their old Weber gas grill is still going strong, but it doesn’t light properly. They have to light it with a match through the manual lighting hole in the front of the grill.

Sadly, it’s also common for some grill owners to think it’s time to toss and replace an old grill when it won’t light.

Difficulty in lighting is a common problem as a gas grill gets older. The solution is to install a new igniter kit. Doing so is cheap and easy on older Weber grills and just slightly more expensive and difficult on more recent Weber grills. Either way, it’s cheaper than buying a new grill and it’s a job that I’m confident you can do…so read on!

Buying The Correct Igniter Kit Is Key

Electronic igniter kit vs mechanical igniter kit
Electronic igniter kit (left) vs. mechanical igniter kit (right)

Weber has used a variety of igniter kits over the years for different grills. Some kits are mechanical, some are electronic. Some include multiple igniters, some include just one. The wires may be longer in some kits and shorter in others. It’s important to get the right kit for your grill because even kits that look alike may not work properly in your specific grill.

Weber does not list the replacement igniter kit part number in your grill’s owners manual because these part numbers may change over time. The best way to make sure you get the right kit is to call Weber Customer Support at 800-446-0171. Give them your grill’s model name and serial number and they’ll tell you which part number you need. Alternatively, if you’re buying at a home center or online, read the box label or product description carefully to make sure the kit covers your specific grill model and year.

Types of Ignition Systems

Prior to the mid-2000s, Weber used a mechanical piezo ignition system in gas grills. When you depress the ignition button, a spring-loaded hammer hits a crystal, generating a high voltage discharge that travels through wires to a ceramic igniter in the firebox, creating a spark next to the burner tube and lighting the gas. These older systems make a loud metallic “bang” noise when you depress the rectangular ignition button. Each time you depress the button, a spark is generated. Continue reading Replacing Weber Gas Grill Igniters

Deciphering Serial Numbers On Old Weber Gas Grills

Serial number on Weber Genesis 2 gas grill

Sometimes one of the challenges to restoring an old Weber gas grill is just being able to identify which model of grill you’ve got.

A couple of months ago, I posted some information on The Virtual Weber Bulletin Board about deciphering old Weber gas grill serial numbers. It comes from Dave Weaver, a TVWBB member with inside information on how the older grills were serialized.

Continue reading Deciphering Serial Numbers On Old Weber Gas Grills

Genesis Platinum Series II Restoration by Jeff MA

This 1996 Genesis Platinum Series II restoration by TVWBB member Jeff MA of Fitchburg, MA is one of the finest, most comprehensive restorations you’ll ever see of a Weber gas grill.

Restored Genesis Platinum Series II in blue by TVWBB member Jeff MA

It features almost everything you might encounter in a restore project, including frame repair, firebox cleanup, screw hole repair with QuikSteel, a little welding, repainting, polishing, parts replacement, logo emblem refinishing, new propane tank scale and hose connector, plus a brand new side burner for good measure.

Continue reading Genesis Platinum Series II Restoration by Jeff MA

Cleaning & Lubricating Weber Gas Grill Valves

Are the gas grill valves in your old Weber Genesis or Summit grill stiff and hard to turn? Do they no longer lock in the Off/High/Medium/Low positions? Do they not pop back up after being pushed down?

If you answered “Yes” to any of these questions, you can probably solve the problem by cleaning and lubricating the gas valves.

Continue reading Cleaning & Lubricating Weber Gas Grill Valves

Genesis Platinum C Cleanup & Repair by Scott P

To the untrained eye, this circa 2005 Weber Genesis Platinum C gas grill looks like a piece of junk, ready for the scrap heap. But Scott P. from Porter, TX knew better. He picked it up on Craigslist for $50, gave it some spit and polish, and it’s ready for many more years of grilling.

Genesis Platinum C as purchased by Scott P.
Rusted floorpan in storage enclosure
Rusted floor pan in storage enclosure

Scott gave the grill a thorough cleaning inside and out, then removed the storage enclosure and did some repair to the floor pan using a rust converter, bonding primer, and graphite spray paint.

Genesis Platinum C post-rehab

A little more polishing of the stainless steel and gray painted surfaces and this gasser was ready for action!

“The burners all work well. It got up to 500°F in about 6 minutes and 600°F a bit later,” says Scott. “I could have spent more time sanding and grinding to smooth out the rust and old paint, but I was looking to do this quick.”

What Scott calls “quick” I call “looks great”!

You can read more about this Weber Genesis Platinum C clean-up and repair on The Virtual Weber Bulletin Board.

Repair Rusted Screw Holes With QuikSteel

It’s not uncommon to encounter a rusted-out screw hole when restoring an old Weber gas grill. How do you repair a rusted-out screw hole? In some cases, it’s easy enough to clean-out whatever remains of the hole and replace the original screw with a bolt and nut. But in some cases, you’ll want (or need) to repair the screw hole so the original screw can be used again.

Continue reading Repair Rusted Screw Holes With QuikSteel

Genesis 2 Restoration by EdW

Here’s a beautiful restoration of a Weber Genesis 2 by EdW from Silver Spring, MD. He’s documented the process in a series of posts on The Virtual Weber Bulletin Board.

Genesis 2 after restoration and before restoration
Genesis 2 after & before restoration

The restoration included a complete disassembly of the grill, repair of the rusted frame, replacements of many internal parts, repainting of the frame/firebox/lid end caps, and some beautiful new woodwork on the work surfaces.

Area of rust cut-off and rewelded
Replacement piece welded into frame
Repainting firebox
Repainting firebox
Replacing burner tubes

EdW utilized much of the information found on this blog and in the Weber Gas Grills forum at The Virtual Weber Bulletin Board to complete his restoration, including how to restore the Weber emblem and how to clean the porcelain coated lid.

You can read more about this restoration on The Virtual Weber Bulletin Board.